Introduction
Prusa MK4 comes with a print fan located on the right side of the Nextruder. It is essential for cooling freshly extruded plastic. However, if the fan is damaged (bearings failure, breaking of the fan blades), it can cause failed prints or severe stringing. This guide will show you how to safely open the Loveboard, unroute the delicate wiring, and swap in a fresh fan.
What you need
-
-
Move the extruder to the middle of the X and Y axes to ensure the workspace is clear.
-
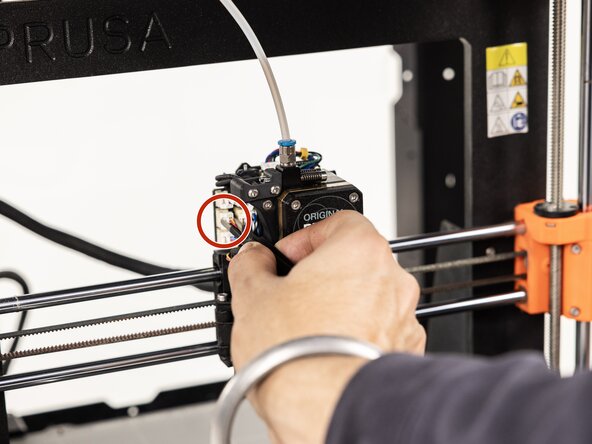
Remove the Loveboard cover from the toolhead and set it aside.
 Ask FixBot
-
-
-
Use tweezers to gently grip and disconnect the plastic body of the cooling fan connector from the Loveboard.
-
-
-
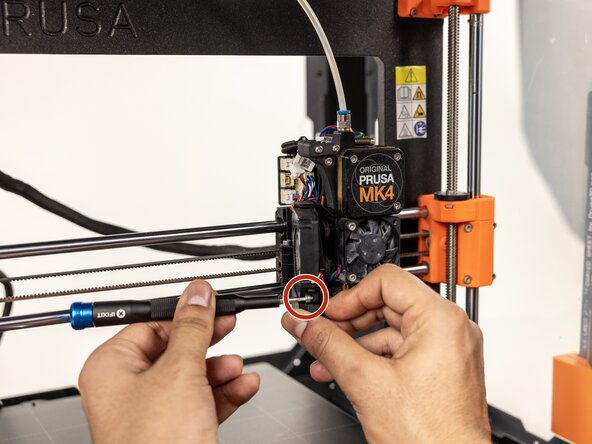
Use a 2.4mm hex key to unscrew the fasteners holding the print fan to the side of the extruder.
-
-
-
-
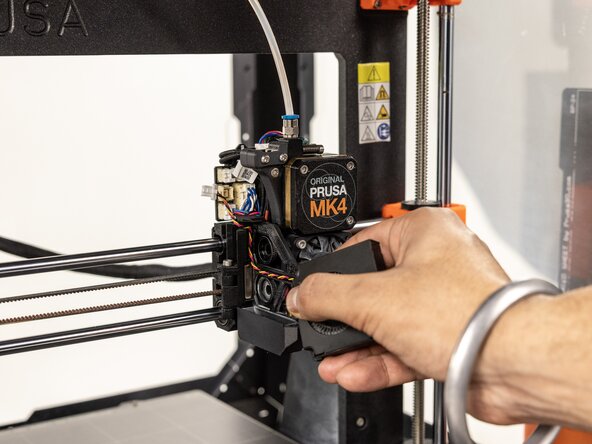
Pull the damaged fan free from the extruder body, and if needed make sure you clean the plastic waste on the shroud!
-
-
-
Route the replacement fan's cable neatly through the dedicated channel in the print fan holder.
-
Hold the new fan in place against the extruder body.
-
-
-
Using a 2.3mm hex insert and tighten the two long 2.5mm screws to secure the fan. Hold the fan tightly, if needed, to make sure there is no gap between the cooling fan and the shroud.
-
Verify that the screw ends are visible on the opposite side of the shroud to ensure the fan is secured with no gaps.
-
-
-
Gently snap the new cooling fan's connector into its dedicated port on the Loveboard.
-


Once assembled, plug in the printer, turn it on and navigate to Control > Temperature > Print fan on the LCD screen to verify the new fan spins correctly.
Cancel: I did not complete this guide.
One other person completed this guide.
Team

York University, Team 4-10, Woodhouse Winter 2026 Member of York University, Team 4-10, Woodhouse Winter 2026
YORK-WOODHOUSE-W26S4G10
2 Members
1 Guide authored