Introduction
The following guide is based on information and photographs from Prusa's Official Nozzle Replacment Guide. The information on this guide can be used with all Prusa Nozzle diameters.
Background Information
Normally, you’ll need to replace your nozzle if you notice a decline in print quality. For preventive maintenance, brass nozzles should be replaced every 3 to 6 months. Hardened steel nozzles can last longer (up to 12 months) and ruby-tipped nozzles several years.
Prusa claims that their brass nozzles can withstand 2800 meters (9,186 feet 4.22 inches) of filament or 2400 hours of printing. This lifespan can vary depending on the frequency of use of your 3D printer and the quality of the filament.
What you need
-
-
Close the printer's door.
-
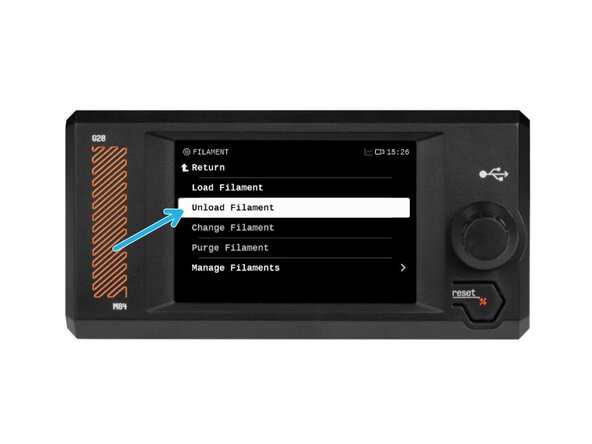
Unload the filament via the printers Unload filament feature.
-
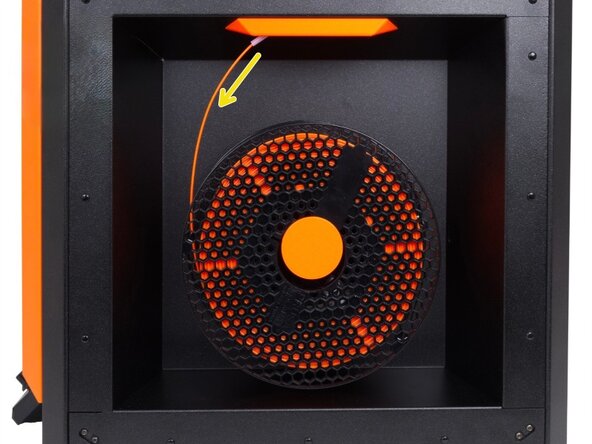
Remove the filament spool from the printer
-
Cool down the printer by navigating to Preheat, then Cooldown, and wait for the temprature to drop to the ambient temperature.
 Ask FixBot
-
-
-
Set your Z-Axis to 100 mm or more by going to Control, Move Axis then Move Z
-
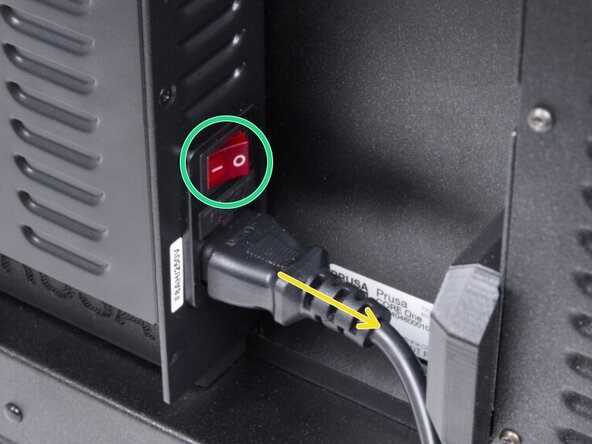
Once the heatbed has finished moving, turn your printer off using the power switch on the back of the printer.
-
Remove the power cord from the printer to prevent the printer from being powered on accedently.
-
-
-
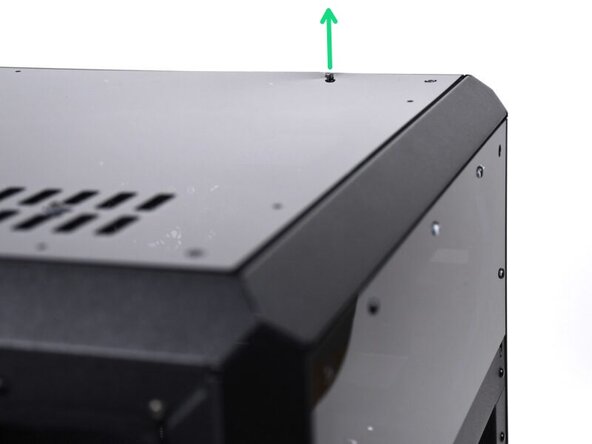
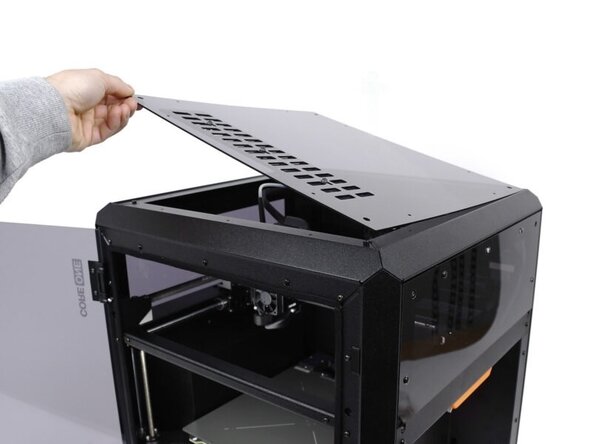
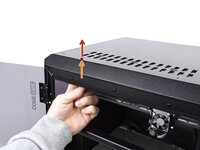
Remove the Top Cover of the printer by pushing the nylon rivets from the inside.
-
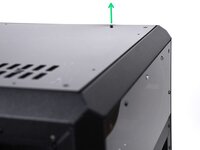
Once pushed out, the rivets can be removed from the outside.
-
Remove all the rivets using the same method detailed above.
-
Once all the rivits have been removed, the top cover of the printer can be removed.
-
-
-
-
Cover your Heatbed with a piece of cloth, or other thick material.
-
-
-
Remove the two M3x10 screws holding the side over to the assembly.
-
Once the screws are removed, take the cover off your assembly.
-
-
-
Disconnect the cable for the Hotend Heater
-
Disconnect the cable for the Hotend Thermistor.
-
-
-
Carefully unrout the disconnected hotend cables from the cable guide.
-
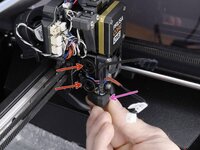
Grasp the Hotend with one hand.
-
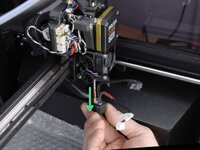
With your free hand, loosen the two thumb screws holding the Hotend in place. Removing the thumb screws is not nessessary. A few turns is enough to get the Hotend free.
-
Carefully slide the Hotend assembly out of the Heatsink.
-
-
-
Remove the protective silicone sock from the heater block.
-
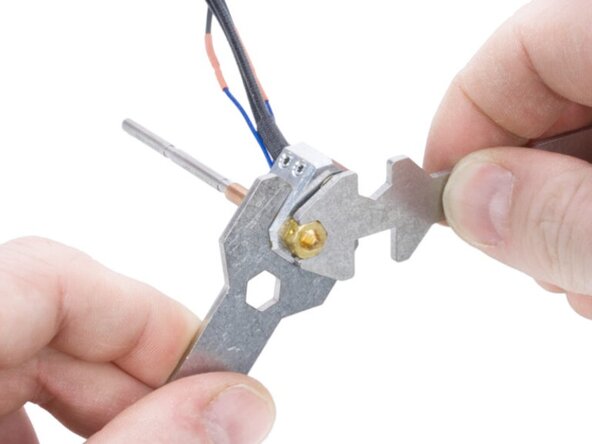
Use the 13 mm wrench to hold the heater block.
-
Use the 7 mm wrench to grasp and loosen the nozzle from the heater block.
-
Once loosened you can manually unscrew, and slide the nozzle out from the heater block.
-







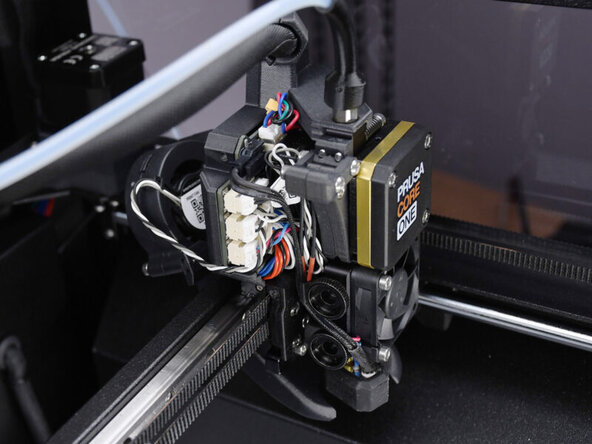
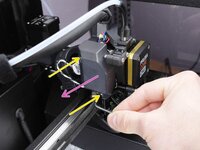


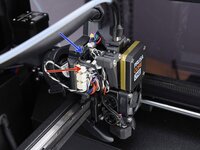
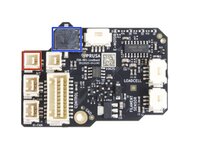

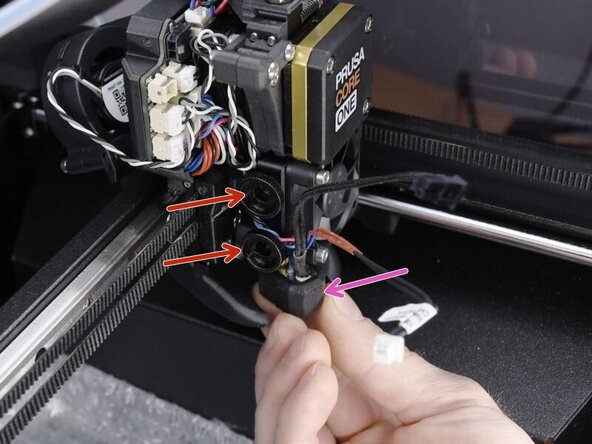
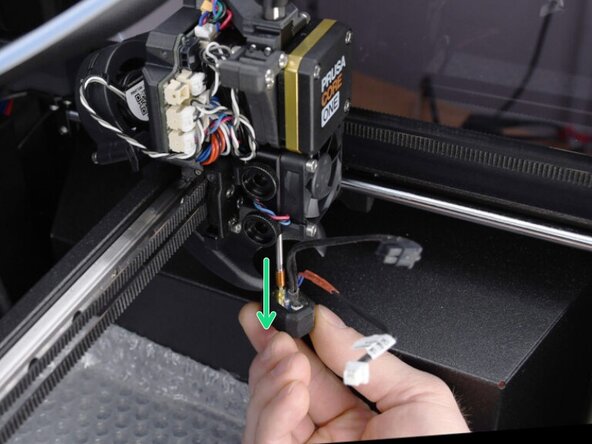
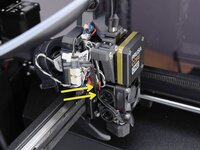

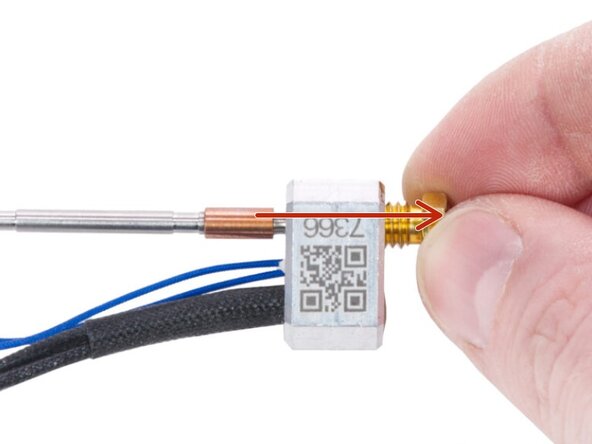
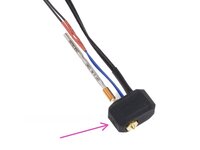
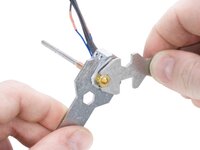
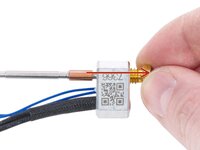
Once the nozzle has been removed you can install a new nozzle by reversing these steps. During reassembly keep the following in mind...
- When tighten the nozzle against the heater block. Avoid applying excessive force. The specific torque value is 1.5 Nm (13.3 lb-in). The use of a torque wrench is recommended.
- When reinsterting the Hotend into the heatsink, the bottom of the Hotend should align with the bottom of the Fan Shroud. Do not allow the Hotend to protrude below the Fan Shroud. You can verify that the nozzle is fully inserted by making sure that the copper ring on the nozzle should not be visible.
Cancel: I did not complete this guide.
One other person completed this guide.


1 Guide Comment
Just want to add that this is the process for being extremely, extreeeemely careful for doing it the first time. There is 0 need to do all these steps. You make sure that the heaterblock is cool to the touch, you loosen the two thumb screws that hold the nozzle assembly, you hold the heaterblock with your fingers (no need for even the 3d printed guide part) then you use either a plastic tool with a heax head hole or your wrench, and you unscrew the nozzle from said block. Then screw in the other nozzle. By holding it in your fingers, you feel the resistance as it builds and know you are tight. Then push the nozzle in the toolhead and tighten the 2 thumbscrews. This procedure is basically so that people can't blame Prusa if they are not smart about it and just yank things off, or are not carefull and drop something. It takes me seconds to do a nozzle swap.
