
Protocol Vento Motor Replacement

Maria Larcomb and 5 other contributors
Last updated on May 7, 2024
Views: 1.2K
View statistics:
- Past 24 Hours:
- 1
- Past 7 Days:
- 23
- Past 30 Days:
- 87
- All Time:
- 1,183
Comments: 2
2 guide comments.
Go to guide commentsCompleted: 4 5
4 people have marked this guide "completed." Will you be next?
5 people have marked this guide "completed." Including you — great job!
Favorites: 0 1
No one has favorited (and subscribed to) this guide. Will you be the first?
1 person has favorited (and subscribed to) this guide — and that's you!
Introduction
Go to step 1 ↓The Protocol Vento drone has four motors. Each motor is located at the base of one of the drone's four arms. This guide will demonstrate how to remove and replace a motor.
What you need
Parts
Tools
-
Protocol Vento Prying Tool (Protocol Vento)
This tool is included in the original drone kit.

-
-
-
Grasp the tail end of the drone where the lip of the battery protrudes.
 Ask FixBot
-
-
-
-
-
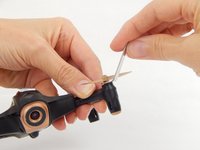
Use a moderate amount of force to pry the propeller out of its base. The propeller should pop off.
-
-
-
-
Unscrew the 4.9mm Phillips #000 screw that is located at the end of the drone's arm.
-
-
-
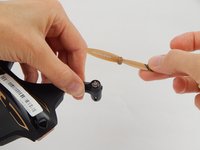
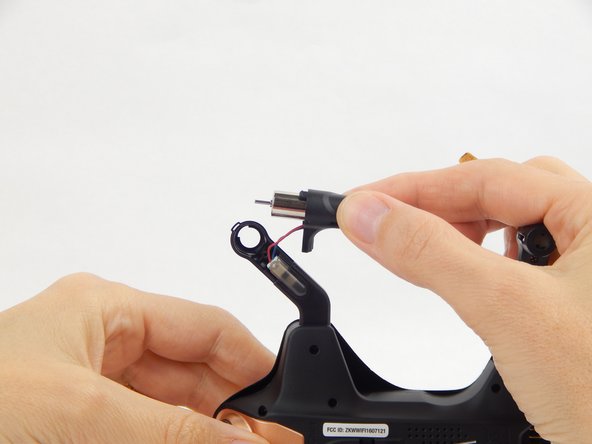
Hold the base of the arm while gently pulling the motor cover away from the arm.
-
-
-
Tool used on this step:Tweezers$4.99
-
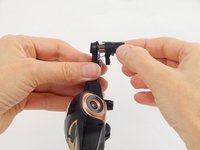
Grasp the clip’s edges with a pair of tweezers and pull outward.
-
-




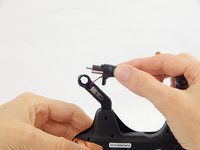

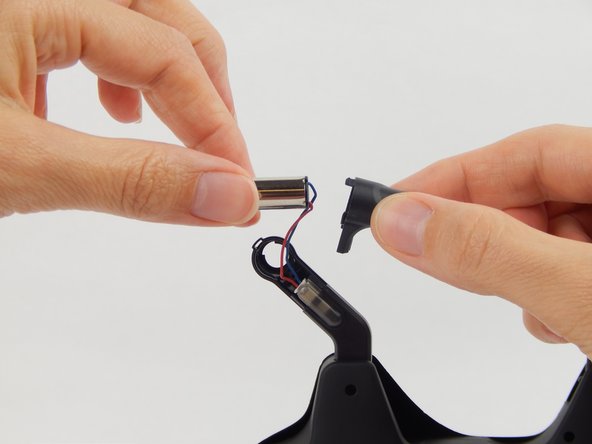
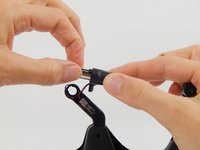
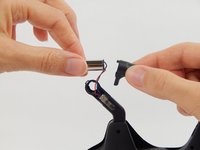

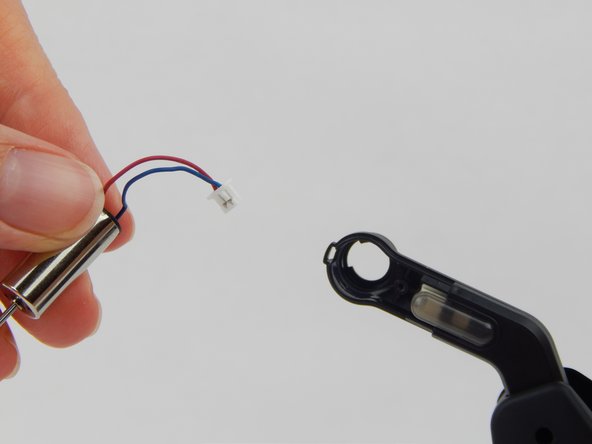

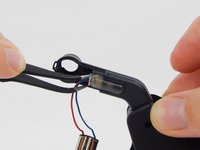
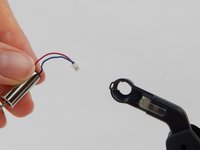
To reassemble your device, follow these instructions in reverse order.
Cancel: I did not complete this guide.
4 other people completed this guide.

Team

USF Tampa, Team S1-G2, Leahy Spring 2018 Member of USF Tampa, Team S1-G2, Leahy Spring 2018
USFT-LEAHY-S18S1G2
4 Members
72 Guides authored
2 Guide Comments
Please send me motor description
send me protocol vento motor
