
Protocol Slipstream WiFi Camera Replacement

John Burkee and 3 other contributors
Last updated on Dec 10, 2019
Views: 566
View statistics:
- Past 24 Hours:
- 1
- Past 7 Days:
- 13
- Past 30 Days:
- 55
- All Time:
- 566
Comments: 0
No one has left comments on this guide. Will you be first?
Go to guide commentsCompleted: 0 1
No one has marked this guide "completed." Will you be the first?
1 person has marked this guide "completed." It's you — great job!
Favorites: 0 1
No one has favorited (and subscribed to) this guide. Will you be the first?
1 person has favorited (and subscribed to) this guide — and that's you!
Introduction
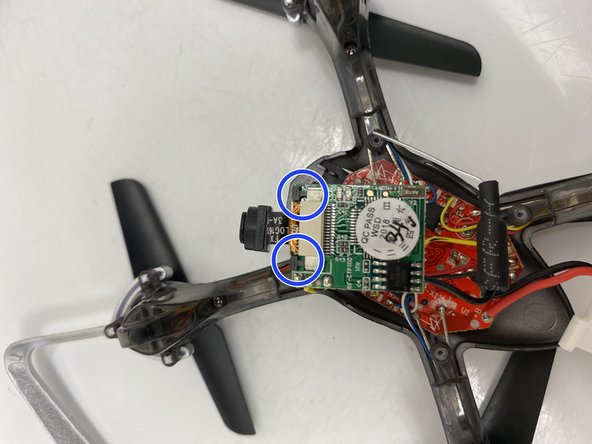
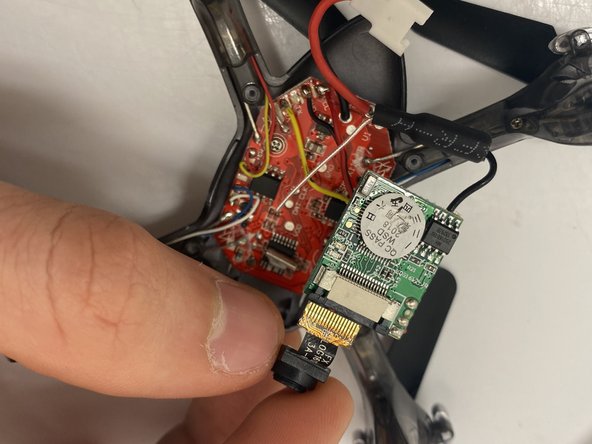
Go to step 1 ↓If your Protocol Slipstream WiFi (model number 6182-3MXB) has a broken camera on it, use this guide to replace the camera. The camera is what allows the user to take photo and videos from the device. If the camera is broken you will not be able to take photos and videos from the device. Be careful not to replace the camera with the device turned on. The propeller spins very fast and can be potentially harmful. When removing the camera be careful with the ribbon wire. Ribbon wire is very fragile and very easy to break. Before trying to remove the camera’s ribbon wire from the connection point, make sure that the two tabs that hold the ribbon wire are fully pushed out.
What you need
Tools
-
Spudger4.9


-
-
-
Remove the four 5.5 mm Phillips #00 screws that hold the lower canopy to the upper canopy.
-
Gently pull the lower canopy up and towards the back of the drone. The lower canopy will still be attached to the upper canopy by 3 wires. Just set the lower canopy aside and continue with the repair.
 Ask FixBot
-
-
-
Remove the four 5.5 mm Phillips #00 screws that holds the battery tray to the lower canopy.
-
Once the four 5.5 mm Philips #00 screws are removed gently pull on the battery tray to separate it from the lower canopy.
-
-
-
Use a spudger to gently pry around the outside edge of the camera to remove the camera from its mounting hole.
-
The camera and computer assembly will now be free to move. Move the lower canopy out of the way for now.
-
-
-
-
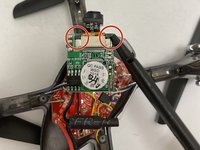
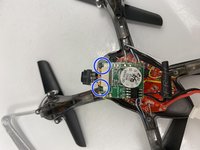
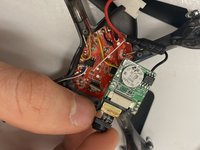
Use the flat side of the spudger and push the 2 tabs on either side of the camera connection on the computer and push the tabs towards the front of the drone (away from the computer).
-
Now remove the camera ribbon wire from the camera connection on the computer.
-
-


To reassemble your device, follow these instructions in reverse order.

Team

Embry-Riddle Aeronautical University, Team S13-G5, Lamothe Fall 2019 Member of Embry-Riddle Aeronautical University, Team S13-G5, Lamothe Fall 2019
ERAU-LAMOTHE-F19S13G5
2 Members
60 Guides authored
