Free Shipping on Domestic Orders $75+

Protocol Dronium III AP Camera Replacement

Views: 615

View statistics:

Past 24 Hours:
4
Past 7 Days:
17
Past 30 Days:
84
All Time:
615
Comments: 0

No one has left comments on this guide. Will you be first?

Go to guide comments
Completed: 0

No one has marked this guide "completed." Will you be the first?

Favorites: 0

No one has favorited (and subscribed to) this guide. Will you be the first?

Time Required: 50 minutes - 1 hour
Difficulty: Moderate
Protocol Dronium III AP Camera Replacement

Introduction

Go to step 1 ↓

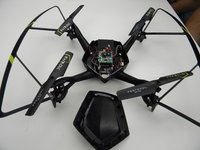
This guide explains how to replace the Protocol Dronium III AP Camera.

What you need

Tools

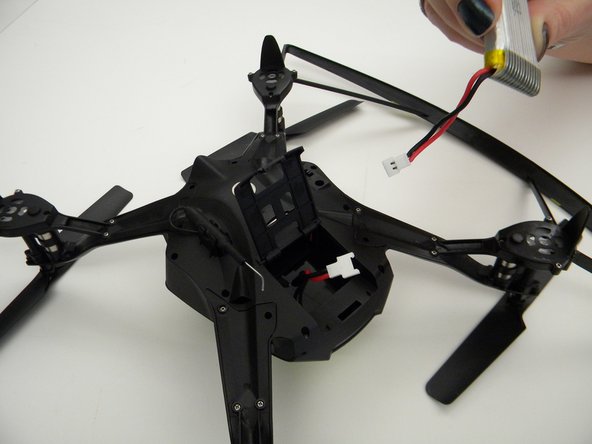
    1. Protocol Dronium III AP Camera Replacement, Drone Battery Pack: step 1, image 1 of 2 Protocol Dronium III AP Camera Replacement, Drone Battery Pack: step 1, image 2 of 2
      • Ensure the drone is powered off.

      • Press in and lift battery compartment cover.

      • A soft pry tool may be used for easier access.

      Ask FixBot

      Add Comment

    2. Protocol Dronium III AP Camera Replacement: step 2, image 1 of 1
      • Remove battery pack from body of drone.

      Ask FixBot

      Add Comment

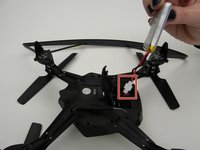
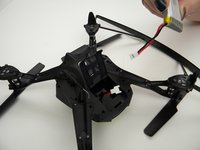
    3. Protocol Dronium III AP Camera Replacement: step 3, image 1 of 2 Protocol Dronium III AP Camera Replacement: step 3, image 2 of 2
      • Disconnect white connectors between the battery pack and drone.

      Ask FixBot

      Add Comment

    1. Protocol Dronium III AP Camera Replacement, Camera: step 4, image 1 of 1
      • Remove the eight (8) 5mm screws attaching the motor arms to the body using a JIS #00 screwdriver.

      Ask FixBot

      Add Comment

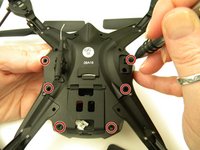
    2. Protocol Dronium III AP Camera Replacement: step 5, image 1 of 2 Protocol Dronium III AP Camera Replacement: step 5, image 2 of 2
      • Remove the six (6) 5mm screws attaching the Body Cover to the Body of the drone using a JIS #00 screwdriver.

      • Remove the Body Cover.

      Ask FixBot

      Add Comment

    3. Protocol Dronium III AP Camera Replacement: step 6, image 1 of 2 Protocol Dronium III AP Camera Replacement: step 6, image 2 of 2
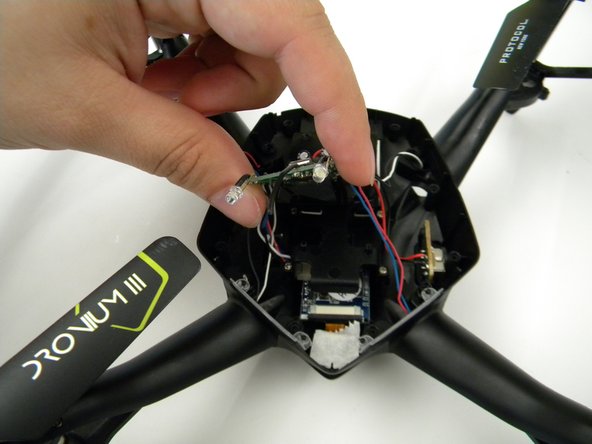
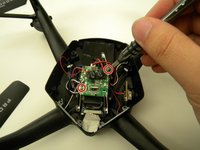
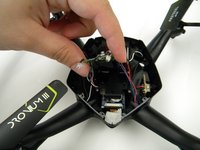
      • Remove the two (2) 5mm screws attaching the Motherboard to the body of the drone using a JIS #00 screwdriver.

      • Lift the Motherboard off the mounting position.

      • Do not pull hard on the Motherboard as solder connections are fragile.

      Ask FixBot

      Add Comment

    4. Protocol Dronium III AP Camera Replacement: step 7, image 1 of 1
      Tool used on this step:
      Tweezers
      $4.99
      Buy
      • Remove the tape covering the camera with the tweezers.

      Ask FixBot

      Add Comment

    5. Protocol Dronium III AP Camera Replacement: step 8, image 1 of 2 Protocol Dronium III AP Camera Replacement: step 8, image 2 of 2
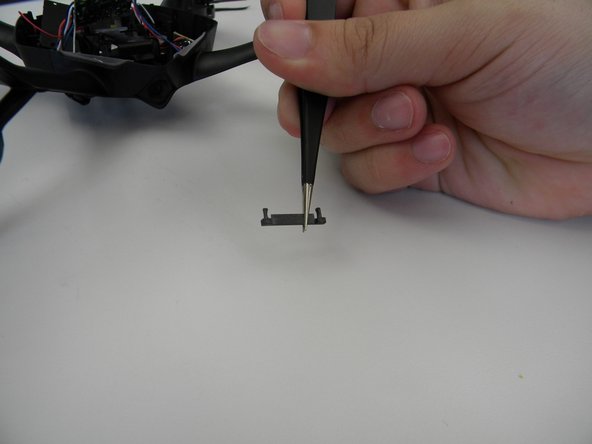
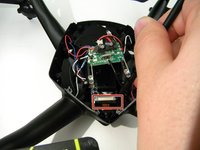
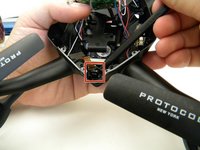
      • Remove the plastic holding the ribbon cable connector with the tweezers.

      • Be careful with the ribbon cable, it is easy to damage.

      Ask FixBot

      Add Comment

    6. Protocol Dronium III AP Camera Replacement: step 9, image 1 of 1
      • Move the ribbon cable out of the way with the Spuger.

      Ask FixBot

      Add Comment

    7. Protocol Dronium III AP Camera Replacement: step 10, image 1 of 2 Protocol Dronium III AP Camera Replacement: step 10, image 2 of 2
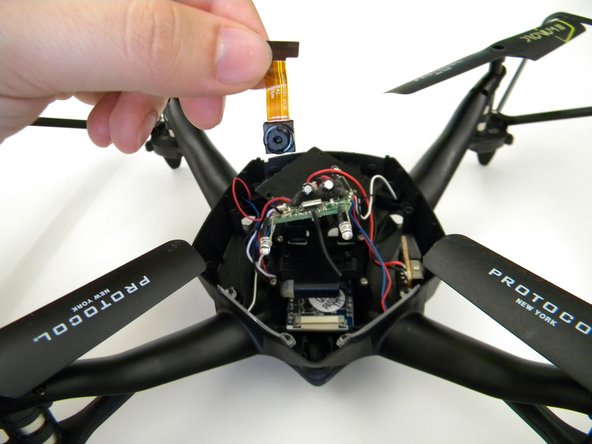
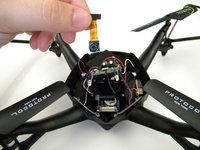
      • Remove the camera by gently prying it out of the bracket with the spudger.

      Ask FixBot

      Add Comment

Conclusion

To reassemble your device, follow these instructions in reverse order.

Cancel: I did not complete this guide.

Steven Mooers

Member since: 10/18/17

401 Reputation

4 Guides authored

Team

UW Tacoma, Team S1-G1, Rose Fall 2017 Member of UW Tacoma, Team S1-G1, Rose Fall 2017

UWT-ROSE-F17S1G1

4 Members

48 Guides authored

0 Guide Comments

Add Comment

View Statistics:

Past 24 Hours: 4

Past 7 Days: 17

Past 30 Days: 84

All Time: 615