Free Shipping on Domestic Orders $75+

Projector - Vivitek D855ST DMD Chip Board Replacement

What you need

    1. Projector - Vivitek D855ST DMD Chip Board Replacement, Chip Board: step 1, image 1 of 3 Projector - Vivitek D855ST DMD Chip Board Replacement, Chip Board: step 1, image 2 of 3 Projector - Vivitek D855ST DMD Chip Board Replacement, Chip Board: step 1, image 3 of 3
      • First grab a 00 Phillips screwdriver remove the lamp cover.

      • Then loosen the 3 captive screws holding the lamp in the projector with a standard Phillips screwdriver.

      Ask FixBot

      Add Comment

    2. Projector - Vivitek D855ST DMD Chip Board Replacement, Remove the housing: step 2, image 1 of 2 Projector - Vivitek D855ST DMD Chip Board Replacement, Remove the housing: step 2, image 2 of 2
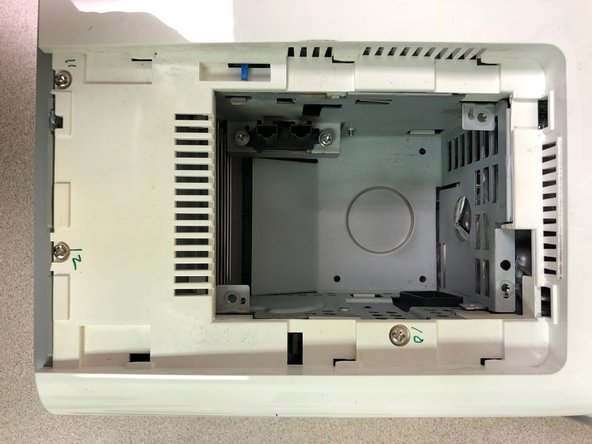
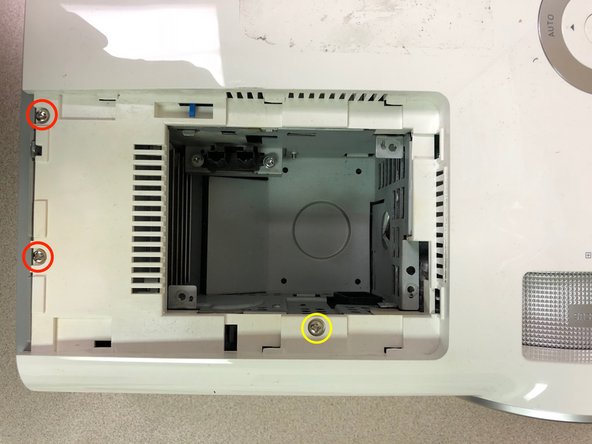
      • Remove the following 8 screws securing the bottom housing.

      • Remove 3 screws securing the top housing.

      Ask FixBot

      Add Comment

    3. Projector - Vivitek D855ST DMD Chip Board Replacement, Remove the top housing: step 3, image 1 of 2 Projector - Vivitek D855ST DMD Chip Board Replacement, Remove the top housing: step 3, image 2 of 2
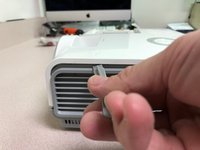
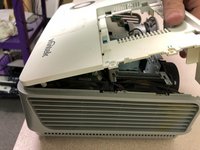
      • Use the flat end of a spudger to pry the top housing around the sides.

      • Slightly lift from the front and push it toward the rear of projector to free the mounting tabs.

      Ask FixBot

      Add Comment

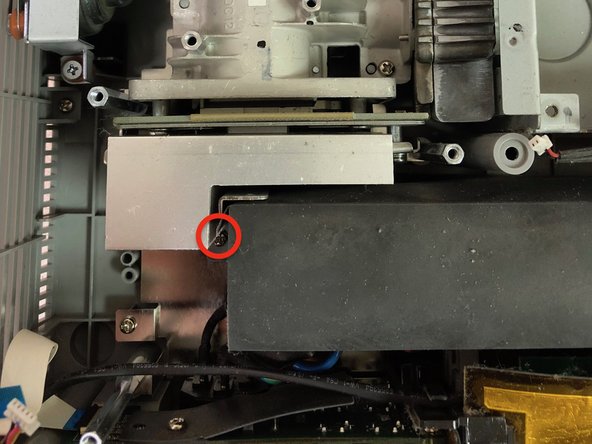
    4. Projector - Vivitek D855ST DMD Chip Board Replacement, Remove top shield: step 4, image 1 of 1
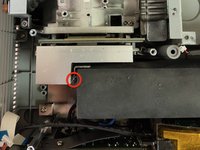
      • Remove the following 8 screws of various sizes on the top shield.

      • Remove the screw in red very last. It's tight and after removing the others, you can swivel the shield enough to loosen that screw without stripping it.

      Ask FixBot

      Add Comment

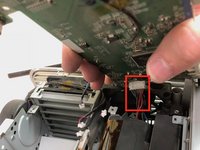
    5. Projector - Vivitek D855ST DMD Chip Board Replacement, Remove main board: step 5, image 1 of 3 Projector - Vivitek D855ST DMD Chip Board Replacement, Remove main board: step 5, image 2 of 3 Projector - Vivitek D855ST DMD Chip Board Replacement, Remove main board: step 5, image 3 of 3
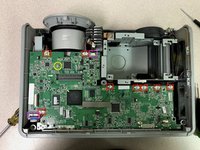
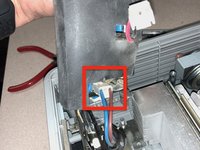
      • Remove one screw and the carefully disconnect 2 ribbon cables and 8 cable connectors from the main board.

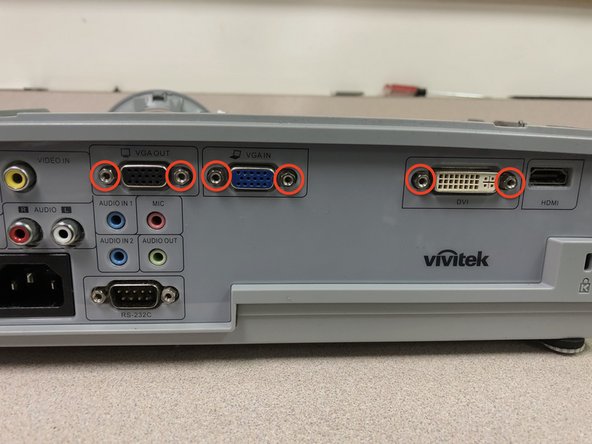
      • Remove the 6 video cable standoffs from the rear of the projector. Needle-nose pliers will loosen them enough then a Torx-8 driver fits perfect to loosen them the rest of the way

      • Carefully push the rear of the video ports inward to push the board enough forward and lift up.

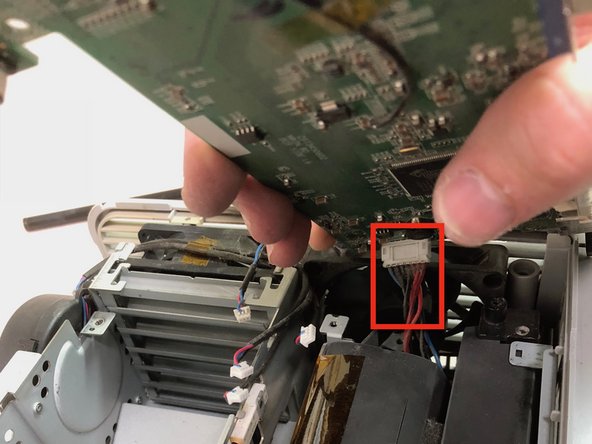
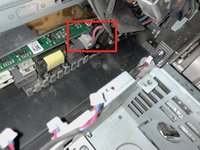
      • Lift up and disconnect the cable connector on the bottom of the board to the power supply.

      Ask FixBot

      Add Comment

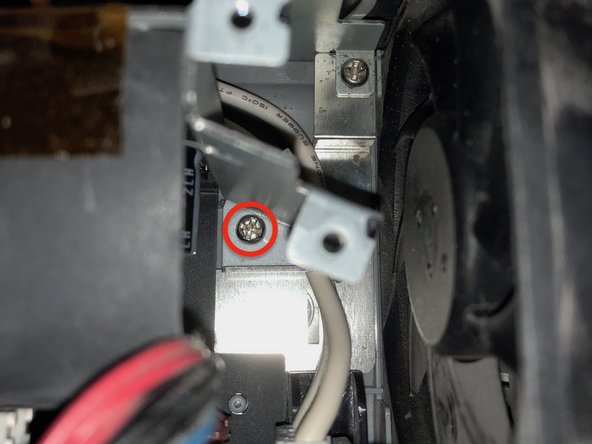
    6. Projector - Vivitek D855ST DMD Chip Board Replacement, Remove power supply: step 6, image 1 of 3 Projector - Vivitek D855ST DMD Chip Board Replacement, Remove power supply: step 6, image 2 of 3 Projector - Vivitek D855ST DMD Chip Board Replacement, Remove power supply: step 6, image 3 of 3
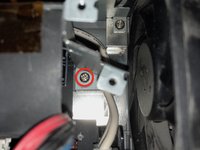
      • Remove 2 screws on the right and left sides toward the bottom securing the power supply to the chassis.

      Ask FixBot

      Add Comment

    7. Projector - Vivitek D855ST DMD Chip Board Replacement, Disconnect the power supply: step 7, image 1 of 2 Projector - Vivitek D855ST DMD Chip Board Replacement, Disconnect the power supply: step 7, image 2 of 2
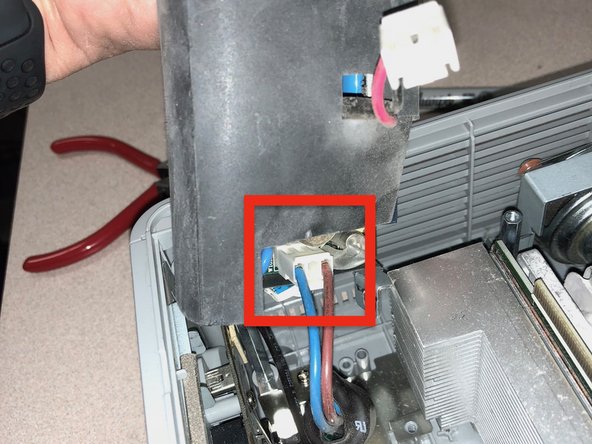
      • Disconnect the cable connectors from the left and right sides under the power supply

      Ask FixBot

      Add Comment

    8. Projector - Vivitek D855ST DMD Chip Board Replacement, Remove the lens unit: step 8, image 1 of 1
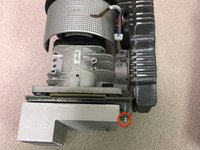
      • Remove the following 3 identical screws to remove the lens unit.

      Ask FixBot

      Add Comment

    9. Projector - Vivitek D855ST DMD Chip Board Replacement, Remove the heatsink: step 9, image 1 of 3 Projector - Vivitek D855ST DMD Chip Board Replacement, Remove the heatsink: step 9, image 2 of 3 Projector - Vivitek D855ST DMD Chip Board Replacement, Remove the heatsink: step 9, image 3 of 3
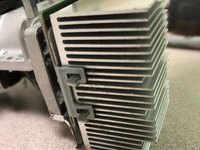
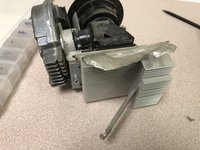
      • Remove one screw and the tension bar holding the heatsink to the DMD Board

      • Pull back the shielding tape from the heatsink to the lens unit.

      Ask FixBot

      Add Comment

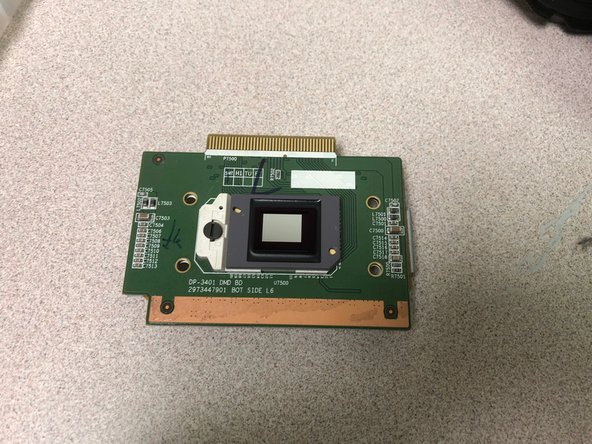
    10. Projector - Vivitek D855ST DMD Chip Board Replacement, Access to DMD board: step 10, image 1 of 3 Projector - Vivitek D855ST DMD Chip Board Replacement, Access to DMD board: step 10, image 2 of 3 Projector - Vivitek D855ST DMD Chip Board Replacement, Access to DMD board: step 10, image 3 of 3
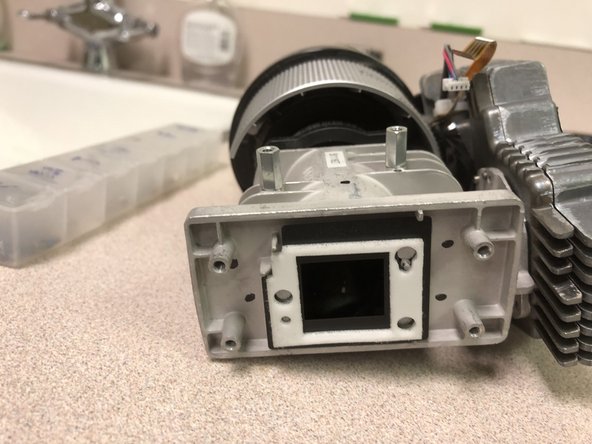
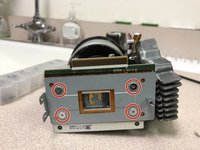
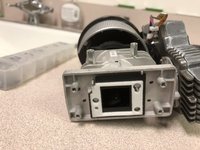
      • Remove 4 screws securing the DMD board to the lens unit

      • Pull it gently apart. It is held by thermal paste.

      Ask FixBot

      Add Comment

Conclusion

To reassemble your device, follow these instructions in reverse order.

Cancel: I did not complete this guide.

2 other people completed this guide.

dustind

Member since: 04/26/11

211 Reputation

1 Guide authored

0 Guide Comments

Add Comment

View Statistics:

Past 24 Hours: 1

Past 7 Days: 3

Past 30 Days: 45

All Time: 1,636