ProfiMixx 44 Disassembly

Justus Klingler and 2 other contributors
Last updated on Aug 7, 2021
Views: 2.1K
View statistics:
- Past 24 Hours:
- 1
- Past 7 Days:
- 15
- Past 30 Days:
- 109
- All Time:
- 2,121
Comments: 1
1 comment on steps.
Completed: 0 1
No one has marked this guide "completed." Will you be the first?
1 person has marked this guide "completed." It's you — great job!
Favorites: 0 1
No one has favorited (and subscribed to) this guide. Will you be the first?
1 person has favorited (and subscribed to) this guide — and that's you!
Community-Contributed Guide
An awesome member of our community made this guide. It was not created by iFixit staff.
Introduction
Go to step 1 ↓In case of broken lugs or screw holders, the two housing parts can be glued together. It is important to check that you have assembled everything correctly before gluing.
-
-
-
Removing the first part of the housing
-
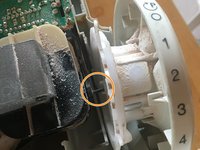
Removing the rotary wheel, important pay attention to the black component so that the nose in does not break off (green mark).
-
Removing the second part of the housing
-
-
-
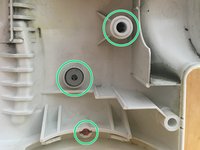
Make sure that the green marked elements are in the right place in both housings, the red element is only available once.
-
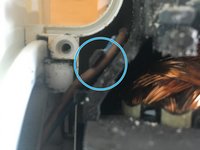
Make sure that the two strands run as marked in blue.
-
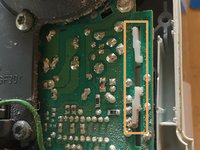
The white element must be in the rear position. (marked in orange)
-
-
-
-
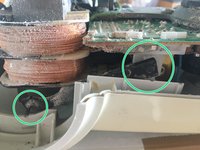
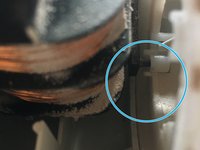
Lift the motor-gearbox-unit a little bit upwards so that you can insert the black element with the nose into the hole of the white element. (marked in green)
-
Insert the nose of the black element into the hole of the rotary switch, making sure it is oriented as shown.
-
Gently move the rotary switch so that it fits into the slot in the housing. (marked in blue)
-
Then you can tighten the upper housing part with the five screws (TR15).
-


 Ask FixBot