ProScan PLT7050 Motherboard Replacement

Valerie Landguth and 2 other contributors
Last updated on Apr 14, 2017
Views: 785
View statistics:
- Past 24 Hours:
- 2
- Past 7 Days:
- 14
- Past 30 Days:
- 94
- All Time:
- 785
Comments: 0
No one has left comments on this guide. Will you be first?
Go to guide commentsCompleted: 0 1
No one has marked this guide "completed." Will you be the first?
1 person has marked this guide "completed." It's you — great job!
Favorites: 0 1
No one has favorited (and subscribed to) this guide. Will you be the first?
1 person has favorited (and subscribed to) this guide — and that's you!
Introduction
Go to step 1 ↓This is the motherboard replacement guide. If you have found that there are issues with the motherboard, use this replacement guide
What you need
Tools


-
-
-
Make sure device is unplugged and turned off while working on the device.
-
Remove 2 Phillips head, 4.3 mm screws from the bottom side of the tablet with a PH00 screwdriver.
 Ask FixBot
-
-
-
Use the plastic opening tools to pry the back of the tablet open.
-
You may need to slide the tool along the sides of the device to get it to open. You might hear some popping noises, it is okay.
-
-
-
-
-
Remove the 3 black pieces of tape from the device.
-
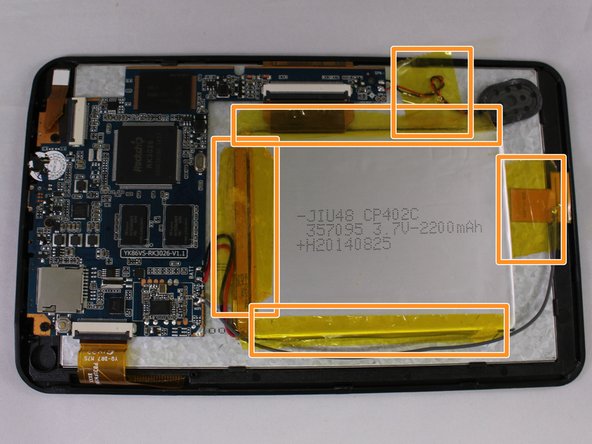
Remove the 5 yellow pieces of tape from the device.
-
-
-
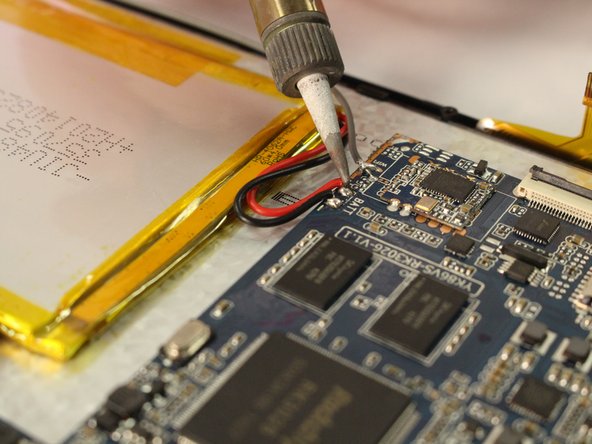
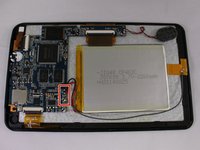
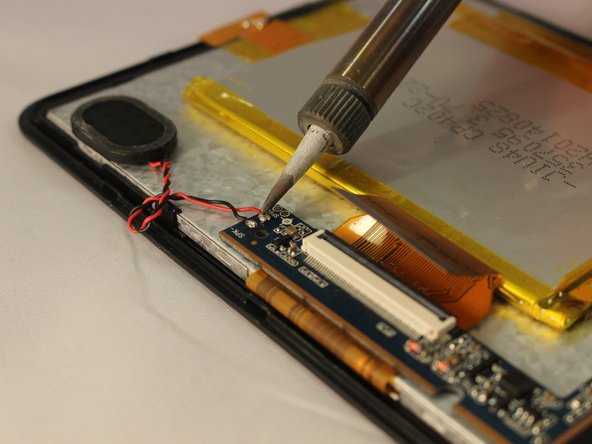
Use the soldering tool to remove the 3 wires from the mother board to the battery (black, red, gray).
-
-
-
Remove 3 Phillips head, 4.3 mm screws from the bottom side of the tablet with a PH00 screwdriver.
-
-
-
-
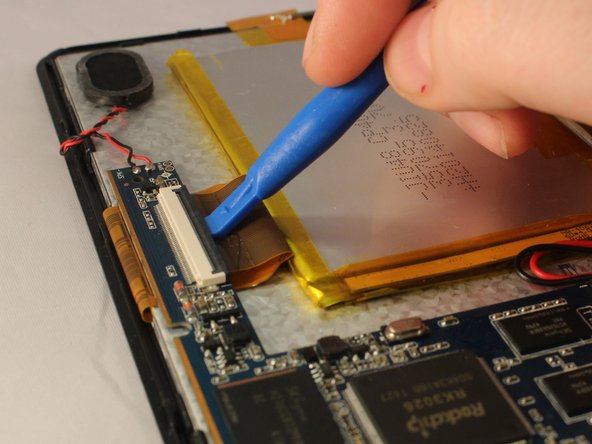
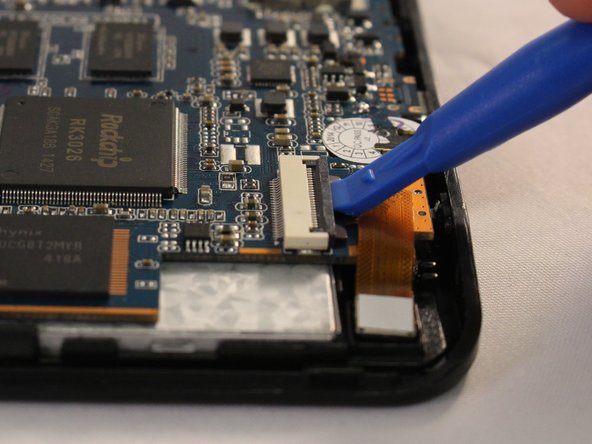
Use the plastic opening tool to pop open all 3 ZIF connector tabs connected to the motherboard.
-
Remove each ribbon from the ZIF connector port.
-
-
-
Lift the motherboard off the device taking care to pull the ports out of the casing.
-
-










To reassemble your device, follow these instructions in reverse order.

Team

Eastern Washington University, Team 1-4, Mathisen Winter 2017 Member of Eastern Washington University, Team 1-4, Mathisen Winter 2017
EWU-MATHISEN-W17S1G4
5 Members
72 Guides authored
