Introduction
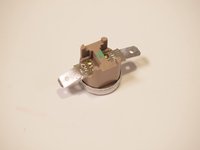
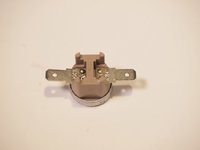
These instructions tell you how to take apart the Presto coffee maker and recover pieces such as two 4349806 Thermal Switches, a small heating wire, and some short wires with spade connectors. The deconstruction guide is easy to follow and only two tools are recommended, a Phillips #2 screwdriver and needle-nose pliers. The only hazard is to be careful of thermal paste when removing the Thermal Switches.
What you need
Featured Document

-
-
-
Using the Phillips #2 screwdriver, remove the bottom two 25 mm screws off of the coffee percolator.
-
Lighty remove the bottom of the coffee percolator.
 Ask FixBot
-
-
-
Using the Phillips #2 screwdriver, remove the center 10.8 mm screw holding in the metal strip.
-
Take off the metal strip.
-
-
-
-
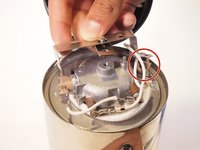
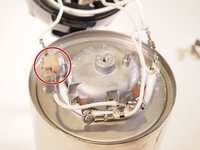
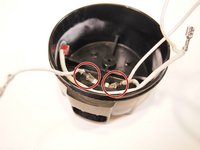
Lightly remove the right (bottom facing) thermal switch from its thermal paste.
-
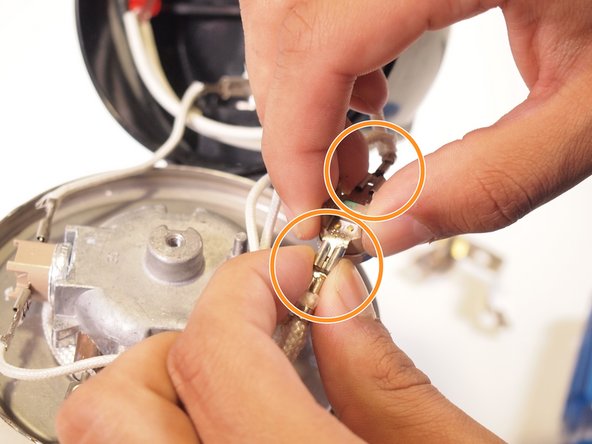
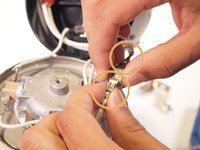
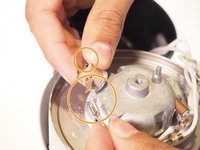
Using your small needle-nose pliers, take off the spade connectors connected to the thermal switch.
-
-
-
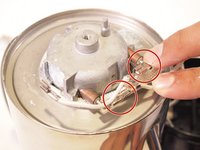
Lightly remove the left (side facing) thermal switch from its thermal paste.
-
Using your small needle-nose pliers, take off the spade connectors connected to the thermal switch.
-
-
-
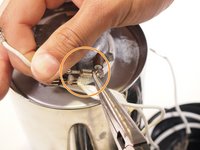
Remove the two spade connectors connected to the heating element.
-
The easiest way to do this is to hold the heating element end with the pliers and tug the spade connector off.
-
-
-
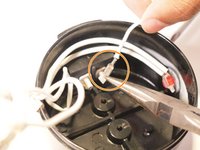
Remove the two spade connectors connected to the power connector.
-
The easiest way to do this is to hold the power connector end with the pliers and tug the spade connector off.
-
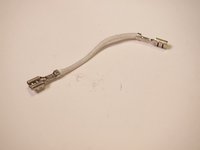
The final wire removed contains the small heating wire (the thick braided wire) and the signal light.
-
-









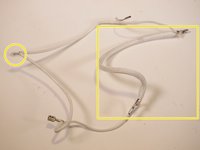
To reassemble your device, follow these instructions in reverse order.
Cancel: I did not complete this guide.
3 other people completed this guide.
Attached Documents

Team

Tufts University School of Engineering, Team 1-9, Bell Fall 2021 Member of Tufts University School of Engineering, Team 1-9, Bell Fall 2021
TUFTS-BELL-F21S1G9
2 Members
12 Guides authored
