
PowerLead Puto PLD003 Back Buttons Replacement

Justin Tew and 2 other contributors
Last updated on Jan 20, 2025
Views: 609
View statistics:
- Past 24 Hours:
- 2
- Past 7 Days:
- 15
- Past 30 Days:
- 89
- All Time:
- 609
Comments: 0
No one has left comments on this guide. Will you be first?
Go to guide commentsCompleted: 1 2
1 person has marked this guide "completed." Will you be next?
2 people have marked this guide "completed." Including you — great job!
Favorites: 0 1
No one has favorited (and subscribed to) this guide. Will you be the first?
1 person has favorited (and subscribed to) this guide — and that's you!
Introduction
Go to step 1 ↓This guide shows how to remove the screws that hold the camera together, how to remove the side panel from the camera, how to remove the back panel, and how to replace the back buttons.
What you need

-
-
-
With the battery door open, carefully remove all four 5 mm Phillips #1 screws.
-
-
-
Rotate the camera so that the underside is facing up.
-
Remove the four 5 mm Phillips #1 screws.
-
-
-
Place the camera on a flat surface, with its underside facing you.
-
Gently pull up on the side panel to remove it from the camera.
-
-
-
-
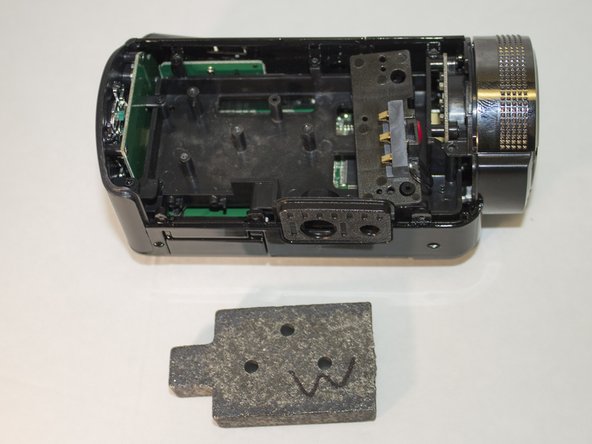
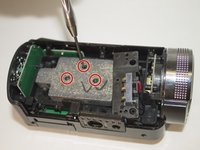
Remove the three 4 mm Phillips #1 screws holding the weight.
-
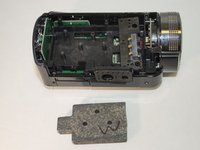
Remove the weight.
-
-
-
-
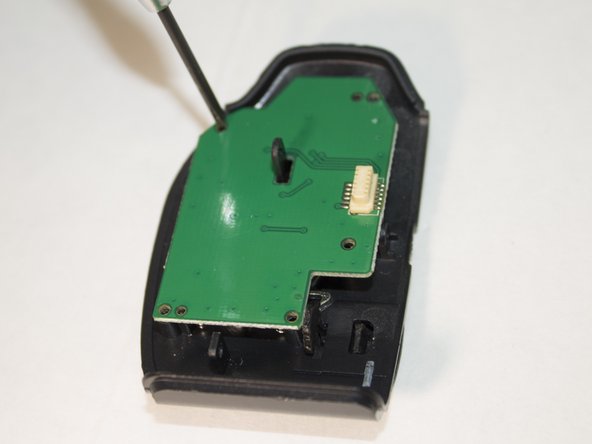
Place the back panel so the buttons are facing down and the circuit board is facing up.
-
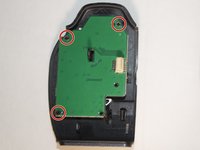
Remove the three 4 mm Phillips #1 screws holding the circuit board in place.
-
-
-
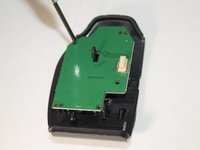
Set aside the circuit board.
-
These nubs are what is currently holding the buttons in place.
-
Carefully apply pressure and remove the set of buttons from the nubs.
-
-

 Ask FixBot





To reassemble your device, follow these instructions in reverse order.
Cancel: I did not complete this guide.
One other person completed this guide.

Team

Eastern Washington University, Team 1-2, Giguere Spring 2016 Member of Eastern Washington University, Team 1-2, Giguere Spring 2016
EWU-GIGUERE-S16S1G2
4 Members
84 Guides authored
