PowerBook 180 Ram Replacement

Jack Byrnes and 2 other contributors
Last updated on May 15, 2019
Views: 4.2K
View statistics:
- Past 24 Hours:
- 2
- Past 7 Days:
- 25
- Past 30 Days:
- 116
- All Time:
- 4,226
Comments: 0
No one has left comments on this guide. Will you be first?
Go to guide commentsCompleted: 3 4
3 people have marked this guide "completed." Will you be next?
4 people have marked this guide "completed." Including you — great job!
Favorites: 1 2
1 person has favorited (and subscribed to) this guide. Will you be next?
2 people have favorited (and subscribed to) this guide — including you!
Community-Contributed Guide
An awesome member of our community made this guide. It was not created by iFixit staff.
Introduction
Go to step 1 ↓The PowerBook 180 was one of Apple's top of the line notebook computers at around 1993. It was in high demand through all of its life, and had a selling price of about $3900 base model. This computer can run System 7 - 8.1 (through Born Again) and has a 68030 processor running at 33mhz.
What you need
Tools

-
-
-
The PowerBook 180 has a removable Ni-Cad battery on the side. Before we start this repair, we need to make sure the computer does not have any power source - so you don't get shocked and the computer doesn't die.
-
Slide the battery door to the front of the computer, as directed by the arrows.
-
Pull out the battery.
 Ask FixBot
-
-
-
There are 5 Torx T8 screws that hold the bottom of the PowerBook 180.
-
4 are on the side, and one is above the modem port at the back of the computer.
-
Remove these screws.
-
-
-
Remove the bottom plate by prying up with either a flathead screwdriver or plastic object, such as a credit card.
-
Keep in mind the bottom left and right corners of the PowerBook 180 is very hard to open - you may need to use some extra force to open that side.
-
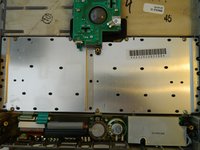
Your PowerBook 180 should look like the two pictures - with separate top and bottom halves.
-
-
-
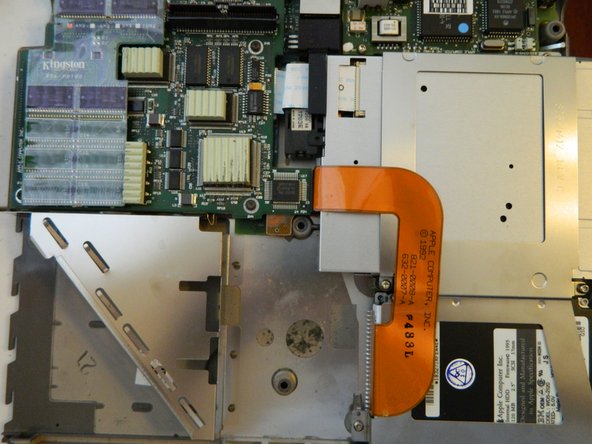
Identify the RAM in the PowerBook 180. It is marked in red in the picture.
-
For this PowerBook, there is 4mb of Kingston RAM - a lot back in those times!
-
-
-
-
Remove the RAM by using a plastic object (such as a credit card) along the red marked area in the picture. The RAM is very flexible, so be very careful.
-
Now place the new RAM into the empty socket.
-
Follow these instructions in reverse order to reassemble the PowerBook 180.
-
-






To reassemble your device, follow these instructions in reverse order.
Cancel: I did not complete this guide.
3 other people completed this guide.