Introduction
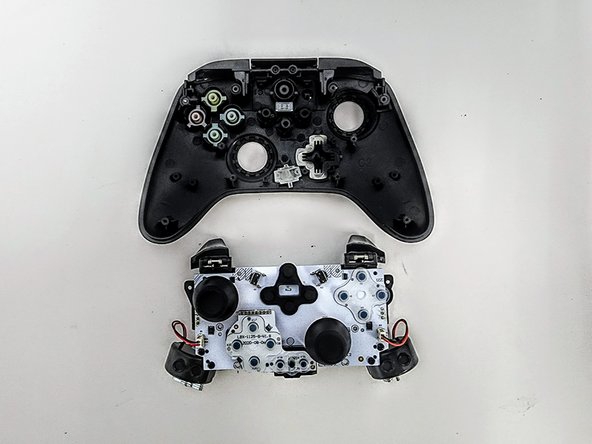
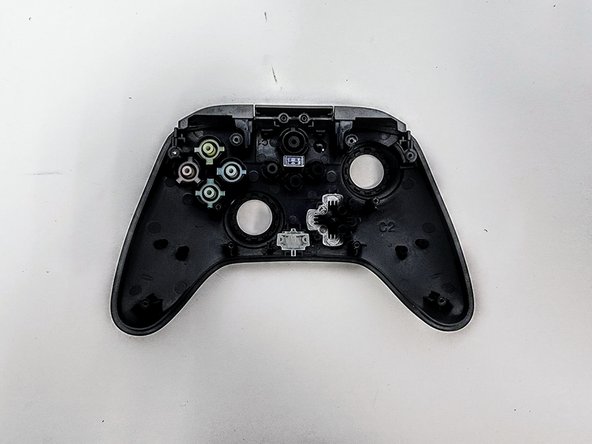
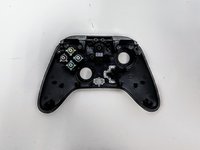
The faceplate is the main component that holds the X, B, Y, and A buttons, Start, and D-pad. The faceplate can have issues with physical damage, or liquids dripping inside the controller. Here is the guide that'll help you dissemble and fix issues or to replace the faceplate. Just follow the steps I've outlined, and your device will look and function like new in no time!
What you need
-
-
-
Lay the controller face down.
-
Use a Phillips screwdriver to remove the eight 9.2 mm screws that secure the rear case.
-
Lift the rear case up and off of the chassis.
 Ask FixBot
-
-
-
-
-
Remove the two 3.3 mm Phillips screws that secure the motherboard to the front case.
-
Lift the motherboard up and out of the chassis.
-
-
-
-
-
-
-
Lift the bumper assembly up and out of its housing.
-
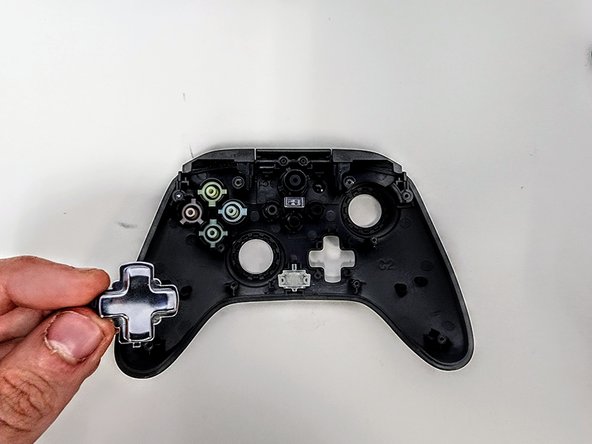
Lift the D-pad up and out of its housing.
-
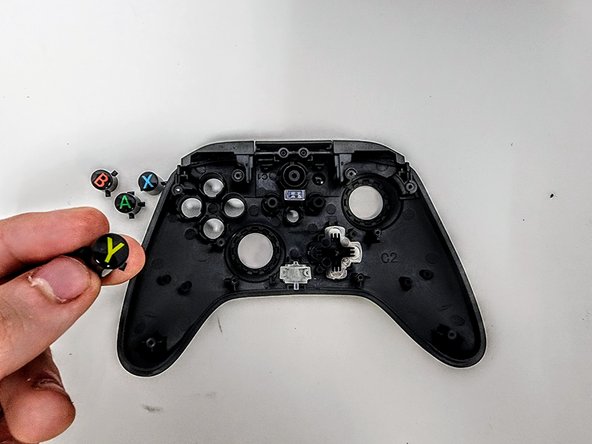
Remove the ABXY buttons.
-
-







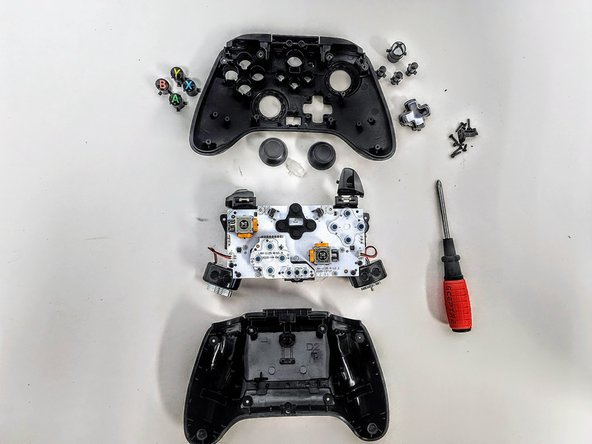
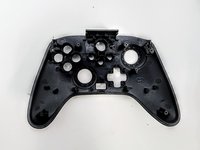

To reassemble your device, follow these instructions in reverse order.
Cancel: I did not complete this guide.
One other person completed this guide.

Team

Austin Community College, Team 9-3, Watkins Spring 2024 Member of Austin Community College, Team 9-3, Watkins Spring 2024
AUSTINCC-WATKINS-S24S9G3
4 Members
60 Guides authored
