Free Shipping on Domestic Orders $75+

Power Mac G5 CD-ROM Drive Replacement

  1. Power Mac G5 CD-ROM Drive Replacement, Side Panel: step 1, image 1 of 1
    • To avoid electrocution, shut down the computer. Do not open the computer or attempt to install any items inside it while the computer is on.

    • To avoid being burned, wait at least 10 minutes to allow the computer's internal components to cool.

    Ask FixBot

    Add Comment

  2. Power Mac G5 CD-ROM Drive Replacement: step 2, image 1 of 1
    • Remove all the cables, including the power cables before opening the unit.

    Ask FixBot

    Add Comment

  3. Power Mac G5 CD-ROM Drive Replacement: step 3, image 1 of 2 Power Mac G5 CD-ROM Drive Replacement: step 3, image 2 of 2
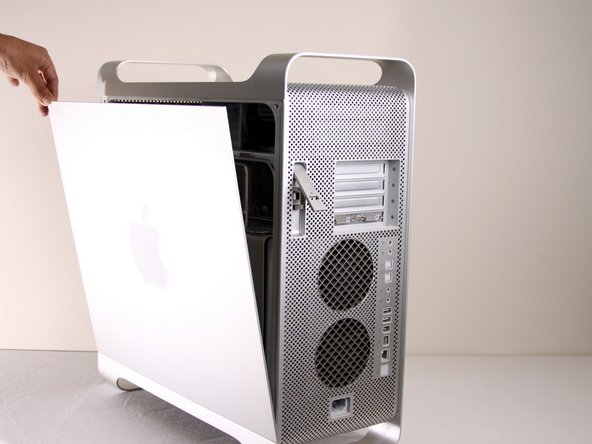
    • Lift the tab to unlock the side panel.

    • The panel should fall out. If the panel does not fall out by itself pull a little from the edges.

    Ask FixBot

    Add Comment

  4. Power Mac G5 CD-ROM Drive Replacement: step 4, image 1 of 3 Power Mac G5 CD-ROM Drive Replacement: step 4, image 2 of 3 Power Mac G5 CD-ROM Drive Replacement: step 4, image 3 of 3
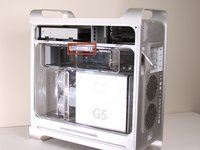
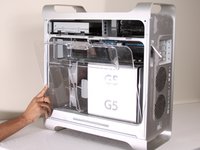
    • Remove the air deflector (the clear plastic cover) by pulling on the handle.

    Ask FixBot

    Add Comment

  5. Power Mac G5 CD-ROM Drive Replacement, CD-ROM Drive: step 5, image 1 of 1
    • Locate the CD-ROM Drive on the top left corner of desktop.

    Ask FixBot

    Add Comment

  6. Power Mac G5 CD-ROM Drive Replacement: step 6, image 1 of 3 Power Mac G5 CD-ROM Drive Replacement: step 6, image 2 of 3 Power Mac G5 CD-ROM Drive Replacement: step 6, image 3 of 3
    • Pull and rotate latches to the left.

    Ask FixBot

    Add Comment

  7. Power Mac G5 CD-ROM Drive Replacement: step 7, image 1 of 1
    • Wiggle and pull out the CD Drive.

    Ask FixBot

    Add Comment

  8. Power Mac G5 CD-ROM Drive Replacement: step 8, image 1 of 2 Power Mac G5 CD-ROM Drive Replacement: step 8, image 2 of 2
    • Detach the first cable from the CD-ROM drive.

    • Detach the second cable from the CD-ROM drive.

    • On some models, the IDE cable is stuck to the top of the CD-ROM with foam tape. It is easier to unplug the IDE connector from the motherboard, and de-route the IDE cable as you remove the drive.

    Ask FixBot

    Add Comment

  9. Power Mac G5 CD-ROM Drive Replacement: step 9, image 1 of 1
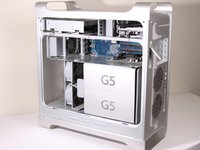
    • After the CD-ROM drive is removed, the area should look like this.

    Ask FixBot

    Add Comment

Conclusion

To reassemble your device, follow these instructions in reverse order.

Cancel: I did not complete this guide.

44 other people completed this guide.

Jessica Chaidez

Member since: 01/13/10

8,061 Reputation

3 Guides authored

Team

Cal Poly, Team 5-8, Forte Winter 2010 Member of Cal Poly, Team 5-8, Forte Winter 2010

CPSU-FORTE-W10S5G8

7 Members

30 Guides authored

2 Guide Comments

Is it possible to use an IDE to SATA connector? I want to install my Pioneer BDR burner to potentially use the PMG5 for data disc burning only. Any thoughts?

nirv - Reply Share

Misleading title. I know how to unplug the drive, thank you very much.

I've replaced the original drive with a better one and the %#*@ tray is stuck because it's too high.

engineer2137 - Reply Share

Add Comment

View Statistics:

Past 24 Hours: 0

Past 7 Days: 11

Past 30 Days: 77

All Time: 36,367