Free Shipping on Domestic Orders $75+

Power Mac G4 Quicksilver Central Processing Unit Replacement

What you need

  1. Power Mac G4 Quicksilver Central Processing Unit Replacement, Opening the case: step 1, image 1 of 1
    • The handle to open your computer is located on top of the right side panel.

    Ask FixBot

    Add Comment

  2. Power Mac G4 Quicksilver Central Processing Unit Replacement: step 2, image 1 of 2 Power Mac G4 Quicksilver Central Processing Unit Replacement: step 2, image 2 of 2
    • Grab the circular handle and pull outward.

    Ask FixBot

    Add Comment

  3. Power Mac G4 Quicksilver Central Processing Unit Replacement: step 3, image 1 of 1
    • Your computer is now open and ready for repair.

    Ask FixBot

    Add Comment

  4. Power Mac G4 Quicksilver Central Processing Unit Replacement, Video Adapter: step 4, image 1 of 1
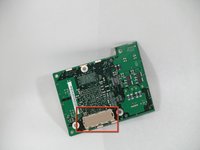
    • This is your Power Mac G4's video adapter.

    Ask FixBot

    Add Comment

  5. Power Mac G4 Quicksilver Central Processing Unit Replacement: step 5, image 1 of 1
    • Start by removing the screw holding the card to the chassis as shown.

    Ask FixBot

    Add Comment

  6. Power Mac G4 Quicksilver Central Processing Unit Replacement: step 6, image 1 of 1
    • Before lifting the card out, this small plastic tab needs to be pulled back there by releasing it entirely.

    Ask FixBot

    Add Comment

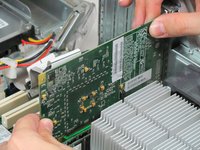
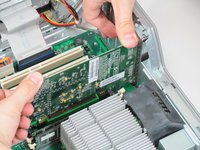
  7. Power Mac G4 Quicksilver Central Processing Unit Replacement: step 7, image 1 of 2 Power Mac G4 Quicksilver Central Processing Unit Replacement: step 7, image 2 of 2
    • With the tab and screw removed, lift the card straight out.

    • When putting the card back in, take care to apply even pressure across the top with your thumbs. This will avoid damaging the card.

    Ask FixBot

    Add Comment

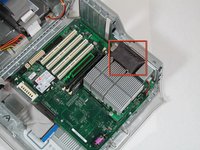
  8. Power Mac G4 Quicksilver Central Processing Unit Replacement, Central Processing Unit: step 8, image 1 of 1
    • First you want to remove the fan. Remove the two screws on the back of the computer in the upper left hand corner.

    Ask FixBot

    Add Comment

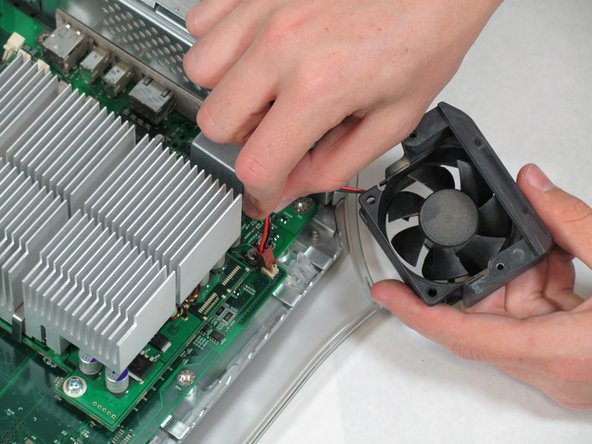
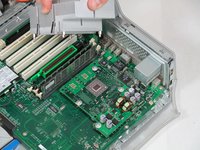
  9. Power Mac G4 Quicksilver Central Processing Unit Replacement: step 9, image 1 of 2 Power Mac G4 Quicksilver Central Processing Unit Replacement: step 9, image 2 of 2
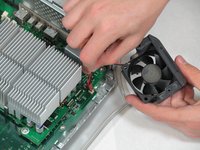
    • Remove the fan unit by pulling straight up and out.

    • Be carful not to rip out the cord still attached to the motherboard. Remove it gently.

    Ask FixBot

    Add Comment

  10. Power Mac G4 Quicksilver Central Processing Unit Replacement: step 10, image 1 of 2 Power Mac G4 Quicksilver Central Processing Unit Replacement: step 10, image 2 of 2
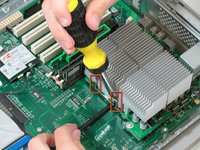
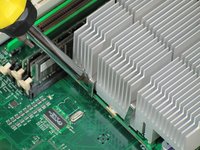
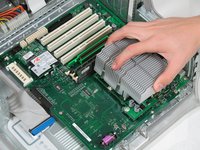
    • You need detach the heat sink from the CPU. Locate the four clamps holding it down, two on each side.

    • Taking off the clamps can be difficult. Use a screwdriver to push down on the top of the clip. Then insert a spudger below the heat sink to pull it away from the board, releasing the heat sink.

    Ask FixBot

    Add Comment

  11. Power Mac G4 Quicksilver Central Processing Unit Replacement: step 11, image 1 of 2 Power Mac G4 Quicksilver Central Processing Unit Replacement: step 11, image 2 of 2
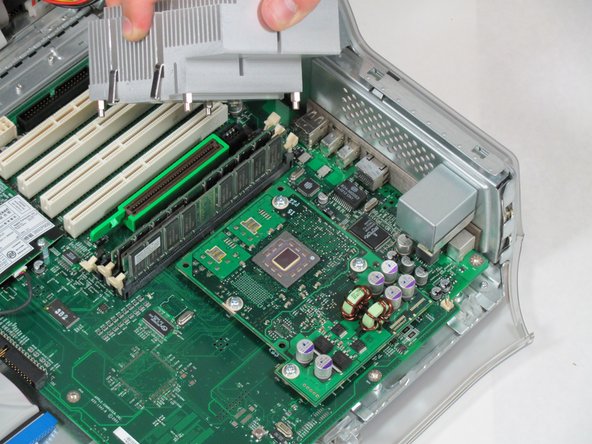
    • Pull the heat sink up and off of the CPU.

    Ask FixBot

    Add Comment

  12. Power Mac G4 Quicksilver Central Processing Unit Replacement: step 12, image 1 of 1
    • Remove the four screws holding the CPU to the motherboard.

    Ask FixBot

    Add Comment

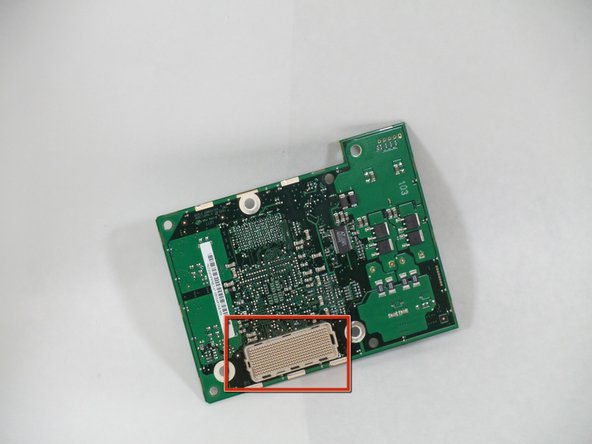
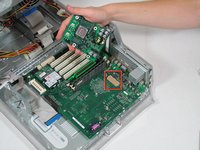
  13. Power Mac G4 Quicksilver Central Processing Unit Replacement: step 13, image 1 of 2 Power Mac G4 Quicksilver Central Processing Unit Replacement: step 13, image 2 of 2
    • Now you can remove the CPU by pulling it straight up from the motherboard.

    • Be very careful when you detach the CPU. There is a connector that has hundreds of little prongs. You must not bend or break any of them! Be extremely careful.

    Ask FixBot

    Add Comment

  14. Power Mac G4 Quicksilver Central Processing Unit Replacement: step 14, image 1 of 1
    • You can now replace the CPU.

    Ask FixBot

    Add Comment

Conclusion

To reassemble your device, follow these instructions in reverse order.

Cancel: I did not complete this guide.

11 other people completed this guide.

Ryan Bylard

Member since: 01/20/10

1,325 Reputation

5 Guides authored

Team

Cal Poly, Team 14-41, Regan Winter 2010 Member of Cal Poly, Team 14-41, Regan Winter 2010

CPSU-REGAN-W10S14G41

4 Members

27 Guides authored

1 Guide Comment

Removing graphics (video) card is not necessary. Also, removing the clips which retain heat-sink can be accomplished by using a flat-blade (-) screwdriver to carefully pry them from the finned aluminum assembly. Other than these two suggestions, guide is succinct and accurate.

analogcd - Reply Share

Add Comment

View Statistics:

Past 24 Hours: 5

Past 7 Days: 17

Past 30 Days: 70

All Time: 12,621