Free Shipping on Domestic Orders $75+

Power Mac G4 MDD Hard Drives Replacement

What you need

    1. Power Mac G4 MDD Hard Drives Replacement, Case: step 1, image 1 of 2 Power Mac G4 MDD Hard Drives Replacement, Case: step 1, image 2 of 2
      • The Power Mac G4 MDD: the last, and the fastest G4-based Mac. This computer boasted up to a Dual 1.42GHz PowerPC G4 CPU (though I have a single 1.25GHz).

      • Two USB 1.1 Ports

      • Assorted Audio

      • Video (ADC & DVI)

      • Networking (RJ-45 Ethernet/56k Modem)

      • Some later model MDD's (such as the dual 1.42GHz) Have a FireWire 800 Port Here:

      Ask FixBot

      Add Comment

    2. Power Mac G4 MDD Hard Drives Replacement: step 2, image 1 of 3 Power Mac G4 MDD Hard Drives Replacement: step 2, image 2 of 3 Power Mac G4 MDD Hard Drives Replacement: step 2, image 3 of 3
      • Unplug the computer.

      • Unplug the power supply and all external connections from the computer.

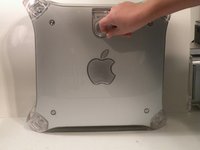
      • Pull on the side lever and lower the side of the case.

      Ask FixBot

      Add Comment

    1. Power Mac G4 MDD Hard Drives Replacement, Hard Drives: step 3, image 1 of 1
      • The hard drive cages are located here.

      Ask FixBot

      Add Comment

    2. Power Mac G4 MDD Hard Drives Replacement: step 4, image 1 of 3 Power Mac G4 MDD Hard Drives Replacement: step 4, image 2 of 3 Power Mac G4 MDD Hard Drives Replacement: step 4, image 3 of 3
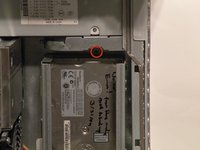
      • Cage 1

      • Start by removing this screw.

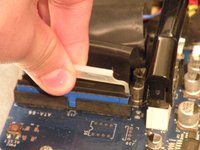
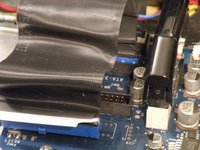
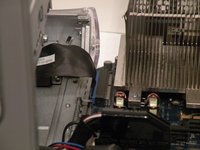
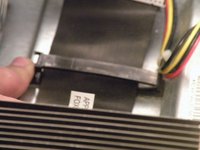
      • Remove the ATA-66/ IDE ribbon cable from the motherboard.

      Ask FixBot

      Add Comment

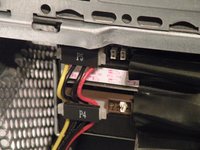
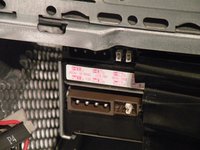
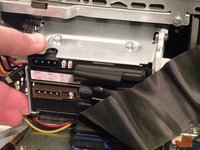
    3. Power Mac G4 MDD Hard Drives Replacement: step 5, image 1 of 2 Power Mac G4 MDD Hard Drives Replacement: step 5, image 2 of 2
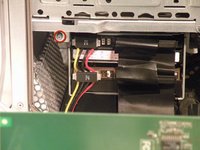
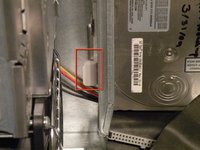
      • Now, remove the power connection from the drives.

      Ask FixBot

      Add Comment

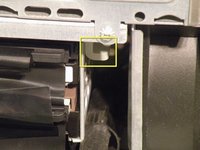
    4. Power Mac G4 MDD Hard Drives Replacement: step 6, image 1 of 3 Power Mac G4 MDD Hard Drives Replacement: step 6, image 2 of 3 Power Mac G4 MDD Hard Drives Replacement: step 6, image 3 of 3
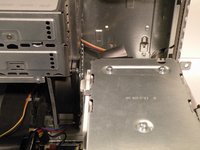
      • Push this tab down, and pull the cage toward you.

      • Now, you can set cage 1 aside.

      Ask FixBot

      Add Comment

    5. Power Mac G4 MDD Hard Drives Replacement: step 7, image 1 of 2 Power Mac G4 MDD Hard Drives Replacement: step 7, image 2 of 2
      • Cage 2:

      • Remove this Phillips screw:

      • Disconnect this IDE ribbon cable from the logic board.

      Ask FixBot

      Add Comment

    6. Power Mac G4 MDD Hard Drives Replacement: step 8, image 1 of 2 Power Mac G4 MDD Hard Drives Replacement: step 8, image 2 of 2
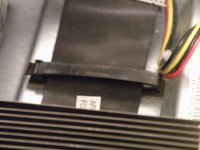
      • It's likely that there is a cable clip holding the ribbon cable to the case.

      • To remove it, push the end, and it should pop up.

      Ask FixBot

      Add Comment

    7. Power Mac G4 MDD Hard Drives Replacement: step 9, image 1 of 3 Power Mac G4 MDD Hard Drives Replacement: step 9, image 2 of 3 Power Mac G4 MDD Hard Drives Replacement: step 9, image 3 of 3
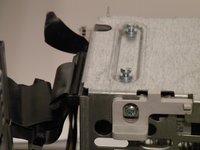
      • With the ribbon cable clip free, pull this tab towards you, slide the cage up until it hits the platform under the power supply, and pull it away.

      • Now, set the cage on top of the CPU, and remove the power connectors.

      Ask FixBot

      Add Comment

    8. Power Mac G4 MDD Hard Drives Replacement: step 10, image 1 of 2 Power Mac G4 MDD Hard Drives Replacement: step 10, image 2 of 2
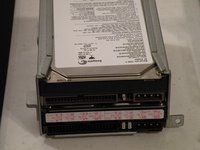
      • Once the cables are free, set the drive cage aside.

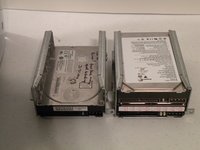
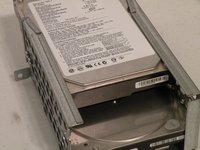
      • To remove the hard drives from the cages, remove the four screws on the sides of the cage that are connected to the drives, then slide the drives out.

      • The two cages are cross compatible and can be put in either location.

      • The MDD does not have a 128GB drive limit like older Macs. My MDD has 3 drives (a 400GB Hitatchi Deskstar, 40GB Seagate Barracuda 7200.7, and a 30GB Quantum Fireball LCT).

      • Note the ID jumpers on the two drive set. One is set to Master, the other to slave. A single drive can be set to Cable Select.

      Ask FixBot

      Add Comment

Conclusion

To reassemble your device, follow these instructions in reverse order.

Cancel: I did not complete this guide.

34 other people completed this guide.

Chris Green

Member since: 10/11/09

38,435 Reputation

49 Guides authored

Team

Master Techs Member of Master Techs

Community

334 Members

8,260 Guides authored

0 Guide Comments

Add Comment

View Statistics:

Past 24 Hours: 7

Past 7 Days: 24

Past 30 Days: 107

All Time: 50,314