Free Shipping on Domestic Orders $75+

Porter-Cable PCE211 Fan Replacement

What you need

    1. Porter-Cable PCE211 Fan Replacement, Gearcase: step 1, image 1 of 2 Porter-Cable PCE211 Fan Replacement, Gearcase: step 1, image 2 of 2
      • Using the Hex Security SAE 7/32", remove the four 10 mm socket screws at the base of the gearcase.

      Ask FixBot

      Add Comment

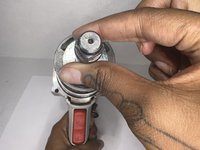
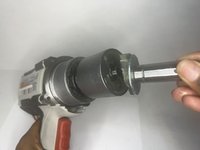
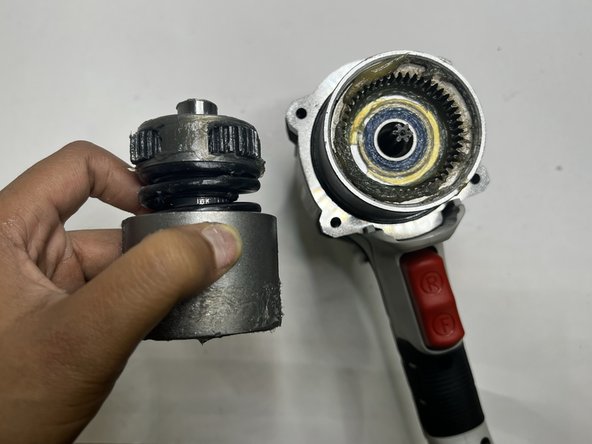
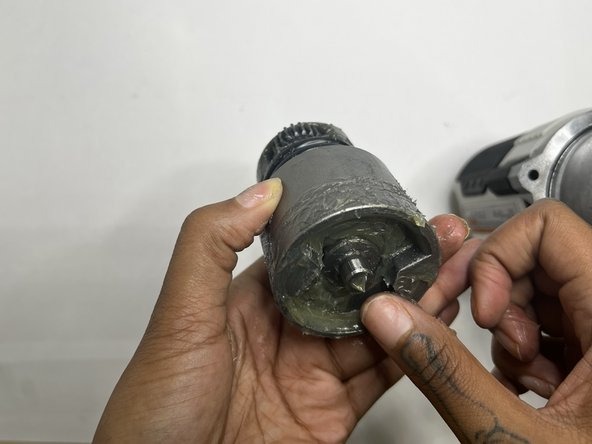
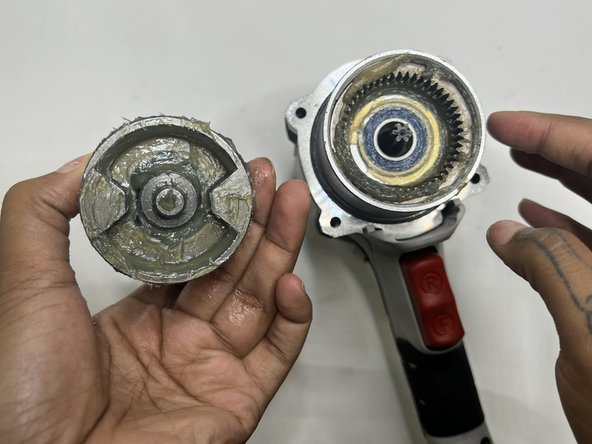
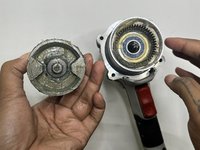
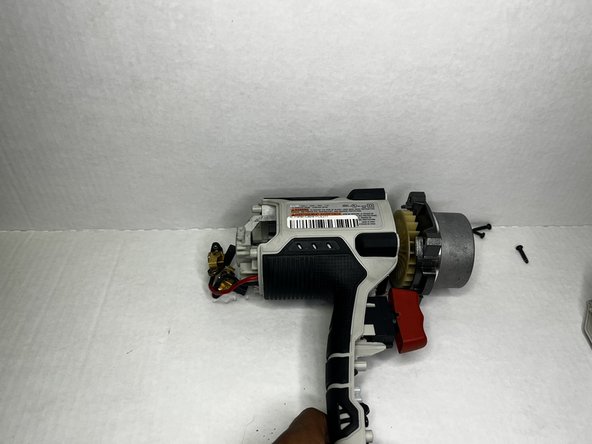
    2. Porter-Cable PCE211 Fan Replacement: step 2, image 1 of 3 Porter-Cable PCE211 Fan Replacement: step 2, image 2 of 3 Porter-Cable PCE211 Fan Replacement: step 2, image 3 of 3
      • Grip the body of the impact wrench with one hand and the gearcase in the other and firmly pull to remove it.

      • Be careful about any loose parts when removing the head.

      Ask FixBot

      Add Comment

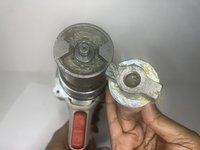
    1. Porter-Cable PCE211 Fan Replacement, Anvil: step 3, image 1 of 3 Porter-Cable PCE211 Fan Replacement, Anvil: step 3, image 2 of 3 Porter-Cable PCE211 Fan Replacement, Anvil: step 3, image 3 of 3
      • Firmly pull the to remove drill bit holder also known as the anvil.

      • Before replacing the anvil, lubricate the base for the best performance.

      Ask FixBot

      Add Comment

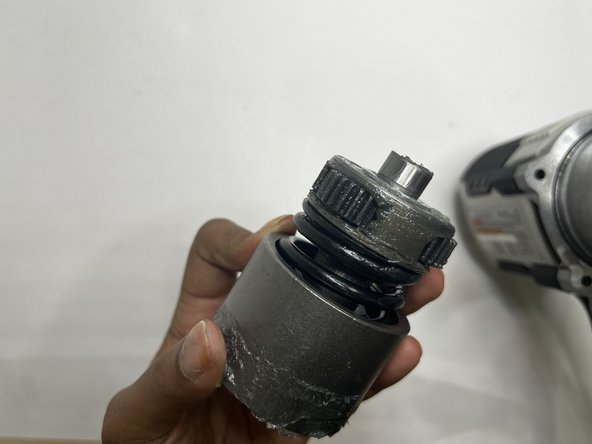
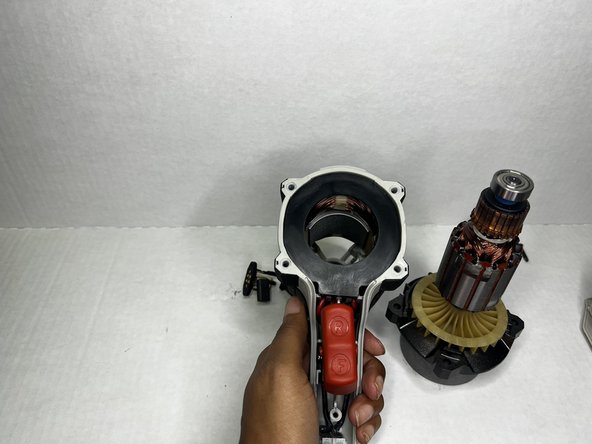
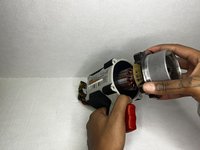
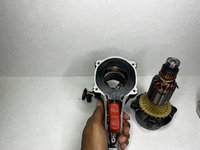
    1. Porter-Cable PCE211 Fan Replacement, Motor: step 4, image 1 of 3 Porter-Cable PCE211 Fan Replacement, Motor: step 4, image 2 of 3 Porter-Cable PCE211 Fan Replacement, Motor: step 4, image 3 of 3
      • This section tends to get messy so it would be best to have a paper towel or microfiber towel handy.

      • Pull the motor out with your hands.

      Ask FixBot

      Add Comment

    2. Porter-Cable PCE211 Fan Replacement: step 5, image 1 of 3 Porter-Cable PCE211 Fan Replacement: step 5, image 2 of 3 Porter-Cable PCE211 Fan Replacement: step 5, image 3 of 3
      • Wipe out the old grease with a towel. Use the appropriate motor grease for electric tools to lubricate the top area, base of the motor, and the space the motor sits.

      Ask FixBot

      Add Comment

    1. Porter-Cable PCE211 Fan Replacement, Rear Housing: step 6, image 1 of 2 Porter-Cable PCE211 Fan Replacement, Rear Housing: step 6, image 2 of 2
      • Remove the four 6 mm screws using a Phillips #2 screwdriver.

      • The screws are tight so you will need to use a bit of arm strength.

      Ask FixBot

      Add Comment

    2. Porter-Cable PCE211 Fan Replacement: step 7, image 1 of 2 Porter-Cable PCE211 Fan Replacement: step 7, image 2 of 2
      • Pull the rear housing off the back of the impact wrench.

      • Be careful when removing the rear case that loose parts don't get damaged.

      Ask FixBot

      Add Comment

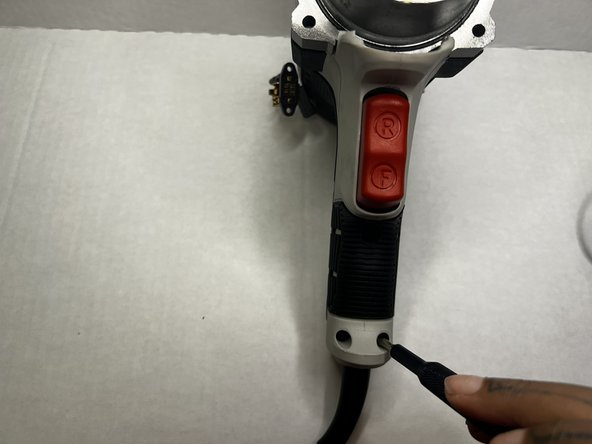
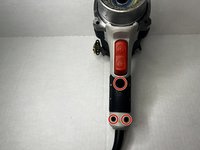
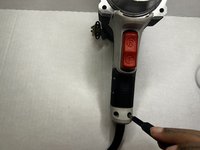
    1. Porter-Cable PCE211 Fan Replacement, Grip: step 8, image 1 of 2 Porter-Cable PCE211 Fan Replacement, Grip: step 8, image 2 of 2
      • Using the Phillips #2 screwdriver, remove the three 8 mm screws from the grip of the impact wrench.

      Ask FixBot

      Add Comment

    2. Porter-Cable PCE211 Fan Replacement: step 9, image 1 of 2 Porter-Cable PCE211 Fan Replacement: step 9, image 2 of 2
      • Pull the grip from the body of the impact wrench.

      Ask FixBot

      Add Comment

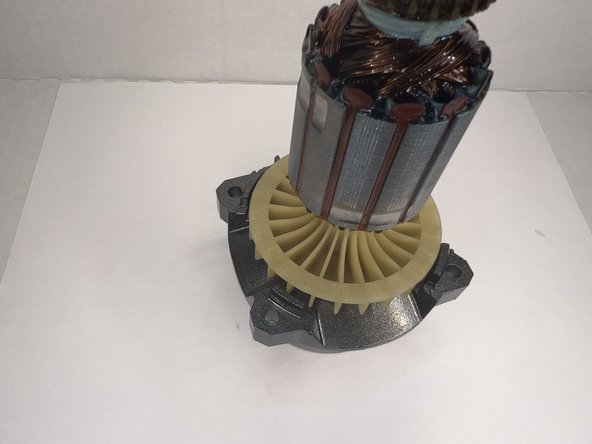
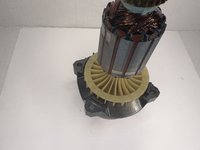
    1. Porter-Cable PCE211 Fan Replacement, Fan: step 10, image 1 of 2 Porter-Cable PCE211 Fan Replacement, Fan: step 10, image 2 of 2
      • Lift the hammer block (which is attached to the fan) out of the case.

      • It is a little heavy so be careful when lifting it out.

      Ask FixBot

      Add Comment

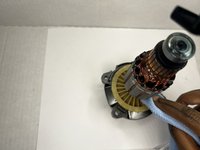
    2. Porter-Cable PCE211 Fan Replacement: step 11, image 1 of 2 Porter-Cable PCE211 Fan Replacement: step 11, image 2 of 2
      • If you're doing maintenance and the fan isn't damage, use a microfiber cloth to clean the fan.

      • Wipe well until there's no residue or oil lubricant.

      Ask FixBot

      Add Comment

Conclusion

To reassemble your device, follow these instructions in reverse order.

Cancel: I did not complete this guide.

Layla Berry

Member since: 09/19/22

678 Reputation

7 Guides authored

0 Guide Comments

Add Comment

View Statistics:

Past 24 Hours: 2

Past 7 Days: 3

Past 30 Days: 24

All Time: 445