
Portable Coby CD Player Drive Replacement

Christopher Chiechi and 2 other contributors
Last updated on Mar 2, 2020
Views: 2.7K
View statistics:
- Past 24 Hours:
- 2
- Past 7 Days:
- 22
- Past 30 Days:
- 121
- All Time:
- 2,694
Comments: 4
3 comments on steps, 1 guide comment.
Go to guide commentsCompleted: 2 3
2 people have marked this guide "completed." Will you be next?
3 people have marked this guide "completed." Including you — great job!
Favorites: 2 3
2 people have favorited (and subscribed to) this guide. Will you be next?
3 people have favorited (and subscribed to) this guide — including you!
Introduction
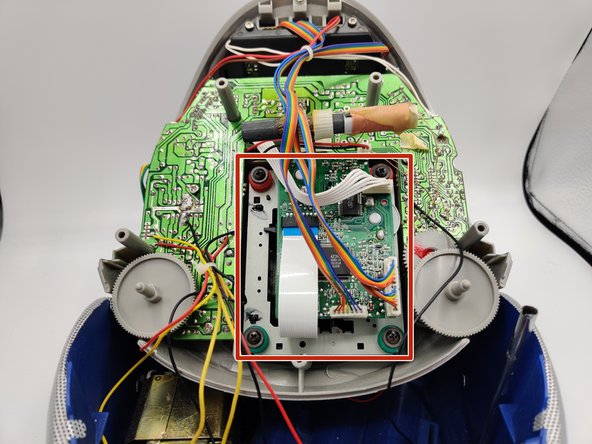
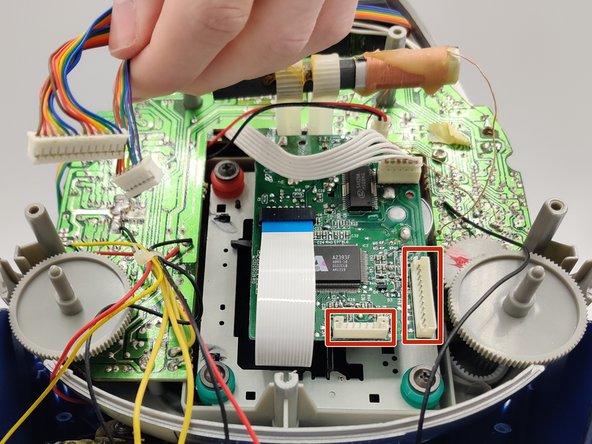
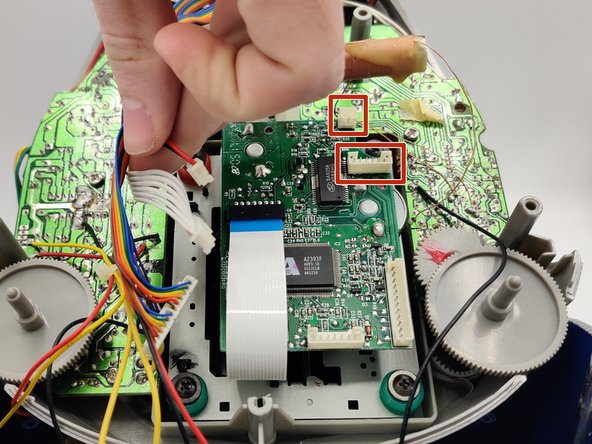
Go to step 1 ↓If your Portable Coby CD Player (model number CX-CD241) is not reading the disc properly, use this guide to locate and remove the drive for repairs or replacement.
Several important components are located on the drive, such as the motor and the laser. Any faulty component on the drive will cause the CD to not be properly read.
Before using this guide, troubleshoot your CD player using the manual. You should try simple fixes, such as turning the CD player off and on or cleaning the device. If your CD player requires a replacement component in the drive, continue to follow this guide.
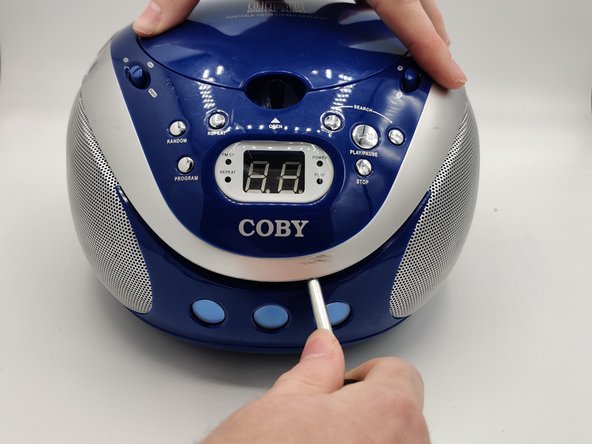
This guide will require a Phillips #0 screwdriver and a flat-head screwdriver (or a tool that can be used as a wedge to pry something open). There are 5 50mm Philips screws (Step #2) and 4 10mm Philips screws (Step #6).
Before beginning the teardown, turn the device off, unplug it from power, and remove the batteries. This will reduce the risk of electrical shock.
What you need
Tools


-
-
-
Remove the three Phillips #0 screws from under the handle.
-
Remove the two Phillips #0 screws from inside the disc tray.
-
-

 Ask FixBot






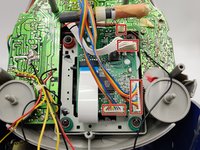


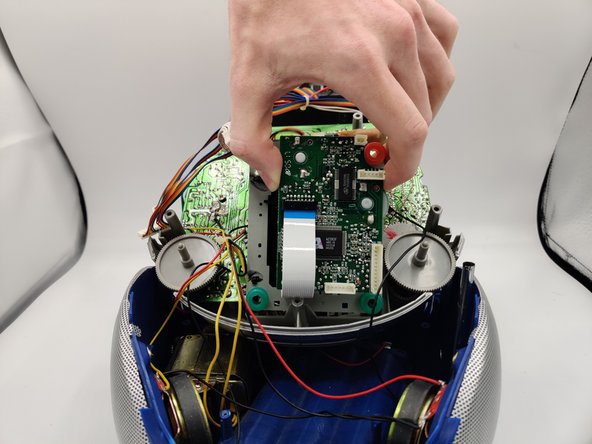
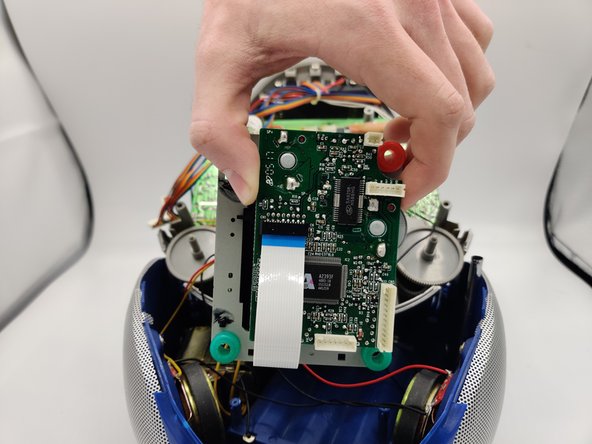


To reassemble your device, follow these instructions in reverse order.
Cancel: I did not complete this guide.
2 other people completed this guide.

Team

University of North Texas, Team S1-G4, Raign Spring 2020 Member of University of North Texas, Team S1-G4, Raign Spring 2020
UNT-RAIGN-S20S1G4
2 Members
12 Guides authored
