
Polygel Nail Replacement

Kimberly Gomez and one other contributor
Last updated on Jun 15, 2021
Views: 2.7K
View statistics:
- Past 24 Hours:
- 3
- Past 7 Days:
- 25
- Past 30 Days:
- 98
- All Time:
- 2,688
Comments: 1
1 guide comment.
Go to guide commentsCompleted: 0 1
No one has marked this guide "completed." Will you be the first?
1 person has marked this guide "completed." It's you — great job!
Favorites: 1 2
1 person has favorited (and subscribed to) this guide. Will you be next?
2 people have favorited (and subscribed to) this guide — including you!
Introduction
Go to step 1 ↓If your polygel nail has been damaged due to lifting, chipping or breaking, use this guide to rebuild the entire nail. In order for a polygel nail to last, it needs to be built on a proper and sturdy base. Before using this guide, be sure to inspect the nail and ensure that the damage is not minimal. Typically, a small chip or break can easily be filed without removing much length from the nail itself.
Step 7 requires the use of a UV lamp in order to cure both a gel base and top coat. Make sure you have one available, as it will be necessary.
Before beginning, make sure that within the curing process, if you experience any heat spikes or discomfort, you remove your hand from the lamp immediately and allow time for your nail to cool off.
What you need
Tools
-
-
-
-
High Content Rubbing Alcohol$12.99
-
-


-
-
-
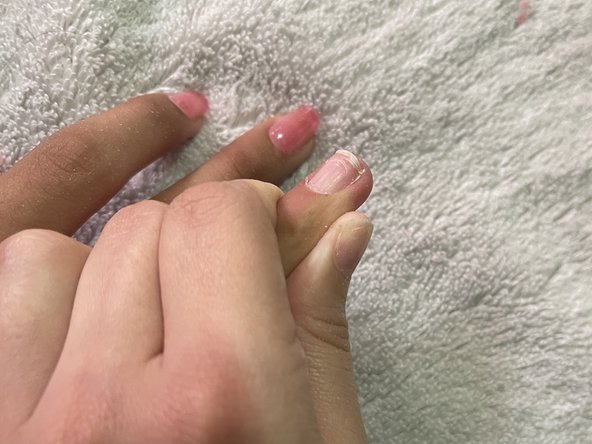
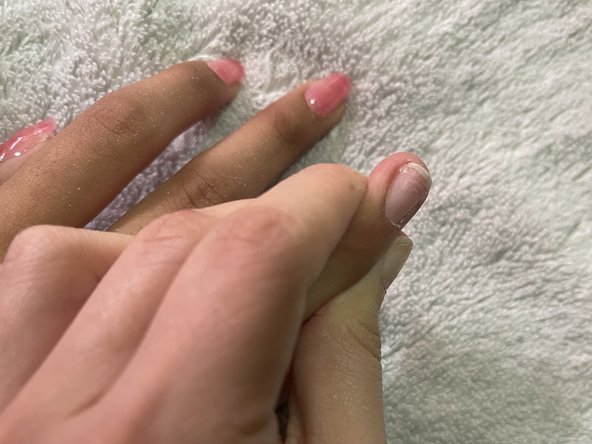
Check the extent of the damage.
-
If the damage is minimal, file off any minor nicks around the edge of the nail.
-
If the damage is extensive, the nail needs to be removed and rebuilt.
 Ask FixBot
-
-
-
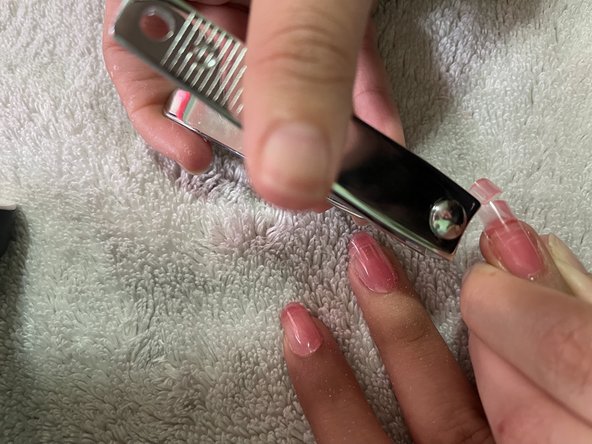
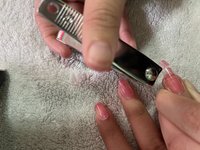
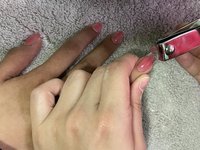
Start by cutting from one side of the nail then going to the other side with the nail clippers.
-
-
-
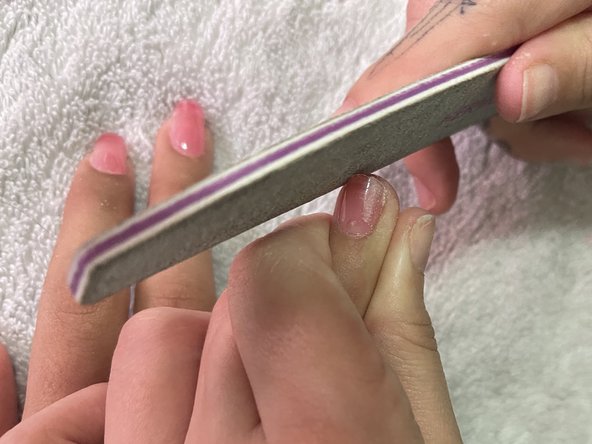
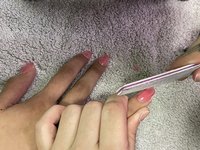
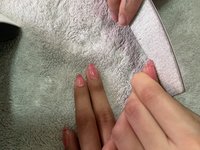
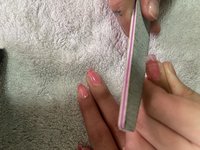
Start filing off the remaining gel until you are just left with the natural nail as the base.
-
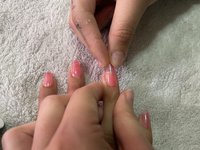
Hold the finger in place to make sure you have control of where you're filing, making sure not to hit any skin.
-
File until you see that all the gel is removed.
-
-
-
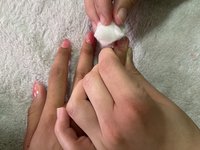
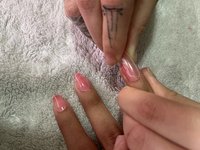
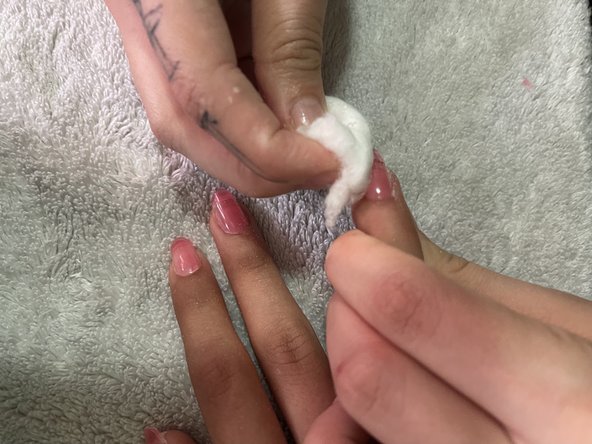
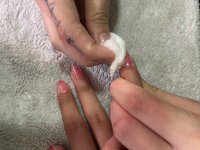
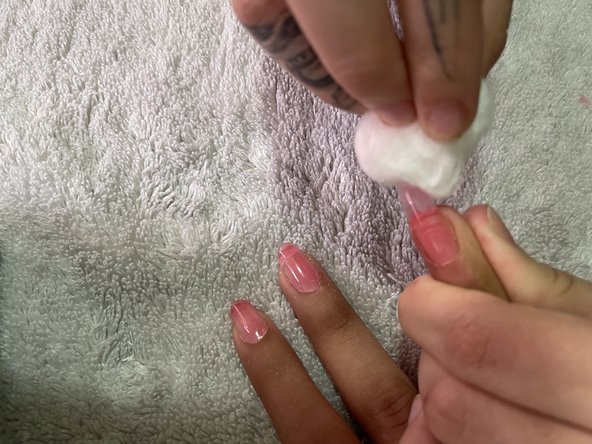
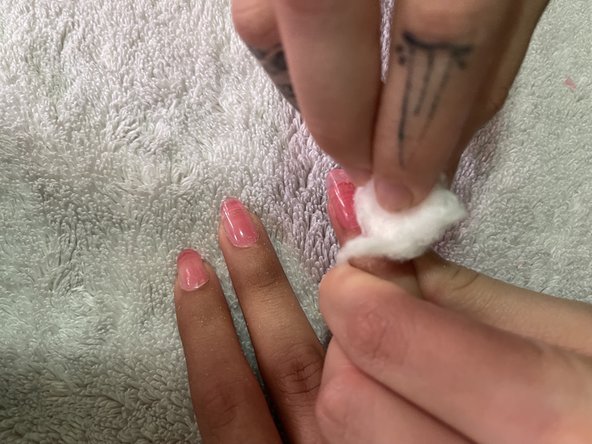
Dampen a cotton ball with the alcohol and wipe off any dust residue from the filing.
-
-
-
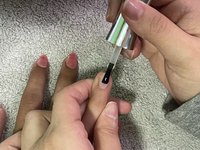
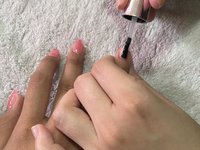
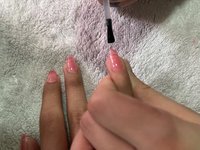
Paint a thin, even layer of base coat onto the natural nail.
-
Wipe off any base coat that gets on the skin.
-
-
-
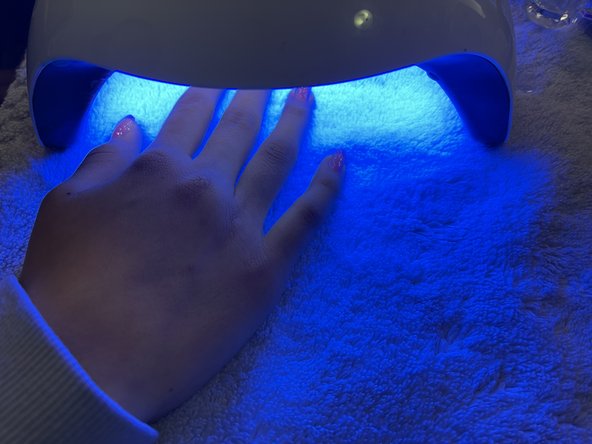
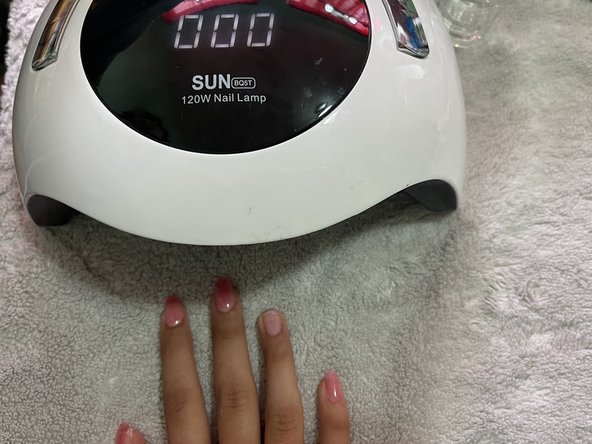
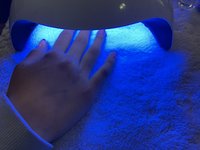
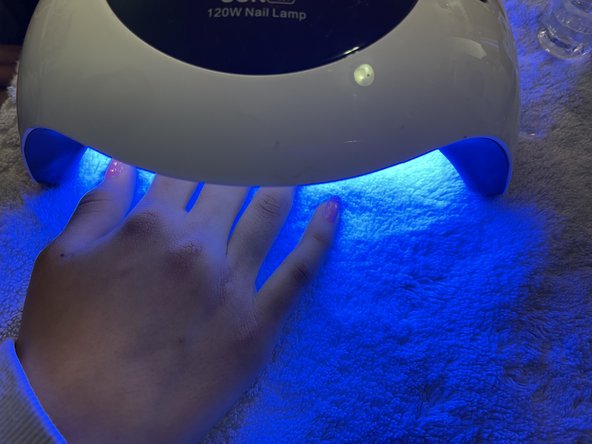
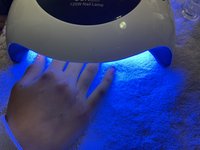
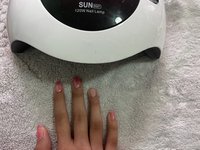
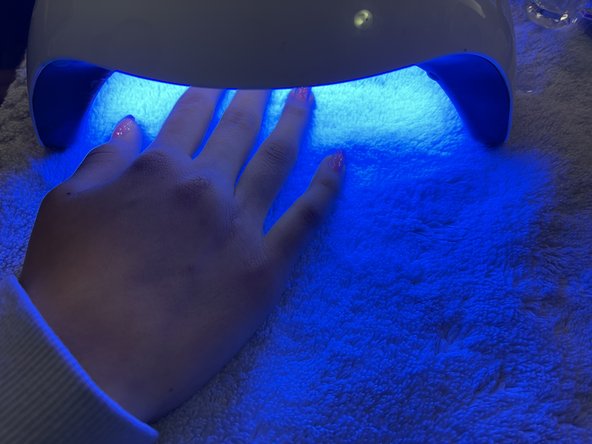
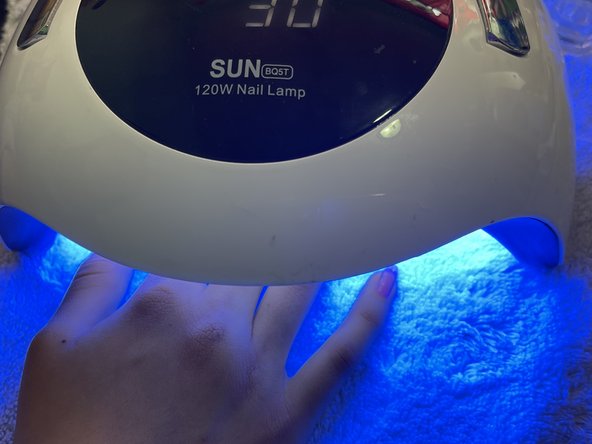
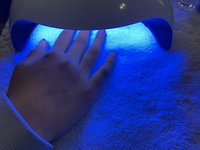
Put your hand inside the UV lamp.
-
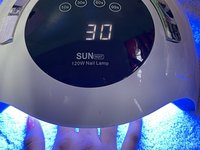
Press the 30 second button.
-
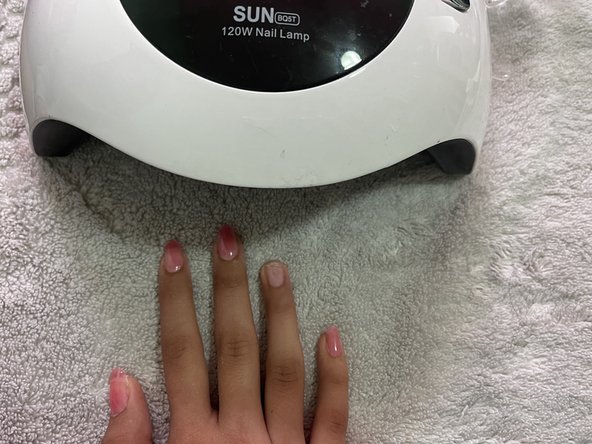
Once the 30 seconds have passed, remove your hand from the lamp.
-
-
-
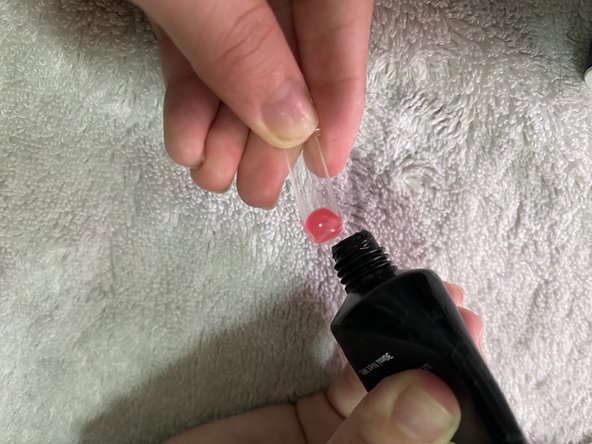
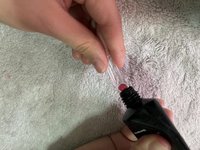
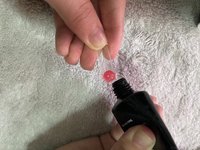
Apply a small bead of polygel at the base of the form.
-
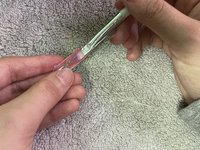
Pour alcohol in a dappen dish (or small container) and dip your brush into the alcohol.
-
Spread the polygel towards the top of the dual form in an even layer.
-
-
-
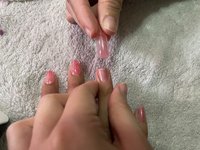
Hold the finger steady and place the form on the natural nail.
-
With a small amount of pressure, push the dual form down until it stays in place.
-
Wipe off any gel that spills out onto the sides of the nail.
-
-
-
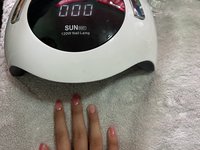
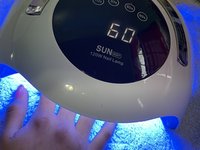
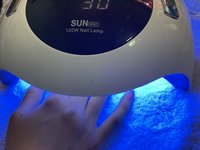
Put your hand inside the lamp.
-
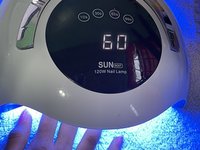
Press the 60 second button.
-
After the 60 seconds have passed, remove your hand from the lamp.
-
-
-
Grip the dual form from the tip.
-
Pull while moving the form from side to side to pop it off.
-
-
-
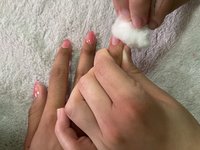
Dampen one of the cotton balls with the alcohol and wipe off the nail until all the sticky residue is gone.
-
-
-
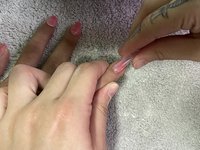
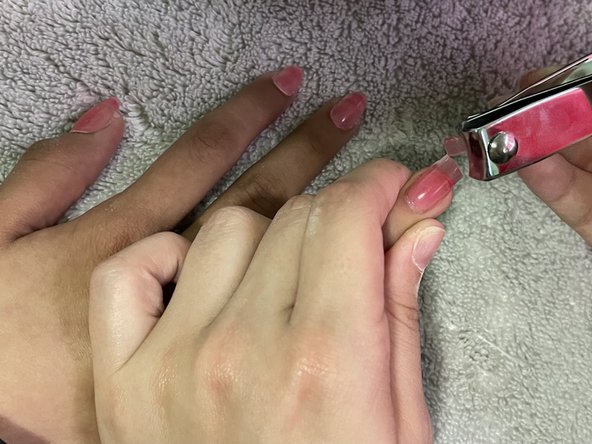
Cut off any length you don't want or need using the nail clippers.
-
Start from one side and then move to the other side.
-
-
-
-
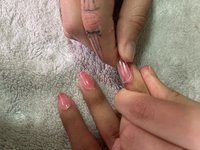
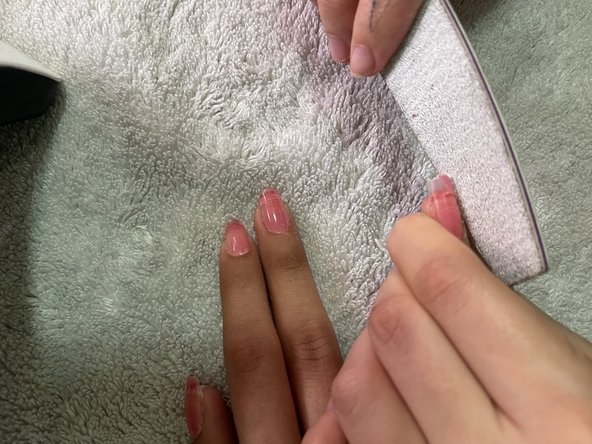
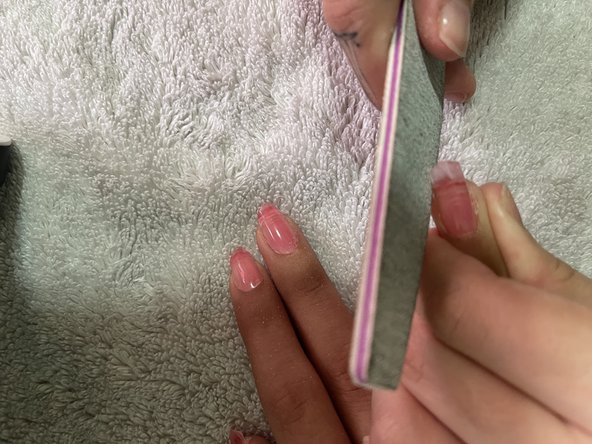
Start filing and ensure your nail is even all around.
-
File any bumps or unevenness on the surface of the nail.
-
-
-
Dampen one of the cotton balls with the alcohol and wipe the nail until there is no longer dust on it.
-
-
-
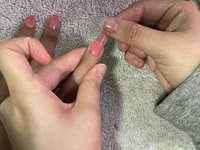
Move the finger to make sure you can see that all sides of the nail are even.
-
-
-
Put your hand inside and press the 60 second button.
-
Once the 60 seconds have passed, remove your hand from the lamp.
-
-
-
After curing your nail, you are done!
-
You can always go back and paint your nails and design them in any desirable manner.
-
-


























Team

CSU Los Angeles, Team S1-G30, Harris Spring 2021 Member of CSU Los Angeles, Team S1-G30, Harris Spring 2021
CSULA-HARRIS-S21S1G30
2 Members
24 Guides authored
1 Guide Comment
It helps me alot. Few days back i got my nail broke. I was in so much pain and looking for how to replace nails and fortunately i found this i ddn’t even waste a second and read it thoroughly and it helps me alot in replacing my nail. Thank you for helping others. Keep shining!
