Introduction
This replacement process calls for soldering electronic components and very steady hands. For more information about desoldering, take a look at this helpful guide.
What you need
-
-
-
Remove the two 7 mm screws on the top of the device using a J00 Phillips screwdriver, turning the screws counterclockwise.
 Ask FixBot
-
-
-
Pry the seam between the screen and the case on all four sides with a large plastic opening tool until the plastic case comes off.
-
Lift the device off of the case and flip over the device so that it sits screen side down.
-
The device is now free from the plastic casing.
-
-
Tool used on this step:Tweezers$4.99
-
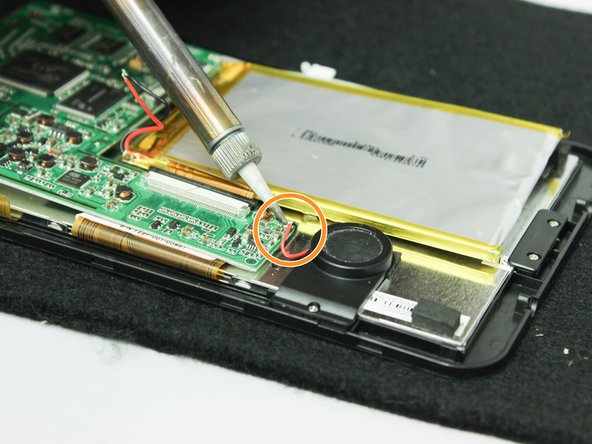
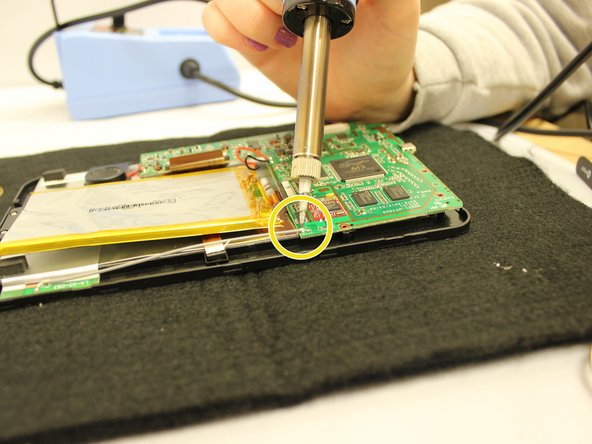
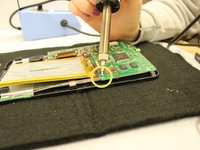
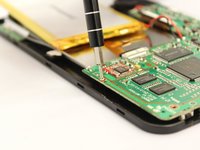
Desolder the following components from the motherboard.
-
Desolder from the motherboard the red wire that connects to the speaker unit.
-
Desolder from the motherboard the black wire that connects to the speaker unit.
-
Desolder from the motherboard the gray wire that runs along the edge of the device.
-
Desolder from the motherboard the red wire that connects to the battery unit.
-
Desolder from the motherboard the black wire that connects to the battery unit.
-
The motherboard will now be detached from any wires connecting to the device.
-
-
-
-
Use tweezers to unstick the medium width yellow ribbon cable from the motherboard.
-
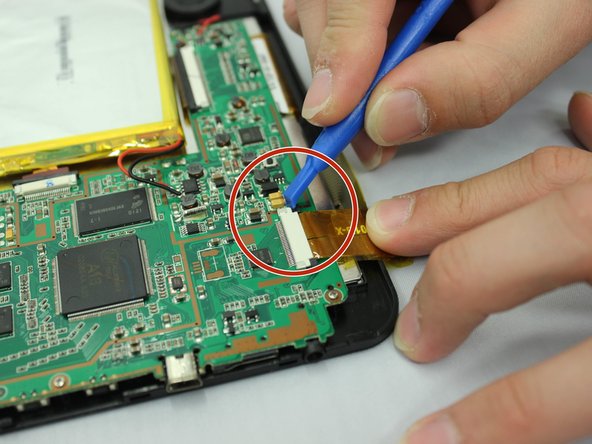
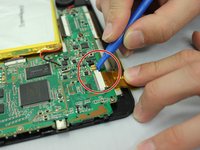
Use a small plastic opening tool to slide the two small black holding clips off of the white connector to which the medium width yellow ribbon cable is attached.
-
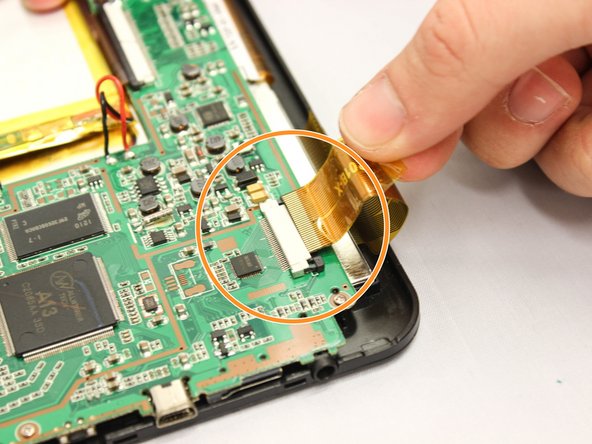
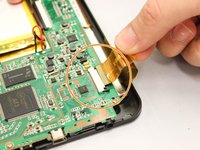
Use your fingers to gently pull the medium width yellow ribbon cable out of the white connector.
-
Repeat the last two actions to disconnect the narrower yellow ribbon cable and the wider yellow ribbon cable from the motherboard.
-
The motherboard and battery will now be detached from any ribbon cables connecting to the device.
-
-
-
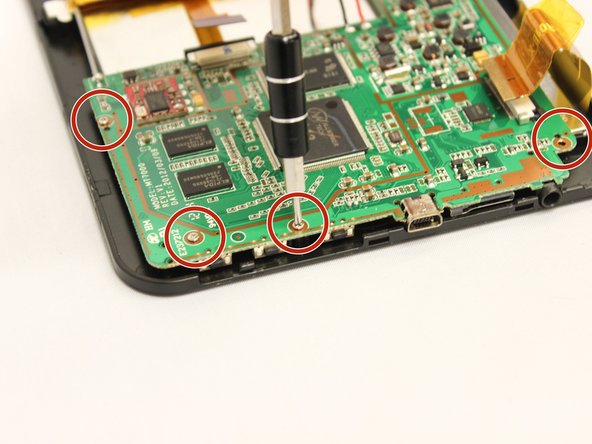
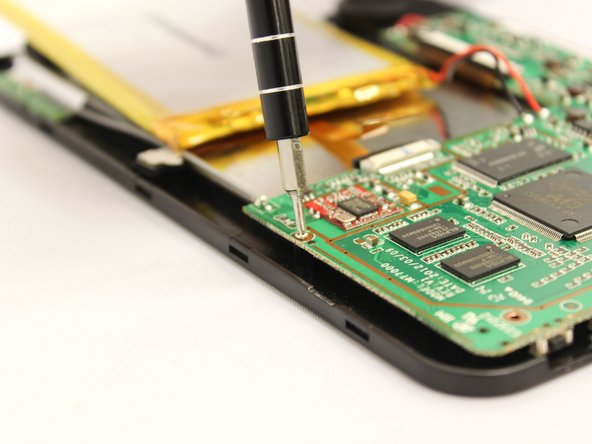
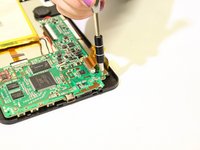
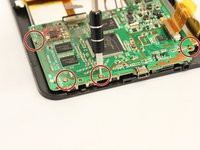
Use the PH000 screwdriver remove the four 5 mm screws along the bottom edge of the motherboard, turning the screws counterclockwise.
-
The motherboard is now detached from the device.
-
-
-
Lift the motherboard out of the device using your hands.
-
Set the motherboard down on a heat safe surface so that the gray side of the motherboard is face up.
-
-
-
Desolder each side of the USB port where it is attached to the motherboard.
-
The USB port will now be loosened from the motherboard.
-
-
-
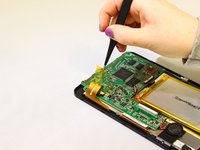
Using tweezers, pull the USB port straight out from the motherboard without wiggling it up, down, or side to side.
-
The USB port is now replaceable.
-
-







To reassemble your device, follow these instructions in reverse order.

Team

Eastern Washington University, Team 2-2, Plummer Fall 2015 Member of Eastern Washington University, Team 2-2, Plummer Fall 2015
EWU-PLUMMER-F15S2G2
4 Members
60 Guides authored
