Free Shipping on Domestic Orders $75+

Polaroid PMID701i 10 Battery Replacement

What you need

    1. Polaroid PMID701i 10 Battery Replacement, Panel: step 1, image 1 of 2 Polaroid PMID701i 10 Battery Replacement, Panel: step 1, image 2 of 2
      • Turn off and unplug the device before starting replacement.

      • Flip the device so that the screen faces down, with the back facing up.

      • The back panel attaches to the device with four 4.0mm long screws, one at each corner, indicated by the red circles in the picture.

      • Unscrew the four screws with a PH000 screwdriver.

      Ask FixBot

      Add Comment

    2. Polaroid PMID701i 10 Battery Replacement: step 2, image 1 of 2 Polaroid PMID701i 10 Battery Replacement: step 2, image 2 of 2
      • Flip the device over so that the screen faces up, and the back faces down.

      • Separate the front panel using the Opening Tool on a corner to create an opening.

      • Removing the frame for the first time may take a significant amount of force.

      • Run the tool along the seams of the device to open up all the sides.

      Ask FixBot

      Add Comment

    3. Polaroid PMID701i 10 Battery Replacement: step 3, image 1 of 1
      • Removing the panel too quickly may damage the cable that attaches parts between the two panels.

      • Gently lift the top panel from the bottom panel.

      Ask FixBot

      Add Comment

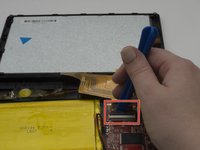
    4. Polaroid PMID701i 10 Battery Replacement: step 4, image 1 of 2 Polaroid PMID701i 10 Battery Replacement: step 4, image 2 of 2
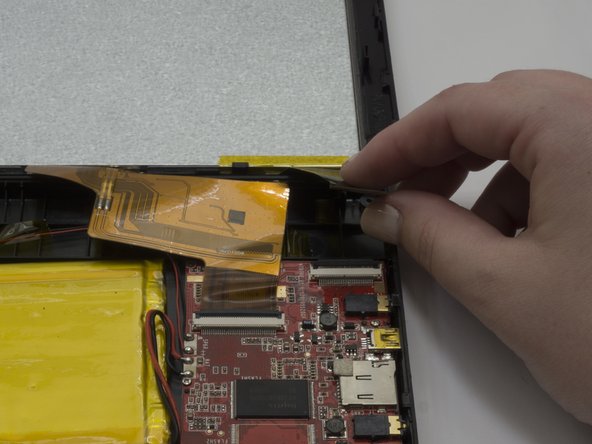
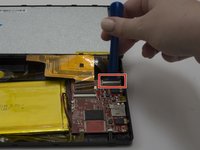
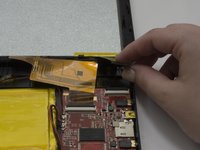
      • The flexible flat cables (FFC) attach to parts in the bottom panel with zero insertion force (ZIF) connectors.

      • Use the Opening tool to flip up the black retaining flap on the smaller connector.

      • Gently lift the cable, parallel to the panel, to detach it.

      Ask FixBot

      Add Comment

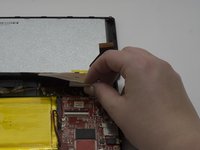
    5. Polaroid PMID701i 10 Battery Replacement: step 5, image 1 of 2 Polaroid PMID701i 10 Battery Replacement: step 5, image 2 of 2
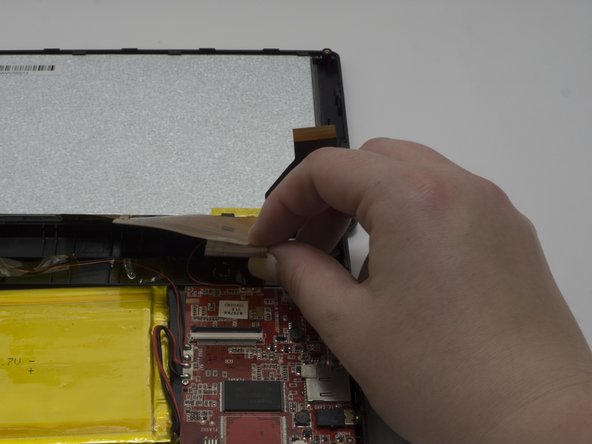
      • Use the Opening tool to flip up the black retaining flap on the larger connector.

      • Gently lift the cable, parallel to the panel, to detach it.

      Ask FixBot

      Add Comment

    1. Polaroid PMID701i 10 Battery Replacement, Battery: step 6, image 1 of 1
      • The battery is wrapped with tape. It is attached to the back plastic panel by glue.

      • The battery may bend if detached using a spudger or other small tool.

      • Grip the the battery by hand.

      • Due to the glue and shape of the battery it, it may take a significant amount of force to lift it.

      • Lift the battery, by hand, to remove it from the glue and panel.

      Ask FixBot

      Add Comment

    2. Polaroid PMID701i 10 Battery Replacement: step 7, image 1 of 1
      • The battery attaches to the motherboard with two wires, one red and one black.

      • Desolder the wires from the motherboard. For detailed information, refer to the Solder and Desolder guide.

      Ask FixBot

      Add Comment

    3. Polaroid PMID701i 10 Battery Replacement: step 8, image 1 of 1
      • Gently remove the battery, with the wires, from the panel and motherboard completely.

      Ask FixBot

      Add Comment

Conclusion

To reassemble your device, follow these instructions in reverse order.

Cancel: I did not complete this guide.

2 other people completed this guide.

Amy Li

Member since: 01/31/17

651 Reputation

5 Guides authored

Team

Baylor, Team 3-4, Whitney Spring 2017 Member of Baylor, Team 3-4, Whitney Spring 2017

BU-WHITNEY-S17S3G4

3 Members

60 Guides authored

0 Guide Comments

Add Comment

View Statistics:

Past 24 Hours: 4

Past 7 Days: 25

Past 30 Days: 85

All Time: 629