Free Shipping on Domestic Orders $75+

Polaroid Flip Bottom Shell Replacement

Views: 532

View statistics:

Past 24 Hours:
5
Past 7 Days:
17
Past 30 Days:
88
All Time:
532
Comments: 0

No one has left comments on this guide. Will you be first?

Go to guide comments
Completed: 0

No one has marked this guide "completed." Will you be the first?

Favorites: 0

No one has favorited (and subscribed to) this guide. Will you be the first?

Time Required: 5 - 10 minutes
Difficulty: Easy
OEM Guide

iFixit collaborated with the manufacturer to make this guide.

Polaroid Flip Bottom Shell Replacement

Introduction

Go to step 1 ↓

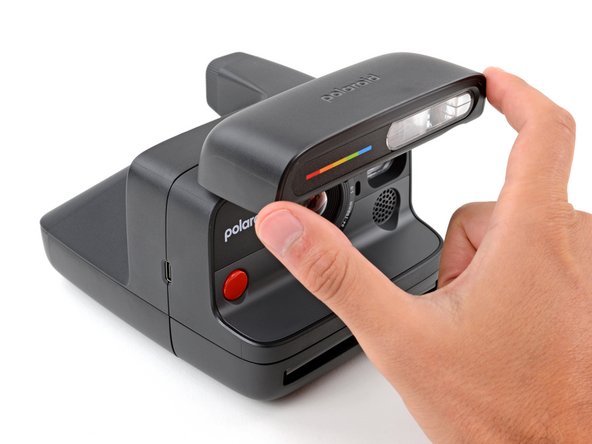
Use this guide to replace, change, or upgrade the bottom shell (aka bottom cover) on your Polaroid Flip instant camera.

You may want to change the bottom shell if it's cracked or damaged, or if you want to customize your camera with different colors.

The bottom shell also contains the tripod mount. If the tripod mount strips or breaks, you'll need to replace the bottom shell.

What you need

Parts

Tools

    1. Polaroid Flip Bottom Shell Replacement, Before you begin: step 1, image 1 of 3 Polaroid Flip Bottom Shell Replacement, Before you begin: step 1, image 2 of 3 Polaroid Flip Bottom Shell Replacement, Before you begin: step 1, image 3 of 3
      • If you have any film left, take some photos! Then remove the cartridge. Disassembly will expose any leftover film.

      • Before you begin:

      • Unplug all cables from your camera.

      • Fully close the flash unit at the front of the camera to turn it off.

      Ask FixBot

      Add Comment

    2. Polaroid Flip Bottom Shell Replacement, Open the film door: step 2, image 1 of 3 Polaroid Flip Bottom Shell Replacement, Open the film door: step 2, image 2 of 3 Polaroid Flip Bottom Shell Replacement, Open the film door: step 2, image 3 of 3
      • Throughout this guide, directional words (front, back, left, right) are from the perspective of using the camera—or when the lens faces away from you.

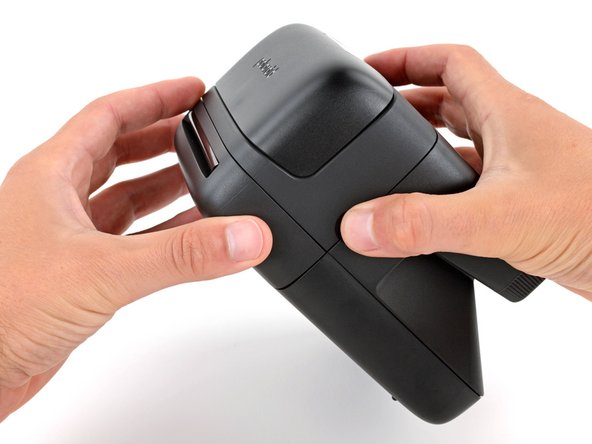
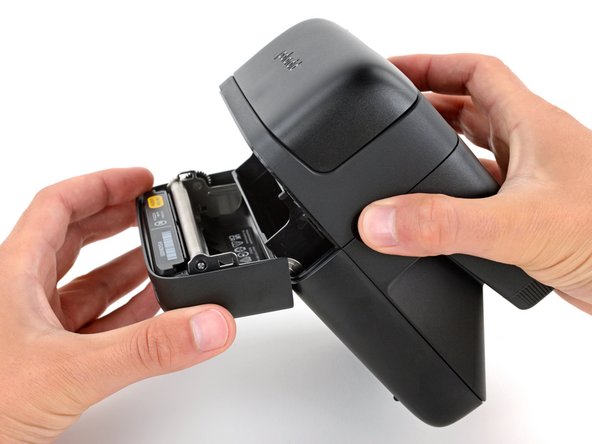
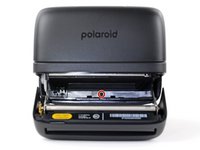
      • Hold down the latch on the left side of the camera and open the film door.

      Ask FixBot

      Add Comment

    3. Polaroid Flip Bottom Shell Replacement, Remove the bottom shell screw: step 3, image 1 of 3 Polaroid Flip Bottom Shell Replacement, Remove the bottom shell screw: step 3, image 2 of 3 Polaroid Flip Bottom Shell Replacement, Remove the bottom shell screw: step 3, image 3 of 3
      Tool used on this step:
      Magnetic Project Mat
      $19.95
      Buy
      • Throughout this repair, keep track of each screw and make sure it goes back exactly where it came from.

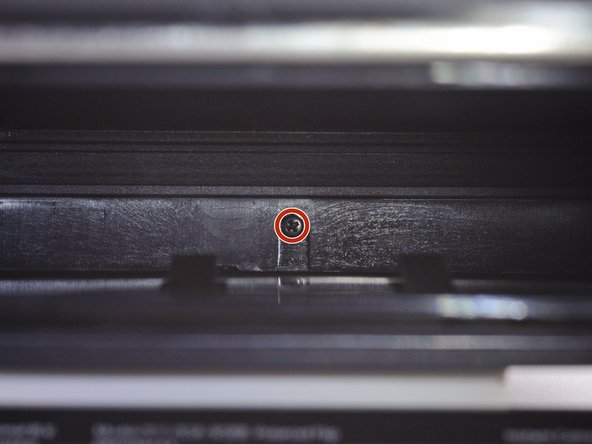
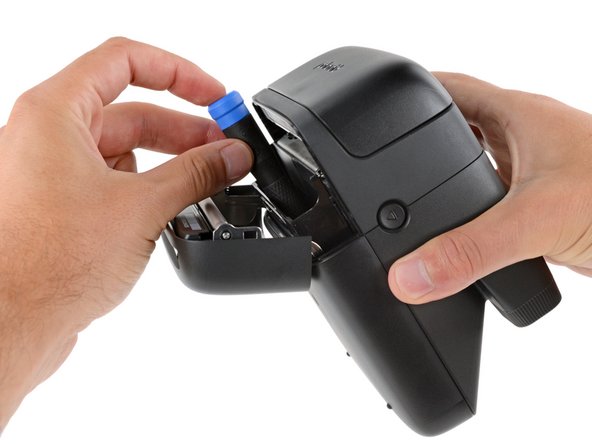
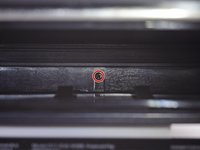
      • Use a Phillips screwdriver to remove the 5.9 mm‑long screw securing the rear shell.

      • The screw is hidden inside the camera on the back edge—you may need to use a flashlight to see it, as well as a skinny, long‑shank screwdriver to reach it.

      • Be careful when removing your screwdriver, as the screw can easily fall inside the camera. If it does, hold the camera above your work surface and gently shake it so the screw falls out.

      Ask FixBot

      Add Comment

    4. Polaroid Flip Bottom Shell Replacement, Camera mirror warning: step 4, image 1 of 2 Polaroid Flip Bottom Shell Replacement, Camera mirror warning: step 4, image 2 of 2
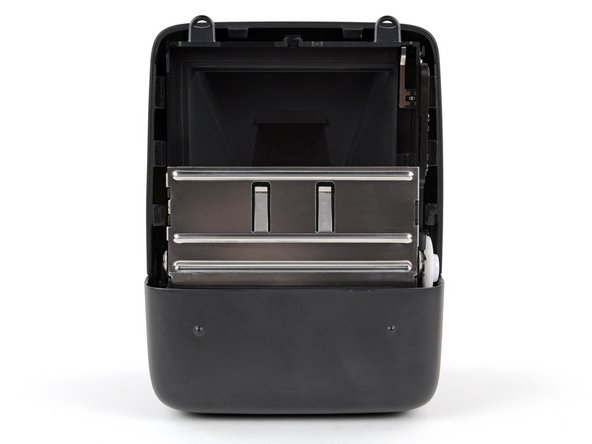
      • Removing the bottom shell in the next step exposes the camera mirror. Be careful not to smudge it or get any debris on it. If you accidentally do, use a lint‑free cloth to gently wipe the mirror clean.

      Ask FixBot

      Add Comment

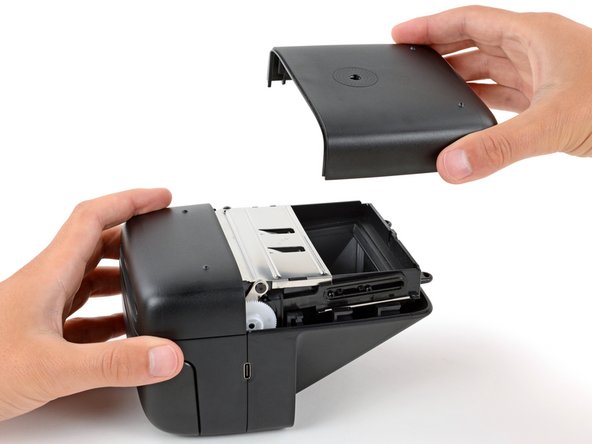
    5. Polaroid Flip Bottom Shell Replacement, Remove the bottom shell: step 5, image 1 of 3 Polaroid Flip Bottom Shell Replacement, Remove the bottom shell: step 5, image 2 of 3 Polaroid Flip Bottom Shell Replacement, Remove the bottom shell: step 5, image 3 of 3
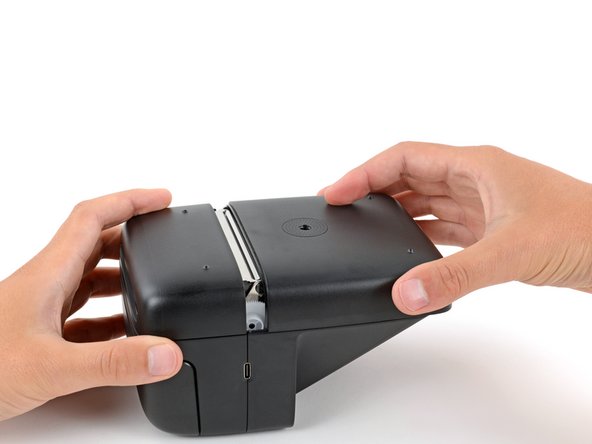
      • Slide the bottom shell towards the back of the camera to release the clips securing it.

      • Lift and remove the shell.

      • During reassembly:

      • Place the shell onto the frame so it hangs over the back about about half an inch (~13 mm), creating a gap near the center of the camera. This allows room for the clips to slide into place.

      • Push down on the shell and slide it towards the front of the camera to engage the clips—you should feel them slide into place.

      Ask FixBot

      Add Comment

Conclusion

To reassemble your device, follow these instructions in reverse order.

Repair didn’t go as planned? Try some basic troubleshooting, or ask our Answers community for help.


Cancel: I did not complete this guide.

Spencer Day

Member since: 09/14/22

206,957 Reputation

1,266 Guides authored

Team

iFixit Member of iFixit

Staff

121 Members

72,895 Guides authored

0 Guide Comments

Add Comment

View Statistics:

Past 24 Hours: 5

Past 7 Days: 17

Past 30 Days: 88

All Time: 532