Free Shipping on Domestic Orders $75+

Poin2 Chromebook 11 Motherboard Replacement

What you need

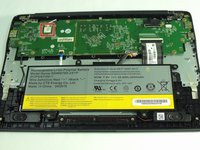
    1. Poin2 Chromebook 11 Motherboard Replacement, Motherboard: step 1, image 1 of 2 Poin2 Chromebook 11 Motherboard Replacement, Motherboard: step 1, image 2 of 2
      • Power down the Poin2 Chrombook 11 and disconnect the power adapter.

      • Close the Chromebook and position it with the base facing up.

      • Use a #0 Phillips screwdriver to unscrew the ten 7mm screws that hold the base to the rest of the frame

      • Poin2 Chromebook 11 does not have screws under its rubber feet at the base.

      Ask FixBot

      Add Comment

    2. Poin2 Chromebook 11 Motherboard Replacement: step 2, image 1 of 3 Poin2 Chromebook 11 Motherboard Replacement: step 2, image 2 of 3 Poin2 Chromebook 11 Motherboard Replacement: step 2, image 3 of 3
      • Insert a 1cm-wide plastic opening tool between the base and top frame.

      • Applying pressure up and down with the tool may be necessary. When you hear a "click," this indicates the separation of the frame.

      • Pry (up and down) around the entire border of the Chromebook to separate.

      • Use your hands to gently lift the base away from the frame.

      Ask FixBot

      Add Comment

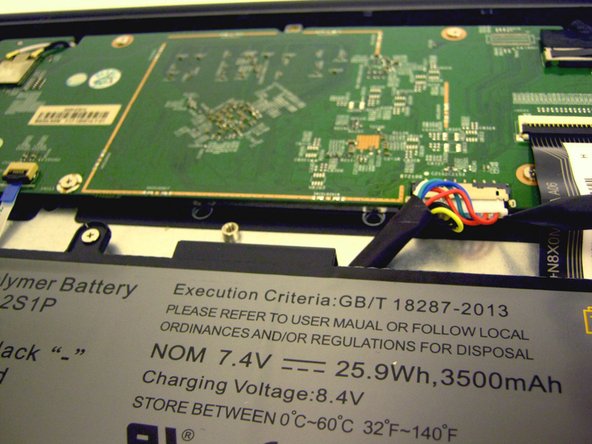
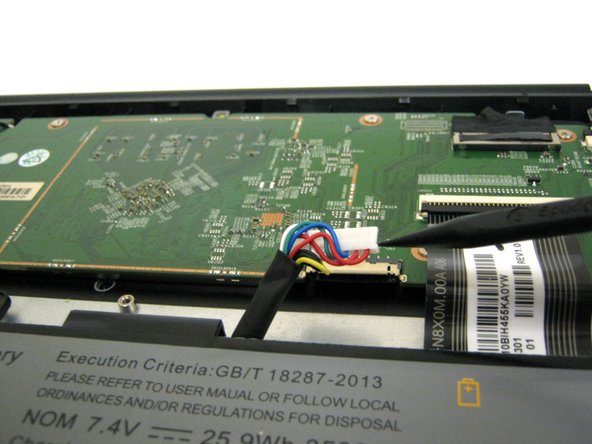
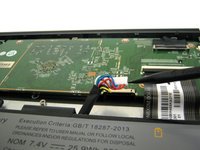
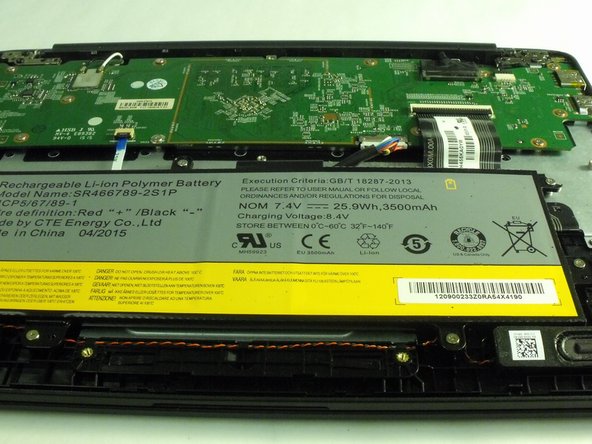
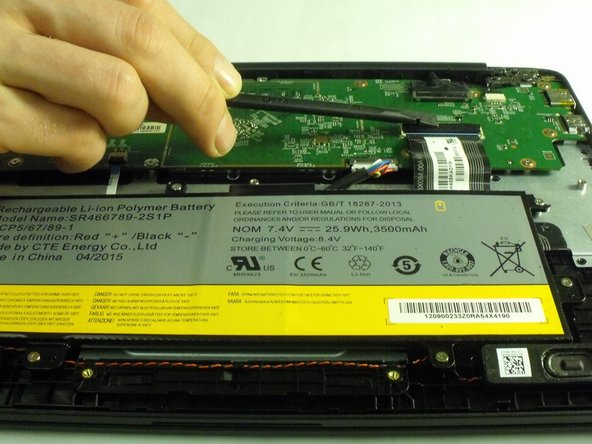
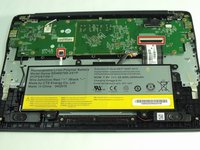
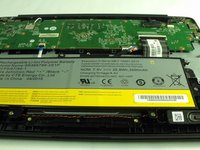
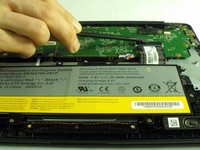
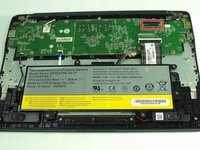
    3. Poin2 Chromebook 11 Motherboard Replacement: step 3, image 1 of 3 Poin2 Chromebook 11 Motherboard Replacement: step 3, image 2 of 3 Poin2 Chromebook 11 Motherboard Replacement: step 3, image 3 of 3
      • Unplug the white 8-wire battery connector using a spudger to push the two L-shaped clips out of the socket.

      • The connector is a tight fit and requires careful pressure for release.

      Ask FixBot

      Add Comment

    4. Poin2 Chromebook 11 Motherboard Replacement: step 4, image 1 of 3 Poin2 Chromebook 11 Motherboard Replacement: step 4, image 2 of 3 Poin2 Chromebook 11 Motherboard Replacement: step 4, image 3 of 3
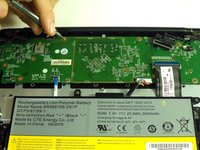
      • Use a spudger (or fingertips) to flip up the plastic clamps that hold down the two ribbon cables connected to the motherboard.

      • Pull the cables from their sockets.

      Ask FixBot

      Add Comment

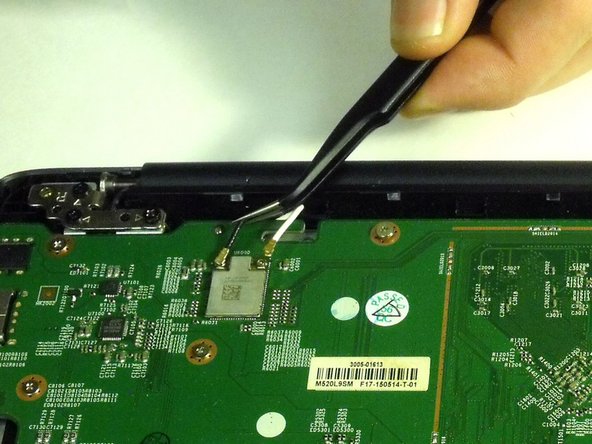
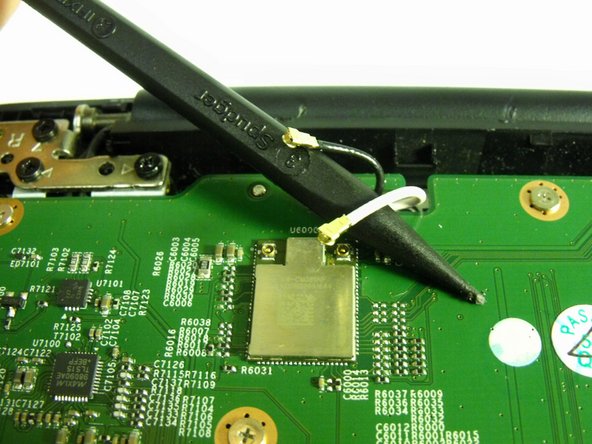
    5. Poin2 Chromebook 11 Motherboard Replacement: step 5, image 1 of 3 Poin2 Chromebook 11 Motherboard Replacement: step 5, image 2 of 3 Poin2 Chromebook 11 Motherboard Replacement: step 5, image 3 of 3
      Tool used on this step:
      Tweezers
      $4.99
      Buy
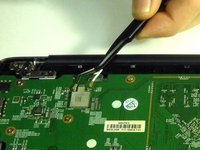
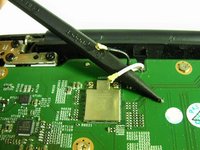
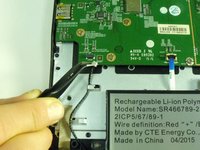
      • Disconnect the coaxial connectors from the motherboard using tweezers (or a spudger) to "snap" off the connectors from their sockets.

      • To reinstall, hold the connectors in place and gently press them straight down. The connectors will “snap” back in place.

      Ask FixBot

      Add Comment

    6. Poin2 Chromebook 11 Motherboard Replacement: step 6, image 1 of 3 Poin2 Chromebook 11 Motherboard Replacement: step 6, image 2 of 3 Poin2 Chromebook 11 Motherboard Replacement: step 6, image 3 of 3
      • Disconnect the speaker and charging port cables by pulling the connectors out of their sockets.

      • The connectors may require a spudger to help with release from the sockets.

      Ask FixBot

      Add Comment

    7. Poin2 Chromebook 11 Motherboard Replacement: step 7, image 1 of 3 Poin2 Chromebook 11 Motherboard Replacement: step 7, image 2 of 3 Poin2 Chromebook 11 Motherboard Replacement: step 7, image 3 of 3
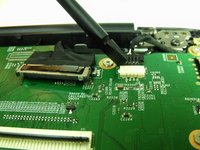
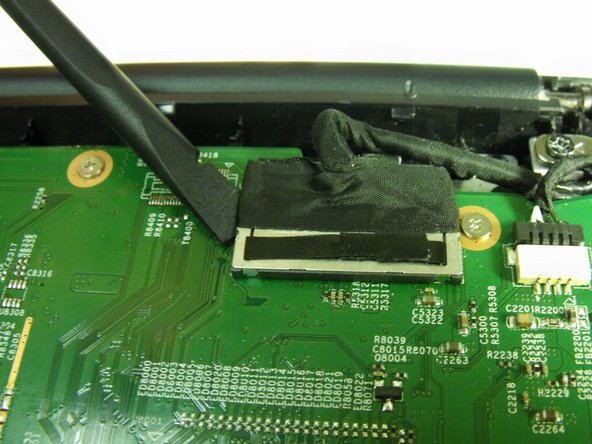
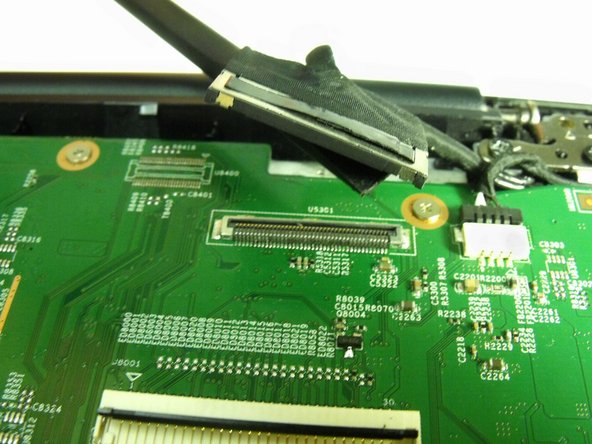
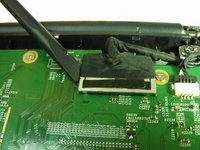
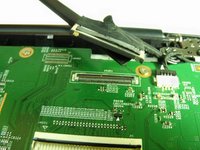
      • Disconnect the LCD screen connector from the motherboard using a spudger.

      Ask FixBot

      Add Comment

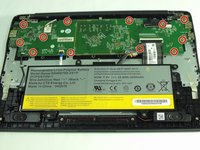
    8. Poin2 Chromebook 11 Motherboard Replacement: step 8, image 1 of 2 Poin2 Chromebook 11 Motherboard Replacement: step 8, image 2 of 2
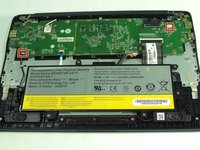
      • Use a #000 Phillips screwdriver and remove the twelve 4mm screws that hold the motherboard.

      Ask FixBot

      Add Comment

    9. Poin2 Chromebook 11 Motherboard Replacement: step 9, image 1 of 1
      • Use a plastic opening tool and pry around the edges of the motherboard to release.

      Ask FixBot

      Add Comment

    10. Poin2 Chromebook 11 Motherboard Replacement: step 10, image 1 of 1
      • Lift and remove the motherboard away from the frame.

      Ask FixBot

      Add Comment

Conclusion

To reassemble your device, follow these instructions in reverse order.

Cancel: I did not complete this guide.

One other person completed this guide.

Jesse Johnson

Member since: 10/05/17

357 Reputation

2 Guides authored

0 Guide Comments

Add Comment

View Statistics:

Past 24 Hours: 1

Past 7 Days: 9

Past 30 Days: 26

All Time: 762