Free Shipping on Domestic Orders $75+

Pneumatic Door Closer Replacement

What you need

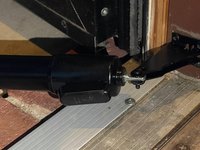
    1. Pneumatic Door Closer Replacement, Pneumatic Door Closer: step 1, image 1 of 2 Pneumatic Door Closer Replacement, Pneumatic Door Closer: step 1, image 2 of 2
      • Identify the broken part of the door.

      Ask FixBot
      Add Comment

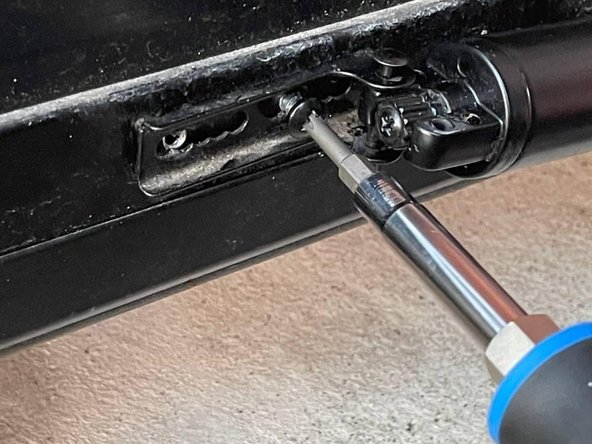
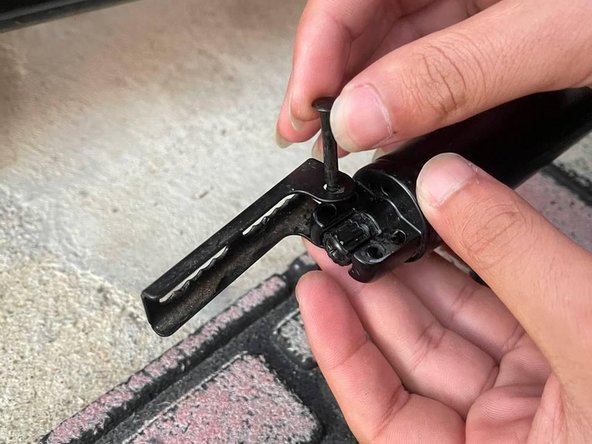
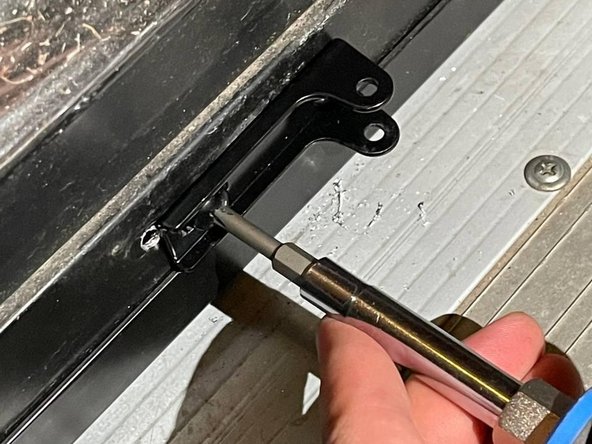
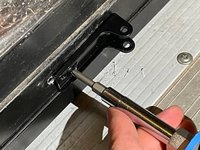
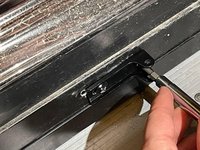
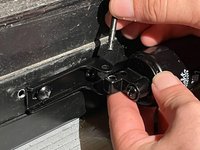
    2. Pneumatic Door Closer Replacement: step 2, image 1 of 2 Pneumatic Door Closer Replacement: step 2, image 2 of 2
      • Remove the screws from the inner brackets that connect to the door closer using a screwdriver.

      Ask FixBot
      Add Comment

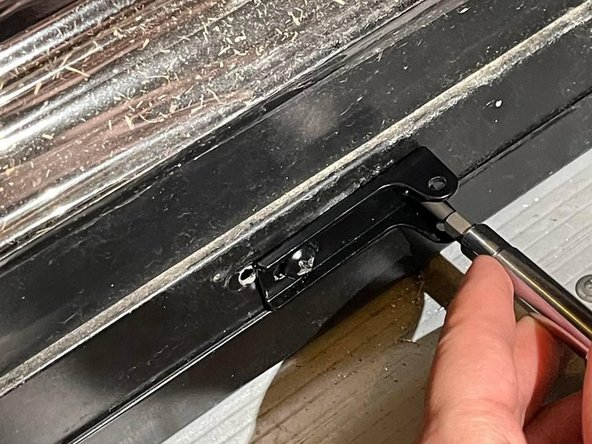
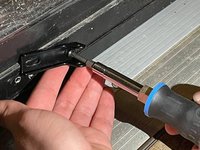
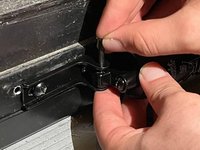
    3. Pneumatic Door Closer Replacement: step 3, image 1 of 3 Pneumatic Door Closer Replacement: step 3, image 2 of 3 Pneumatic Door Closer Replacement: step 3, image 3 of 3
      • Remove the screws from the outer bracket that connect to the door closer using a screwdriver.

      Ask FixBot
      Add Comment

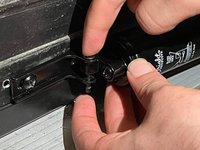
    4. Pneumatic Door Closer Replacement: step 4, image 1 of 2 Pneumatic Door Closer Replacement: step 4, image 2 of 2
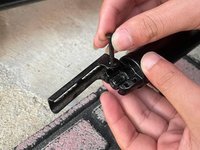
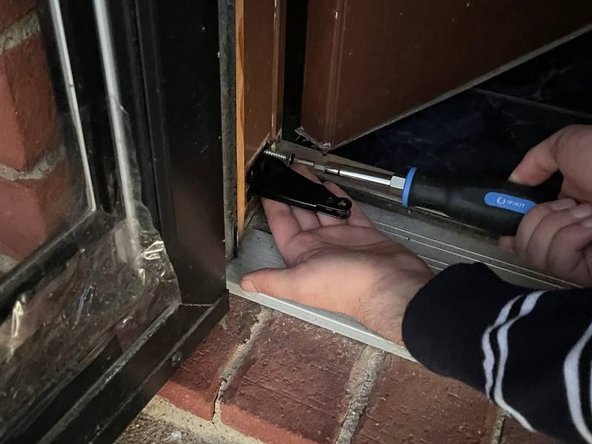
      • Install the inner bracket that attaches to the door closer by screwing the inner part into the wall using a screwdriver.

      Ask FixBot
      Add Comment

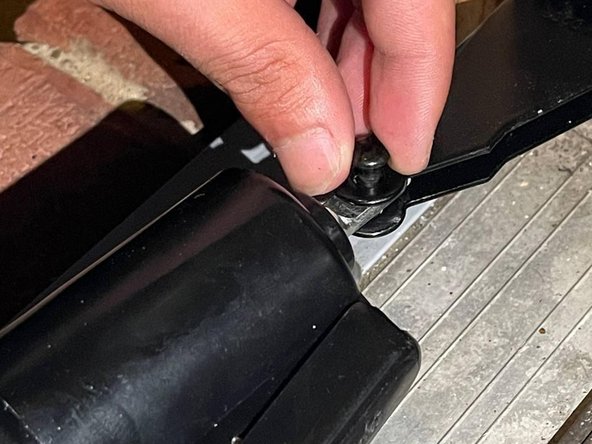
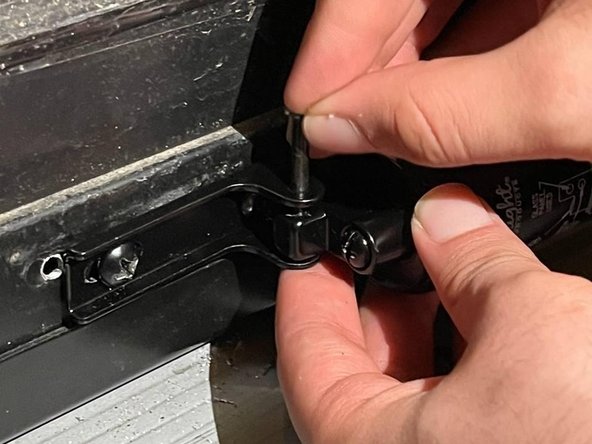
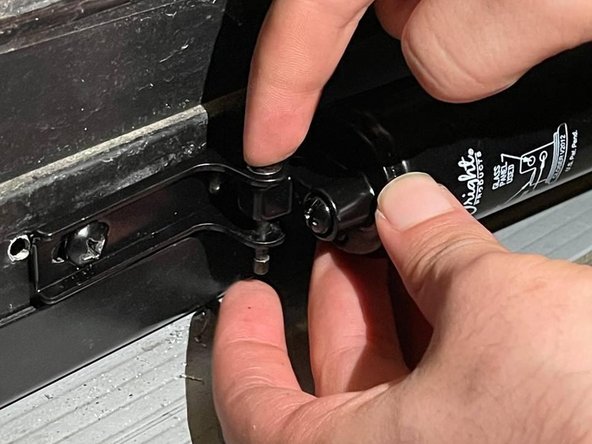
    5. Pneumatic Door Closer Replacement: step 5, image 1 of 3 Pneumatic Door Closer Replacement: step 5, image 2 of 3 Pneumatic Door Closer Replacement: step 5, image 3 of 3
      • Plug the smallest included screw into the inner bracket to attach the door closer.

      Ask FixBot

      Add Comment

    6. Pneumatic Door Closer Replacement: step 6, image 1 of 3 Pneumatic Door Closer Replacement: step 6, image 2 of 3 Pneumatic Door Closer Replacement: step 6, image 3 of 3
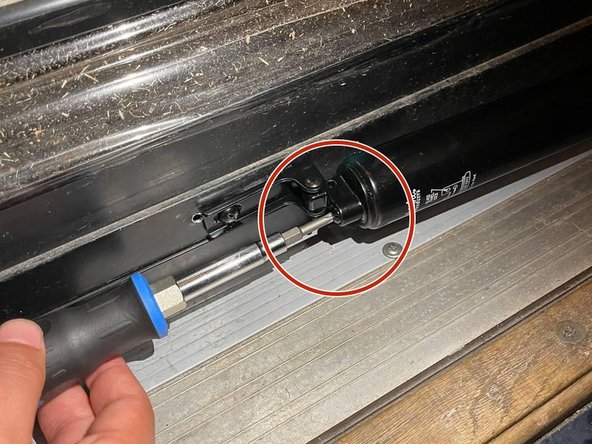
      • Close the door.

      • Install the outer bracket that attaches to the door closer by screwing it into the door using a screwdriver.

      Ask FixBot
      Add Comment

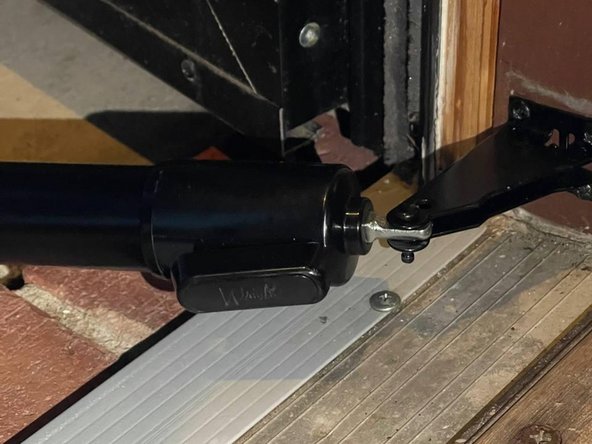
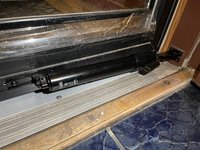
    7. Pneumatic Door Closer Replacement: step 7, image 1 of 3 Pneumatic Door Closer Replacement: step 7, image 2 of 3 Pneumatic Door Closer Replacement: step 7, image 3 of 3
      • Attach the door closer into the installed outer bracket by plugging the larger included screw into the inner part.

      Ask FixBot
      Add Comment

    8. Pneumatic Door Closer Replacement: step 8, image 1 of 2 Pneumatic Door Closer Replacement: step 8, image 2 of 2
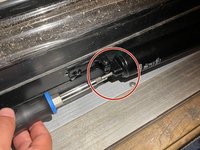
      • Make sure the door closes and opens properly.

      • Adjust the hydraulics by loosening or tightening the screw on the top of the hydraulic axle to have optimal performance.

      Ask FixBot
      Add Comment

Finish Line

Cancel: I did not complete this guide.

Abdullah Kaddura

Member since: 02/24/21

157 Reputation

1 Guide authored

0 Guide Comments

Add Comment

View Statistics:

Past 24 Hours: 2

Past 7 Days: 13

Past 30 Days: 69

All Time: 1,449