
Plum Optimax 10 Headphone Jack Replacement

Michael Glennon Graupner and 3 other contributors
Last updated on Dec 20, 2019
Views: 360
View statistics:
- Past 24 Hours:
- 1
- Past 7 Days:
- 12
- Past 30 Days:
- 64
- All Time:
- 360
Comments: 0
No one has left comments on this guide. Will you be first?
Go to guide commentsCompleted: 1 2
1 person has marked this guide "completed." Will you be next?
2 people have marked this guide "completed." Including you — great job!
Favorites: 0 1
No one has favorited (and subscribed to) this guide. Will you be the first?
1 person has favorited (and subscribed to) this guide — and that's you!
Better Introduction
Improve this guide by completing or revising its introduction.
Introduction
Go to step 1 ↓Please follow each step closely and if you are having trouble, go back a step and see where your issue is. May this guide be in your favor!
What you need
Tools
-
Spudger4.9
-


-
-
-
Use a metal spudger to remove the small panels to the immediate left and right side of the camera.
 Ask FixBot
-
-
-
Use a metal spudger to begin lifting the back cover.
-
Then, create leverage and gently remove the entire cover.
-
-
-
-
-
-
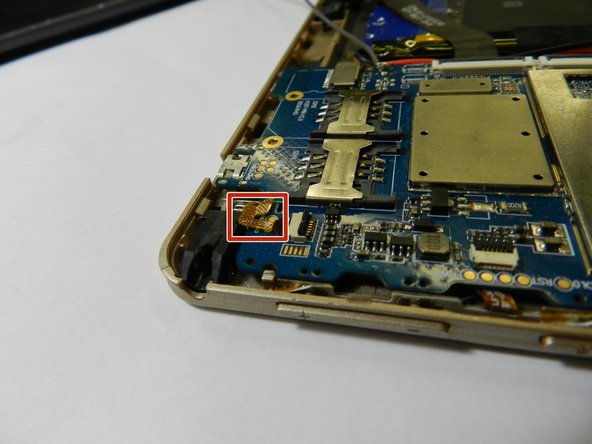
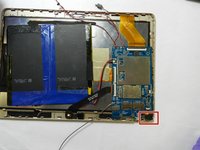
Disconnect the ribbon cable connecting the headphone jack on the motherboard by lifting up on the black press fit connector with a plastic opening tool.
-
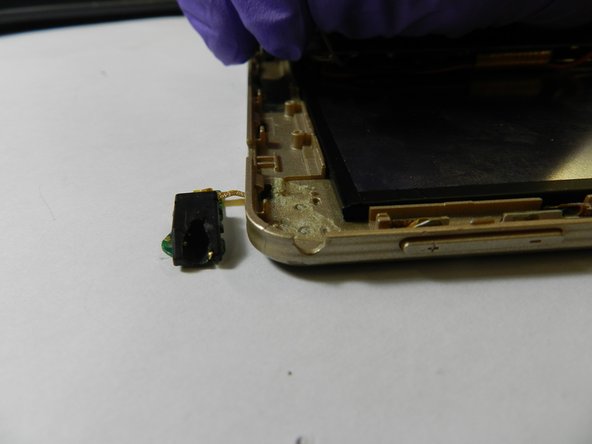
Use a plastic opening tool to pry up the headphone jack from its place in the case.
-
-




To reassemble your device, follow these instructions in reverse order.
Cancel: I did not complete this guide.
One other person completed this guide.

Team

The Citadel Military College of South Carolina, Team S1-G17, Eggleston Fall 2019 Member of The Citadel Military College of South Carolina, Team S1-G17, Eggleston Fall 2019
CMCSC-EGGLESTON-F19S1G17
3 Members
36 Guides authored
