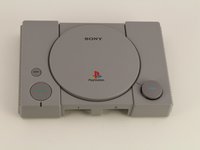
Free Shipping on Domestic Orders $75+

Playstation Classic Open Button Replacement

What you need

  1. Playstation Classic Open Button Replacement, Motherboard: step 1, image 1 of 1
    • Flip the console so its back is facing up.

  2. Playstation Classic Open Button Replacement: step 2, image 1 of 1
    • Remove the five 8mm screws using the Phillips #00 screwdriver.

    • Make sure to keep your screws together in a secure location to avoid misplacement.

  3. Playstation Classic Open Button Replacement: step 3, image 1 of 3 Playstation Classic Open Button Replacement: step 3, image 2 of 3 Playstation Classic Open Button Replacement: step 3, image 3 of 3
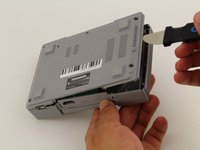
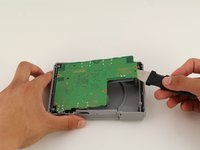
    • Remove the back plate from the rest of the console using your hands or the Jimmy tool.

  4. Playstation Classic Open Button Replacement: step 4, image 1 of 1
    • Unscrew the motherboard's four 6mm screws with the Phillips #00 screwdriver.

    • Be careful not to apply too much force. The motherboard is flimsy and easy to break.

    • Keep track of your screws once they are removed.

  5. Playstation Classic Open Button Replacement: step 5, image 1 of 3 Playstation Classic Open Button Replacement: step 5, image 2 of 3 Playstation Classic Open Button Replacement: step 5, image 3 of 3
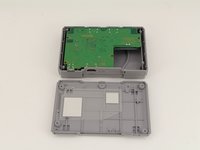
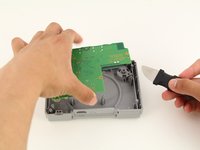
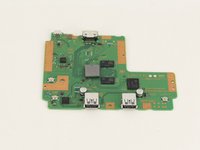
    • Carefully remove the motherboard from the the rest of the console using your hands or the Jimmy tool.

  6. Playstation Classic Open Button Replacement: step 6, image 1 of 3 Playstation Classic Open Button Replacement: step 6, image 2 of 3 Playstation Classic Open Button Replacement: step 6, image 3 of 3
    • The motherboard is connected to its metal protective casing with sticky pads. No tools are required to remove it.

    • Pull the metal casing off the motherboard.

    • Remember to be gentle when handling the motherboard.

  7. Playstation Classic Open Button Replacement, Open Button: step 7, image 1 of 3 Playstation Classic Open Button Replacement, Open Button: step 7, image 2 of 3 Playstation Classic Open Button Replacement, Open Button: step 7, image 3 of 3
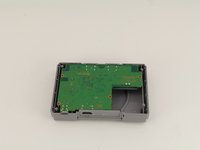
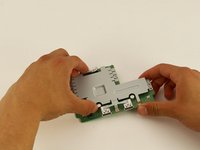
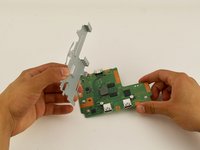
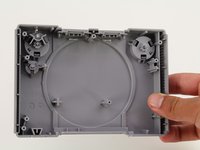
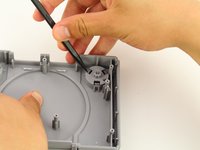
    • Remove the motherboard using the previous guide and isolate the top shell of the casing.

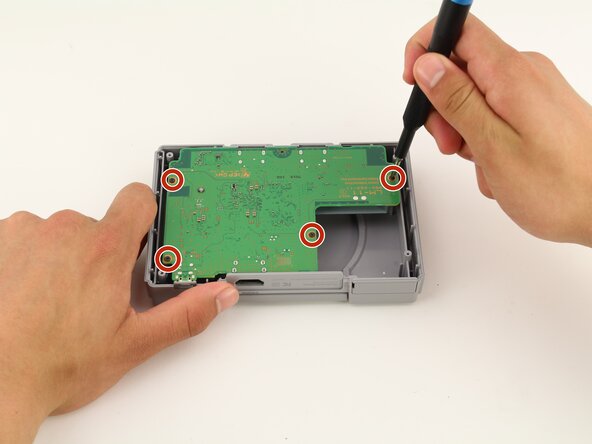
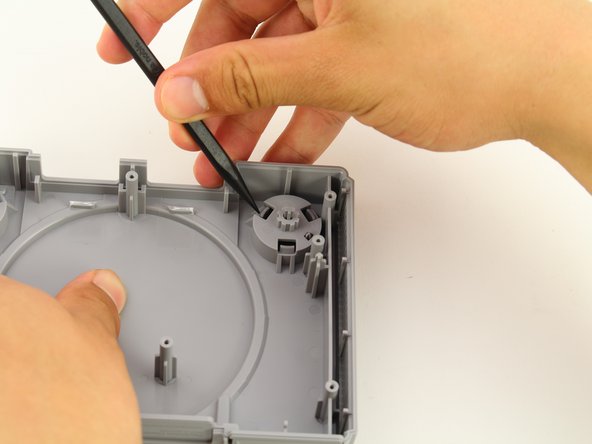
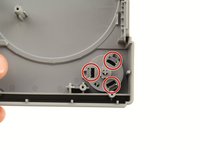
    • Use the Spudger to apply pressure inwards on the three plastic clips highlighted in the red circles.

  8. Playstation Classic Open Button Replacement: step 8, image 1 of 3 Playstation Classic Open Button Replacement: step 8, image 2 of 3 Playstation Classic Open Button Replacement: step 8, image 3 of 3
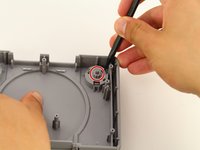
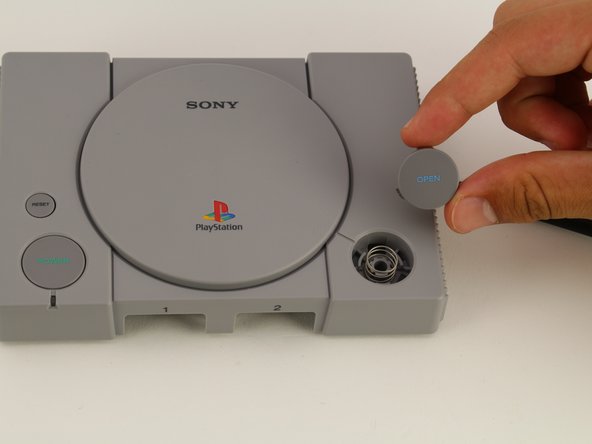
    • After all three clips are pushed in, apply pressure on the cylindrical piece circled in red.

    • Push softly on the button till a small gap is created on the other side.

    • You are not trying to fully remove the Open Button in this step.

  9. Playstation Classic Open Button Replacement: step 9, image 1 of 3 Playstation Classic Open Button Replacement: step 9, image 2 of 3 Playstation Classic Open Button Replacement: step 9, image 3 of 3
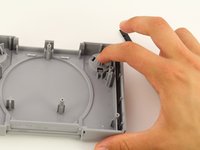
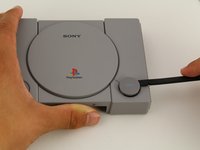
    • Use the black spudger to softly pry out the open button from the top of the casing.

    • Once enough of a gap has been created, use your fingers to grab and slowly remove the open piece.

    • An unrestrained spring is under the open button and can fall out easily. To avoid losing the spring, complete this step on a flat surface and be gentle while removing the open button.

Conclusion

To reassemble your device, follow these instructions in reverse order.

One other person completed this guide.

Maxwell Webb

Member since: 04/22/19

709 Reputation

5 Guides authored

Team

Cal Poly, Team S2-G8, Maness Spring 2019 Member of Cal Poly, Team S2-G8, Maness Spring 2019

CPSU-MANESS-S19S2G8

2 Members

24 Guides authored

0 Guide Comments

Add Comment

View Statistics:

Past 24 Hours: 0

Past 7 Days: 6

Past 30 Days: 30

All Time: 1,725