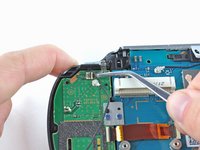
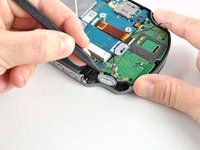
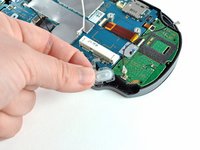
Free Shipping on Domestic Orders $75+

PlayStation Vita Right Shoulder Button Replacement

What you need

  1. PlayStation Vita Right Shoulder Button Replacement, Case Separation: step 1, image 1 of 2 PlayStation Vita Right Shoulder Button Replacement, Case Separation: step 1, image 2 of 2
    • Power off and remove the memory card.

    • Using a Phillips #00 screwdriver, remove the four 6.4mm screws on the back casing.

    Ask FixBot

    Add Comment

  2. PlayStation Vita Right Shoulder Button Replacement: step 2, image 1 of 3 PlayStation Vita Right Shoulder Button Replacement: step 2, image 2 of 3 PlayStation Vita Right Shoulder Button Replacement: step 2, image 3 of 3
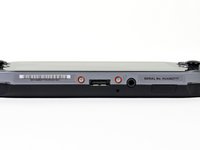
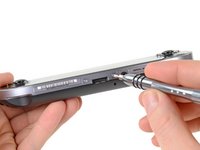
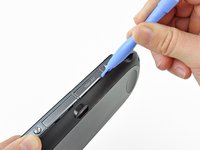
    • Using your fingernail or a spudger, pry open the accessory port cover on the top of the device.

    • Using a Phillips #00 screwdriver, remove the two 5.4mm screws hidden beneath the accessory port cover.

    Ask FixBot

    Add Comment

  3. PlayStation Vita Right Shoulder Button Replacement: step 3, image 1 of 2 PlayStation Vita Right Shoulder Button Replacement: step 3, image 2 of 2
    • Remove the two 5.4mm Phillips #00 screws on the bottom of the device near the charging port.

    Ask FixBot

    Add Comment

  4. PlayStation Vita Right Shoulder Button Replacement: step 4, image 1 of 3 PlayStation Vita Right Shoulder Button Replacement: step 4, image 2 of 3 PlayStation Vita Right Shoulder Button Replacement: step 4, image 3 of 3
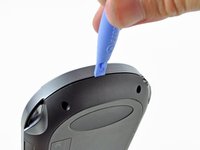
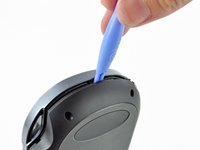
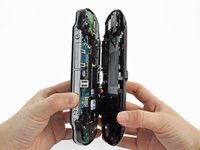
    • Beginning at the sides of the device, use a plastic opening tool to separate the front and rear cases.

    • Continue working your way around the device gently prying it open.

    • There are still wires holding the front and rear cases together. You may damage the connections if you yank the cases completely apart.

    Ask FixBot

    Add Comment

  5. PlayStation Vita Right Shoulder Button Replacement: step 5, image 1 of 2 PlayStation Vita Right Shoulder Button Replacement: step 5, image 2 of 2
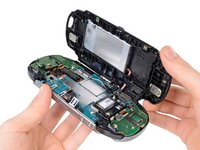
    • Gently separate the two cases, minding the battery and the touch screen controller connectors holding the two cases together.

    Ask FixBot

    Add Comment

  6. PlayStation Vita Right Shoulder Button Replacement: step 6, image 1 of 1
    • Using a spudger, free the touch screen controller flex cable by gently prying up the connection.

    Ask FixBot

    Add Comment

  7. PlayStation Vita Right Shoulder Button Replacement: step 7, image 1 of 1
    • Free the battery cable by gently prying up on the connection with a spudger.

    Ask FixBot

    Add Comment

  8. PlayStation Vita Right Shoulder Button Replacement: step 8, image 1 of 1
    • Separate the front and rear cases.

    Ask FixBot

    Add Comment

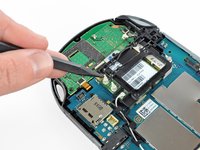
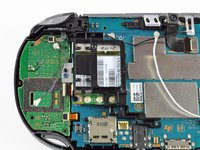
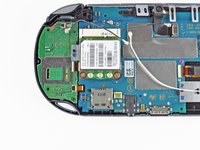
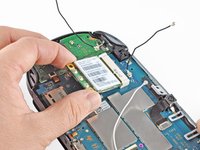
  9. PlayStation Vita Right Shoulder Button Replacement, Wireless Card: step 9, image 1 of 3 PlayStation Vita Right Shoulder Button Replacement, Wireless Card: step 9, image 2 of 3 PlayStation Vita Right Shoulder Button Replacement, Wireless Card: step 9, image 3 of 3
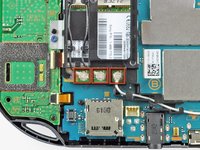
    • Using the pointy end of the spudger, disconnect the three antenna cable connectors on top of the wireless card.

    • Deroute the antenna cables so that they are out of the wireless card casing. Rest the wires out of the way.

    Ask FixBot

    Add Comment

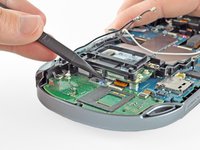
  10. PlayStation Vita Right Shoulder Button Replacement: step 10, image 1 of 2 PlayStation Vita Right Shoulder Button Replacement: step 10, image 2 of 2
    • Hook the spudger beneath the tab on the wireless card casing and release the tab.

    • Peel up and remove the wireless card casing.

    Ask FixBot

    Add Comment

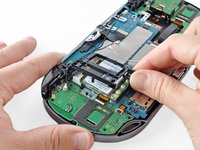
  11. PlayStation Vita Right Shoulder Button Replacement: step 11, image 1 of 2 PlayStation Vita Right Shoulder Button Replacement: step 11, image 2 of 2
    • Remove the two 4.4mm Phillips #00 screws on the wireless card.

    • The wireless card will naturally pop out at an angle.

    • Pull out the wireless card.

    Ask FixBot

    Add Comment

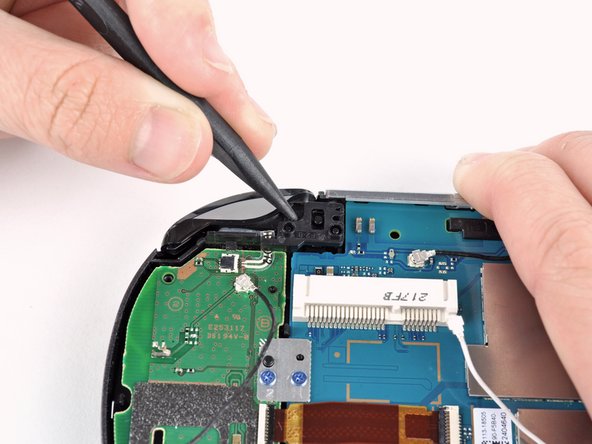
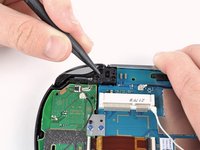
  12. PlayStation Vita Right Shoulder Button Replacement, Right Shoulder Button: step 12, image 1 of 3 PlayStation Vita Right Shoulder Button Replacement, Right Shoulder Button: step 12, image 2 of 3 PlayStation Vita Right Shoulder Button Replacement, Right Shoulder Button: step 12, image 3 of 3
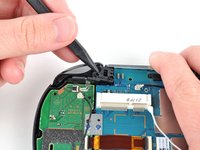
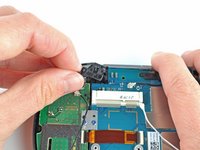
    • Pry up the right shoulder button casing with a spudger and set it aside.

    Ask FixBot

    Add Comment

  13. PlayStation Vita Right Shoulder Button Replacement: step 13, image 1 of 1
    • Remove the translucent, plastic right shoulder button cover.

    Ask FixBot

    Add Comment

  14. PlayStation Vita Right Shoulder Button Replacement: step 14, image 1 of 3 PlayStation Vita Right Shoulder Button Replacement: step 14, image 2 of 3 PlayStation Vita Right Shoulder Button Replacement: step 14, image 3 of 3
    Tool used on this step:
    Tweezers
    $4.99
    Buy
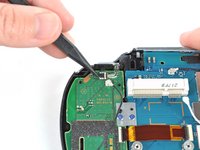
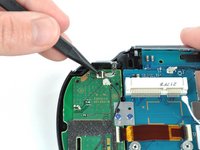
    • Release the right shoulder button flex cable socket by using a spudger to gently pry open the tab.

    • Using tweezers, slide the flex cable out of the socket.

    Ask FixBot

    Add Comment

  15. PlayStation Vita Right Shoulder Button Replacement: step 15, image 1 of 2 PlayStation Vita Right Shoulder Button Replacement: step 15, image 2 of 2
    • Using a spudger, gently peel up the right shoulder button from the light adhesive connecting it to casing.

    Ask FixBot

    Add Comment

Conclusion

To reassemble your device, follow these instructions in reverse order.

Cancel: I did not complete this guide.

4 other people completed this guide.

Brittany McCrigler

Member since: 03/05/12

90,933 Reputation

142 Guides authored

Team

iFixit Member of iFixit

Staff

122 Members

26,599 Guides authored

5 Guide Comments

Is anyone else experiencing the button getting stuck?

Fantasy Silicone Statuettes - Reply Share

Yes, mine is getting stuck, too. I am hoping a replacement will solve this problem.

aseelau - Reply Share

Has anyone experienced or seen an issue where the trigger button acts with the same functionality as the home button. Every time I press the right trigger it exits to home or exits the game.....help please

Daniel - Reply Share

I followed this guide on my 3G vita in order to replace the right trigger cable. I found it wasn't necessary to remove the wireless card if anyone else finds that part tricky.

Caleb - Reply Share

i am replacing the whole front part of my vita do to screen cracked and wont turn on, when i put the button back on, how would i do so to make it stick back on? would i need to reglue it or will it stick back on by itself?

Saul Calderon - Reply Share

Add Comment

View Statistics:

Past 24 Hours: 5

Past 7 Days: 58

Past 30 Days: 242

All Time: 18,552