Free Shipping on Domestic Orders $75+

PlayStation Portal Speaker (Left) Replacement

What you need

  1. PlayStation Portal Speaker (Left) Replacement, Power off your PlayStation Portal: step 1, image 1 of 2 PlayStation Portal Speaker (Left) Replacement, Power off your PlayStation Portal: step 1, image 2 of 2
    • Let your PlayStation Portal's battery drain below 25% before starting this repair—a charged lithium‑ion battery may catch fire if damaged.

    • If your battery is swollen, take appropriate precautions.

    • Power off your Portal and unplug any cables.

    Ask FixBot
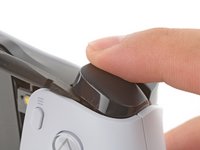
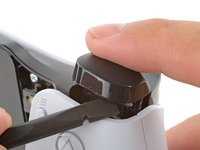
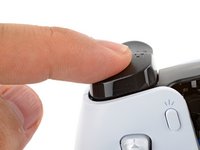
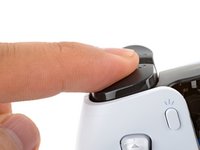
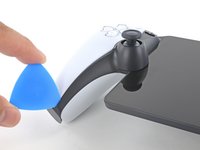
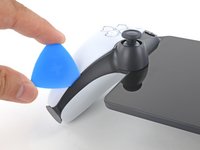
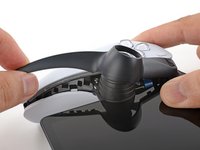
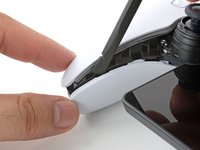
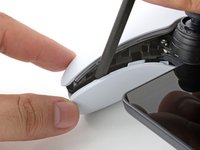
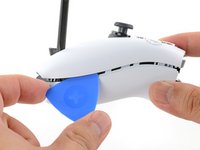
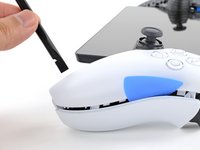
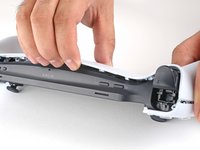
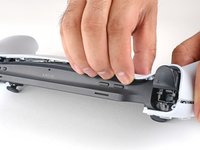
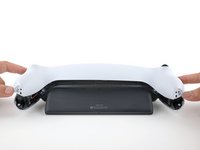
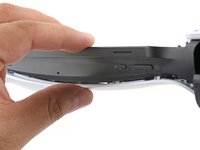
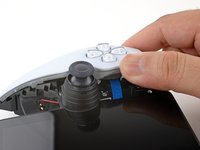
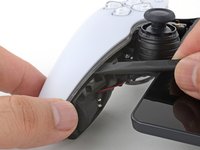
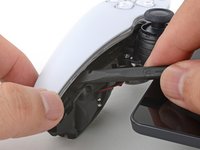
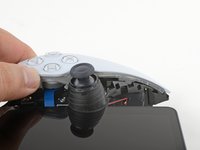
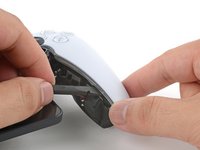
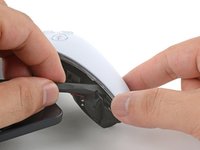
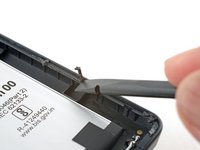
  2. PlayStation Portal Speaker (Left) Replacement, Pry up the L1 bumper: step 2, image 1 of 3 PlayStation Portal Speaker (Left) Replacement, Pry up the L1 bumper: step 2, image 2 of 3 PlayStation Portal Speaker (Left) Replacement, Pry up the L1 bumper: step 2, image 3 of 3
    • Both bumpers are held in place with clips.

    • Rest a finger over the L1 bumper to prevent it from flying off when you pry.

    • Insert the flat end of a spudger between the top edge of the bumper and the white shell.

    • Pry up to unclip the bumper.

    • Slide the spudger along the seam to release any remaining clips.

    Ask FixBot
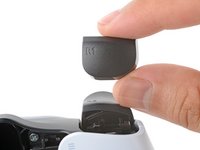
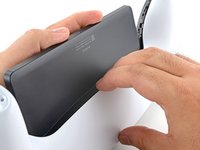
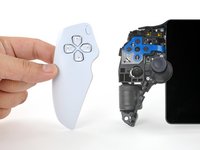
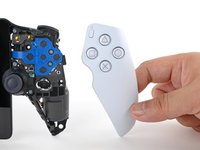
  3. PlayStation Portal Speaker (Left) Replacement: step 3, image 1 of 1
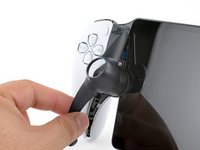
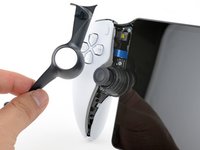
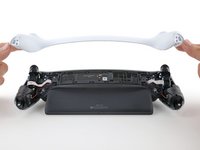
    • Remove the L1 bumper.

    Ask FixBot
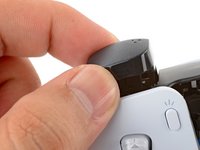
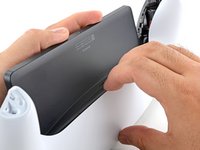
  4. PlayStation Portal Speaker (Left) Replacement, Pry up the R1 bumper: step 4, image 1 of 3 PlayStation Portal Speaker (Left) Replacement, Pry up the R1 bumper: step 4, image 2 of 3 PlayStation Portal Speaker (Left) Replacement, Pry up the R1 bumper: step 4, image 3 of 3
    • Repeat the procedure to pry up and remove the R1 bumper.

    Ask FixBot
  5. PlayStation Portal Speaker (Left) Replacement, Reassembly information: step 5, image 1 of 3 PlayStation Portal Speaker (Left) Replacement, Reassembly information: step 5, image 2 of 3 PlayStation Portal Speaker (Left) Replacement, Reassembly information: step 5, image 3 of 3
    • To install a bumper during reassembly:

    • Align the bumper into its slot.

    • Use a finger to press the bumper down firmly until it clicks into place.

    Ask FixBot
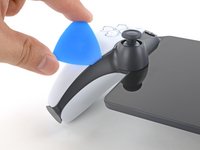
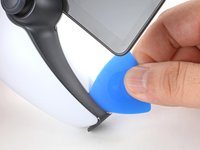
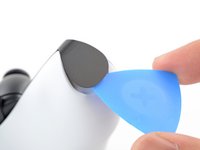
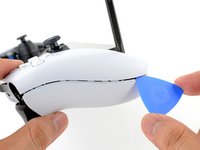
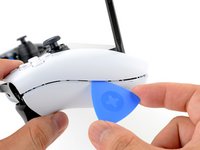
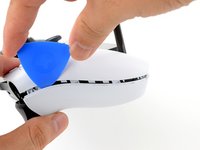
  6. PlayStation Portal Speaker (Left) Replacement, Loosen the left joystick trim strip: step 6, image 1 of 2 PlayStation Portal Speaker (Left) Replacement, Loosen the left joystick trim strip: step 6, image 2 of 2
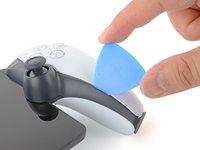
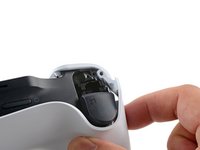
    • Insert the tip of an opening pick underneath the left joystick trim strip, where it wraps below the grip.

    • Twist the opening pick to release the bottom clip.

    Ask FixBot
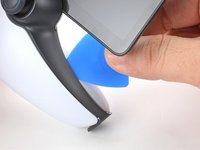
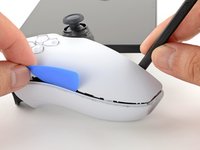
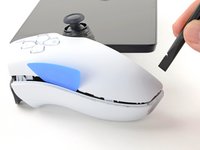
  7. PlayStation Portal Speaker (Left) Replacement: step 7, image 1 of 3 PlayStation Portal Speaker (Left) Replacement: step 7, image 2 of 3 PlayStation Portal Speaker (Left) Replacement: step 7, image 3 of 3
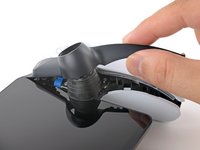
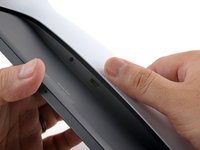
    • Insert the tip of an opening pick underneath the outer edge of the trim strip.

    • Slide the opening pick along the edge to release the clips.

    Ask FixBot
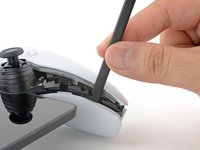
  8. PlayStation Portal Speaker (Left) Replacement: step 8, image 1 of 2 PlayStation Portal Speaker (Left) Replacement: step 8, image 2 of 2
    • Insert the tip of an opening pick under the inner edge of the strip.

    • Slide the opening pick along the edge to release the clips.

    Ask FixBot
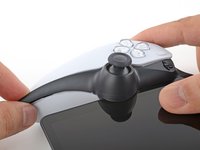
  9. PlayStation Portal Speaker (Left) Replacement: step 9, image 1 of 2 PlayStation Portal Speaker (Left) Replacement: step 9, image 2 of 2
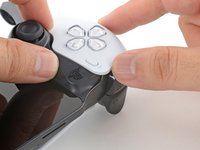
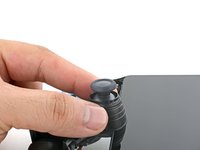
    • Grasp the bottom edge of the trim strip and slowly lift to release any remaining clips.

    • If the strip feels stuck, twist or shift the strip sideways to help release any stubborn clips.

    Ask FixBot
  10. PlayStation Portal Speaker (Left) Replacement, Remove the left joystick trim strip: step 10, image 1 of 2 PlayStation Portal Speaker (Left) Replacement, Remove the left joystick trim strip: step 10, image 2 of 2
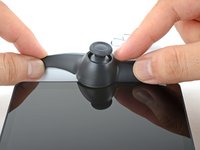
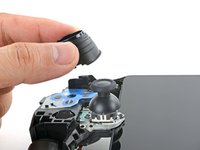
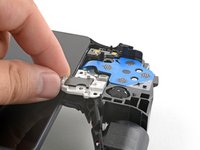
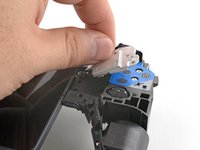
    • Lift and remove the left joystick trim strip.

    Ask FixBot
  11. PlayStation Portal Speaker (Left) Replacement, Remove the right joystick trim strip: step 11, image 1 of 3 PlayStation Portal Speaker (Left) Replacement, Remove the right joystick trim strip: step 11, image 2 of 3 PlayStation Portal Speaker (Left) Replacement, Remove the right joystick trim strip: step 11, image 3 of 3
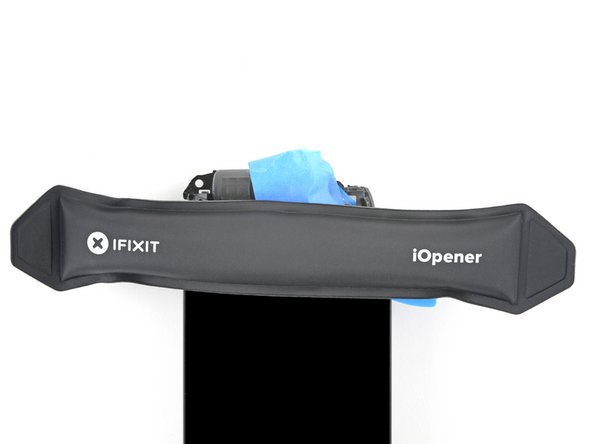
    • Repeat the procedure to unclip and remove the right joystick trim strip.

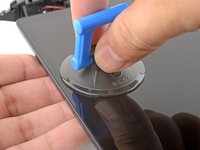
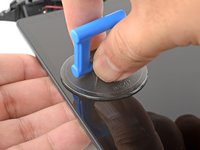
    Ask FixBot
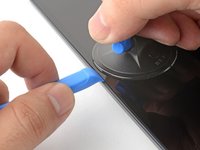
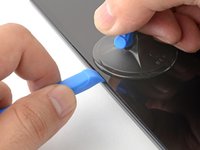
  12. PlayStation Portal Speaker (Left) Replacement, Reassembly information: step 12, image 1 of 2 PlayStation Portal Speaker (Left) Replacement, Reassembly information: step 12, image 2 of 2
    • To reattach a trim strip during reassembly:

    • Use your fingers to align and clip the top edge in place.

    • Firmly press along the remaining edges to clip the strip in place.

    Ask FixBot
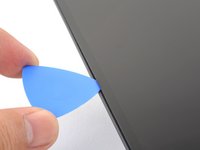
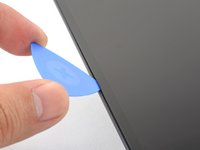
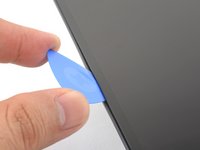
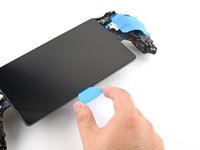
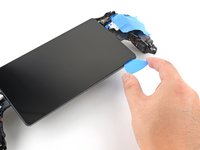
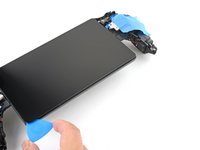
  13. PlayStation Portal Speaker (Left) Replacement, Remove the back shell screws: step 13, image 1 of 2 PlayStation Portal Speaker (Left) Replacement, Remove the back shell screws: step 13, image 2 of 2
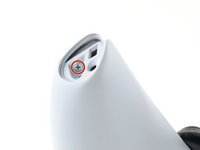
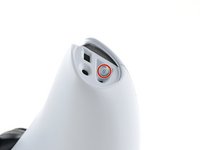
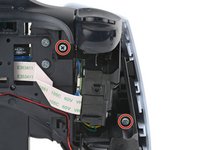
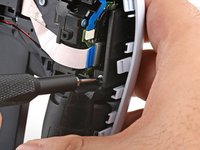
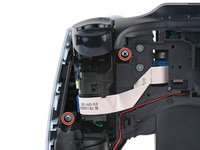
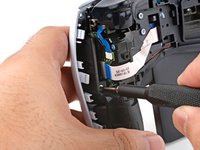
    • Use a Phillips screwdriver to remove the two 6.5 mm‑long screws at the bottom tips of each grip.

    • You may need to peel off some tamper-evident stickers to access the screws.

    Ask FixBot
  14. PlayStation Portal Speaker (Left) Replacement: step 14, image 1 of 2 PlayStation Portal Speaker (Left) Replacement: step 14, image 2 of 2
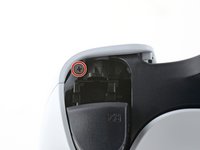
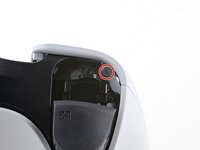
    • Use a Phillips screwdriver to remove the two 6.5 mm‑long screws securing the top corners of the shell.

    Ask FixBot
  15. PlayStation Portal Speaker (Left) Replacement, Back shell information: step 15, image 1 of 1
    • The back shell is still secured with numerous clips. The next few steps will show how to unclip the shell while reducing the chance of damaging the clips.

    Ask FixBot
  16. PlayStation Portal Speaker (Left) Replacement, Unclip the back shell: step 16, image 1 of 2 PlayStation Portal Speaker (Left) Replacement, Unclip the back shell: step 16, image 2 of 2
    • Push the flat edge of a spudger into the back shell's left, inner seam.

    • This releases the clip in that area while flexing the shell slightly, creating a larger outer seam.

    • Keep the spudger inserted in the seam.

    Ask FixBot
  17. PlayStation Portal Speaker (Left) Replacement: step 17, image 1 of 3 PlayStation Portal Speaker (Left) Replacement: step 17, image 2 of 3 PlayStation Portal Speaker (Left) Replacement: step 17, image 3 of 3
    • Insert the tip of an opening pick into the shell's left, outer seam.

    • Slide the pick along the seam to release the clips securing the edge.

    • Keep a pick in the seam to prevent the shell from clipping back together.

    Ask FixBot
  18. PlayStation Portal Speaker (Left) Replacement: step 18, image 1 of 2 PlayStation Portal Speaker (Left) Replacement: step 18, image 2 of 2
    • Remove the spudger from the inner seam.

    Ask FixBot
  19. PlayStation Portal Speaker (Left) Replacement: step 19, image 1 of 3 PlayStation Portal Speaker (Left) Replacement: step 19, image 2 of 3 PlayStation Portal Speaker (Left) Replacement: step 19, image 3 of 3
    • Repeat the previous three steps on the right side of the Portal to release the clips along the right edge.

    Ask FixBot
  20. PlayStation Portal Speaker (Left) Replacement: step 20, image 1 of 2 PlayStation Portal Speaker (Left) Replacement: step 20, image 2 of 2
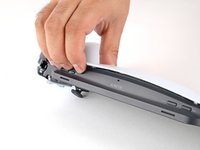
    • Carefully flip your Portal over.

    • Grasp the top edge of the back shell, near a corner.

    • Gently pull the top edge away until you feel the clips release in that corner.

    Ask FixBot
  21. PlayStation Portal Speaker (Left) Replacement: step 21, image 1 of 2 PlayStation Portal Speaker (Left) Replacement: step 21, image 2 of 2
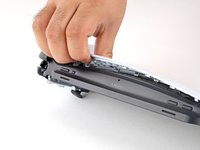
    • Pull along the top edge to release all the top edge clips.

    Ask FixBot
  22. PlayStation Portal Speaker (Left) Replacement: step 22, image 1 of 2 PlayStation Portal Speaker (Left) Replacement: step 22, image 2 of 2
    • Grasp the bottom edge of the back shell, near the center.

    • Pull away with firm force to release the clips securing the bottom edge.

    Ask FixBot
  23. PlayStation Portal Speaker (Left) Replacement, Remove the back shell: step 23, image 1 of 2 PlayStation Portal Speaker (Left) Replacement, Remove the back shell: step 23, image 2 of 2
    • Remove the back shell.

    Ask FixBot
  24. PlayStation Portal Speaker (Left) Replacement, Reassembly information: step 24, image 1 of 3 PlayStation Portal Speaker (Left) Replacement, Reassembly information: step 24, image 2 of 3 PlayStation Portal Speaker (Left) Replacement, Reassembly information: step 24, image 3 of 3
    • To clip the back shell in place during reassembly:

    • Align the corners near the trigger buttons first.

    • Firmly press around the entire perimeter to clip the shell back in place.

    Ask FixBot
  25. PlayStation Portal Speaker (Left) Replacement, Loosen the left grip shell: step 25, image 1 of 2 PlayStation Portal Speaker (Left) Replacement, Loosen the left grip shell: step 25, image 2 of 2
    • Use a Phillips screwdriver to remove the two 6.5 mm‑long screws securing the left grip shell to the Portal.

    • From the back, these screws are on the right side of the Portal.

    • These screws can be tight. Brace the Portal with your hand and apply strong pressure to the screwdriver.

    • You can also try using a JIS #00 screwdriver to get a better grip on these screws.

    Ask FixBot
  26. PlayStation Portal Speaker (Left) Replacement: step 26, image 1 of 2 PlayStation Portal Speaker (Left) Replacement: step 26, image 2 of 2
    • Grasp the top edge of the grip shell and twist it slightly outwards (away from the screen) to release the inner clips.

    Ask FixBot
  27. PlayStation Portal Speaker (Left) Replacement, Remove the left grip shell: step 27, image 1 of 3 PlayStation Portal Speaker (Left) Replacement, Remove the left grip shell: step 27, image 2 of 3 PlayStation Portal Speaker (Left) Replacement, Remove the left grip shell: step 27, image 3 of 3
    • Insert the flat edge of a spudger underneath the inner edge of the grip shell, near the vibration motor.

    • Twist the spudger along the edge to unclip the bottom portion of the grip shell.

    • Remove the left grip shell.

    Ask FixBot
  28. PlayStation Portal Speaker (Left) Replacement, Remove the left joystick cover: step 28, image 1 of 1
    • Use a Phillips screwdriver to remove the two 6.5 mm‑long screws securing the left joystick cover.

    Ask FixBot
  29. PlayStation Portal Speaker (Left) Replacement: step 29, image 1 of 2 PlayStation Portal Speaker (Left) Replacement: step 29, image 2 of 2
    • Lift and remove the left joystick cover.

    Ask FixBot
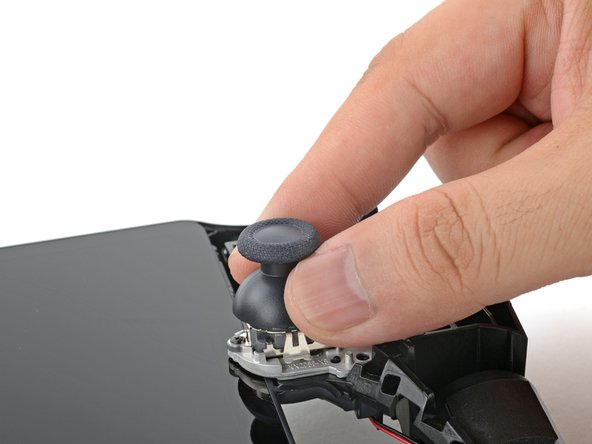
  30. PlayStation Portal Speaker (Left) Replacement, Remove the left joystick grip: step 30, image 1 of 2 PlayStation Portal Speaker (Left) Replacement, Remove the left joystick grip: step 30, image 2 of 2
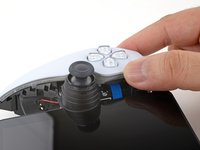
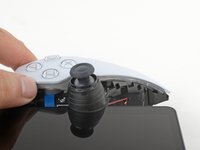
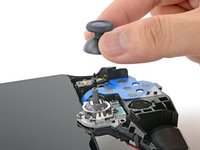
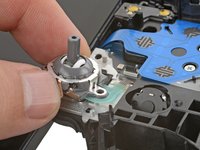
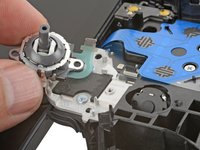
    • Lift and remove the left grip from the joystick.

    Ask FixBot
  31. PlayStation Portal Speaker (Left) Replacement, Loosen the left joystick: step 31, image 1 of 2 PlayStation Portal Speaker (Left) Replacement, Loosen the left joystick: step 31, image 2 of 2
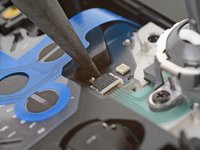
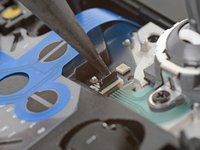
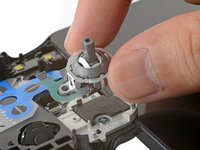
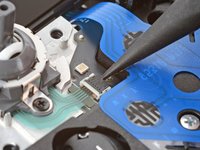
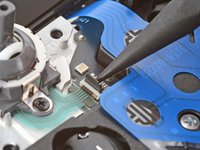
    • Use the point of a spudger to flip up the black lock tab on the left joystick's ZIF connector.

    Ask FixBot
  32. PlayStation Portal Speaker (Left) Replacement: step 32, image 1 of 1
    • Use a Phillips screwdriver to remove the two 2.9 mm‑long screws securing the joystick module to the Portal.

    • These screws can be tight. Brace the Portal with your hand and apply strong pressure to the screwdriver.

    • You can also try using a JIS #00 screwdriver to get a better grip on these screws.

    Ask FixBot
  33. PlayStation Portal Speaker (Left) Replacement, Remove the left joystick: step 33, image 1 of 3 PlayStation Portal Speaker (Left) Replacement, Remove the left joystick: step 33, image 2 of 3 PlayStation Portal Speaker (Left) Replacement, Remove the left joystick: step 33, image 3 of 3
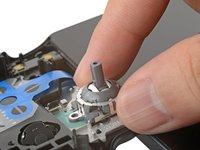
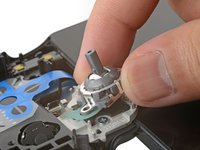
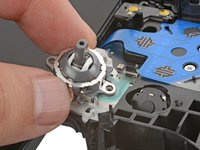
    • Shift the joystick module so that the flex cable slides out of its socket.

    • Remove the left joystick.

    • During reassembly, slide the joystick cable into its socket before securing the joystick in place with screws.

    Ask FixBot
  34. PlayStation Portal Speaker (Left) Replacement, Loosen the right grip shell: step 34, image 1 of 2 PlayStation Portal Speaker (Left) Replacement, Loosen the right grip shell: step 34, image 2 of 2
    • Use a Phillips screwdriver to remove the two 6.5 mm‑long screws securing the right grip shell to the Portal.

    • From the back, these screws are on the left side of the Portal.

    • These screws can be tight. Brace the Portal with your hand and apply strong pressure to the screwdriver.

    • You can also try using a JIS #00 screwdriver to get a better grip on these screws.

    Ask FixBot
  35. PlayStation Portal Speaker (Left) Replacement: step 35, image 1 of 2 PlayStation Portal Speaker (Left) Replacement: step 35, image 2 of 2
    • Grasp the top edge of the grip shell and twist it slightly outwards (away from the screen) to release the inner clips.

    Ask FixBot
  36. PlayStation Portal Speaker (Left) Replacement, Remove the right grip shell: step 36, image 1 of 3 PlayStation Portal Speaker (Left) Replacement, Remove the right grip shell: step 36, image 2 of 3 PlayStation Portal Speaker (Left) Replacement, Remove the right grip shell: step 36, image 3 of 3
    • Insert the flat edge of a spudger underneath the inner edge of the grip shell, near the vibration motor.

    • Twist the spudger along the edge to unclip the bottom portion of the grip shell.

    • Remove the right grip shell.

    Ask FixBot
  37. PlayStation Portal Speaker (Left) Replacement, Remove the right joystick cover: step 37, image 1 of 1
    • Use a Phillips screwdriver to remove the two 6.5 mm‑long screws securing the right joystick cover.

    Ask FixBot
  38. PlayStation Portal Speaker (Left) Replacement: step 38, image 1 of 2 PlayStation Portal Speaker (Left) Replacement: step 38, image 2 of 2
    • Lift and remove the right joystick cover.

    Ask FixBot
  39. PlayStation Portal Speaker (Left) Replacement, Remove the right joystick grip: step 39, image 1 of 2 PlayStation Portal Speaker (Left) Replacement, Remove the right joystick grip: step 39, image 2 of 2
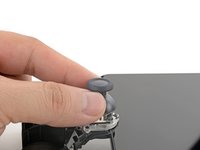
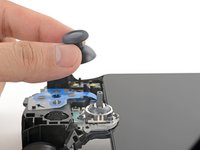
    • Lift and remove the right grip from the joystick.

    Ask FixBot
  40. PlayStation Portal Speaker (Left) Replacement, Loosen the right joystick: step 40, image 1 of 2 PlayStation Portal Speaker (Left) Replacement, Loosen the right joystick: step 40, image 2 of 2
    • Use the point of a spudger to flip up the black lock tab on the right joystick's ZIF connector.

    Ask FixBot
  41. PlayStation Portal Speaker (Left) Replacement: step 41, image 1 of 1
    • Use a Phillips screwdriver to remove the two 2.9 mm‑long screws securing the joystick module to the Portal.

    • These screws can be tight. Brace the Portal with your hand and apply strong pressure to the screwdriver.

    • You can also try using a JIS #00 screwdriver to get a better grip on these screws.

    Ask FixBot
  42. PlayStation Portal Speaker (Left) Replacement, Remove the right joystick: step 42, image 1 of 3 PlayStation Portal Speaker (Left) Replacement, Remove the right joystick: step 42, image 2 of 3 PlayStation Portal Speaker (Left) Replacement, Remove the right joystick: step 42, image 3 of 3
    • Shift the joystick module so that the flex cable slides out of its socket.

    • Remove the right joystick.

    • During reassembly, slide the joystick cable into its socket before securing the joystick in place with screws.

    Ask FixBot
  43. PlayStation Portal Speaker (Left) Replacement, Loosen the joystick brackets: step 43, image 1 of 2 PlayStation Portal Speaker (Left) Replacement, Loosen the joystick brackets: step 43, image 2 of 2
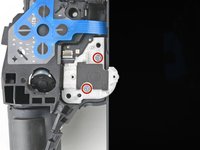
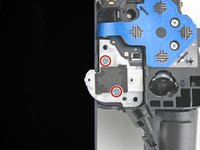
    • Use a Phillips screwdriver to remove the four 6.5 mm‑long screws (two on each side) securing the two joystick brackets to the Portal.

    • These screws can be tight. Brace the Portal with your hand and apply strong pressure to the screwdriver. You can also try using a JIS #00 screwdriver to get a better grip on these screws.

    Ask FixBot
  44. PlayStation Portal Speaker (Left) Replacement: step 44, image 1 of 2 PlayStation Portal Speaker (Left) Replacement: step 44, image 2 of 2
    • Each joystick bracket is still attached to the Portal by a delicate flex cable. Be careful not to strain the cable as you move the bracket.

    • Carefully flip the right bracket over so that it no longer blocks the edge of the screen.

    • Repeat the process for the left bracket.

    Ask FixBot
  45. PlayStation Portal Speaker (Left) Replacement: step 45, image 1 of 2 PlayStation Portal Speaker (Left) Replacement: step 45, image 2 of 2
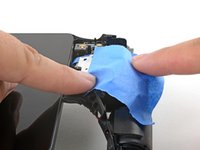
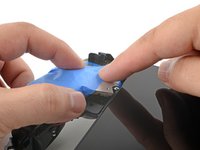
    • Use tape to secure the two brackets to the frame so they don't block the screen.

    • Make sure the delicate flex cables aren't strained when the brackets are taped down.

    Ask FixBot
  46. PlayStation Portal Speaker (Left) Replacement, Loosen the screen: step 46, image 1 of 1
    • Heat an iOpener and apply it to the bottom edge of the screen for two minutes to soften the adhesive.

    • You can also use a hair dryer, heat gun, or hot plate, but be careful not to overheat the device—the display and internal battery are both susceptible to heat damage.

    Ask FixBot
  47. PlayStation Portal Speaker (Left) Replacement: step 47, image 1 of 2 PlayStation Portal Speaker (Left) Replacement: step 47, image 2 of 2
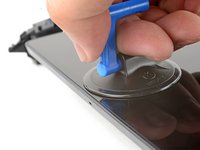
    • Place your fingers underneath the bottom edge of the Portal to keep it steady.

    • Apply a suction handle to the center of the bottom edge, as close to the edge as possible.

    Ask FixBot
  48. PlayStation Portal Speaker (Left) Replacement: step 48, image 1 of 3 PlayStation Portal Speaker (Left) Replacement: step 48, image 2 of 3 PlayStation Portal Speaker (Left) Replacement: step 48, image 3 of 3
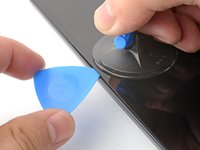
    • This step shows how to create an initial gap using an opening tool. If you don't have an opening tool, skip to the next step.

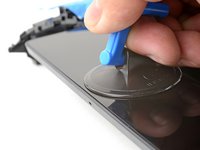
    • Pull up on the suction handle with strong, steady force.

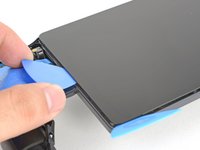
    • Press the edge of an opening tool downwards into the seam to create an initial gap.

    • If you're having trouble, reheat the edge and try again.

    • Insert the tip of an opening pick into the gap.

    • Don't insert the pick more than 2 mm, or you may damage the screen.

    Ask FixBot
  49. PlayStation Portal Speaker (Left) Replacement: step 49, image 1 of 3 PlayStation Portal Speaker (Left) Replacement: step 49, image 2 of 3 PlayStation Portal Speaker (Left) Replacement: step 49, image 3 of 3
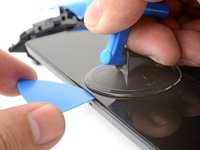
    • This step shows how to create an initial gap using an opening pick.

    • Pull up on the suction handle with strong, steady force to create a gap between the screen and frame.

    • If you can't insert the pick, heat the edge and try again. You may need to repeat the process multiple times before the adhesive loosens enough to insert the pick.

    • Insert the tip of an opening pick into the gap.

    • Don't insert the pick more than 2 mm, or you may damage the screen.

    Ask FixBot
  50. PlayStation Portal Speaker (Left) Replacement: step 50, image 1 of 3 PlayStation Portal Speaker (Left) Replacement: step 50, image 2 of 3 PlayStation Portal Speaker (Left) Replacement: step 50, image 3 of 3
    • Angle the opening pick downwards to a 45° angle.

    • This helps the opening pick slide underneath the display panel.

    • Insert the opening pick deeper into the seam until the pick can stay in place by itself.

    • You can insert the pick more than 2 mm once you've angled the pick.

    Ask FixBot
  51. PlayStation Portal Speaker (Left) Replacement: step 51, image 1 of 1
    • Apply a heated iOpener to the bottom edge of the screen for a minute to reheat the edge.

    Ask FixBot
  52. PlayStation Portal Speaker (Left) Replacement: step 52, image 1 of 3 PlayStation Portal Speaker (Left) Replacement: step 52, image 2 of 3 PlayStation Portal Speaker (Left) Replacement: step 52, image 3 of 3
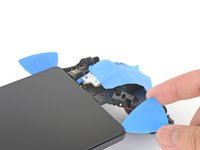
    • Slide the opening pick along the bottom edge to slice through the adhesive.

    • Leave the opening pick in the bottom left corner to prevent the adhesive from resealing.

    Ask FixBot
  53. PlayStation Portal Speaker (Left) Replacement: step 53, image 1 of 3 PlayStation Portal Speaker (Left) Replacement: step 53, image 2 of 3 PlayStation Portal Speaker (Left) Replacement: step 53, image 3 of 3
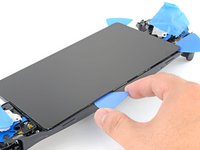
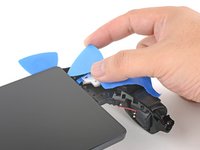
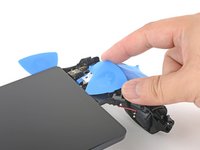
    • Repeat the heating and slicing procedure around the left and top edges of the screen. Leave an opening pick in each corner to prevent the adhesive from resealing.

    • There are no cables along these edges, so you can insert the pick deeper than 2 mm.

    Ask FixBot
  54. PlayStation Portal Speaker (Left) Replacement: step 54, image 1 of 3 PlayStation Portal Speaker (Left) Replacement: step 54, image 2 of 3 PlayStation Portal Speaker (Left) Replacement: step 54, image 3 of 3
    Ask FixBot
  55. PlayStation Portal Speaker (Left) Replacement: step 55, image 1 of 2 PlayStation Portal Speaker (Left) Replacement: step 55, image 2 of 2
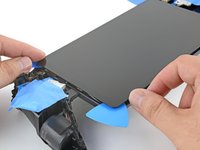
    • Grasp the left edge of the screen near the corners and lift it slightly to separate any remaining adhesive.

    Ask FixBot
  56. PlayStation Portal Speaker (Left) Replacement: step 56, image 1 of 3 PlayStation Portal Speaker (Left) Replacement: step 56, image 2 of 3 PlayStation Portal Speaker (Left) Replacement: step 56, image 3 of 3
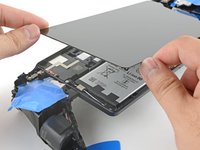
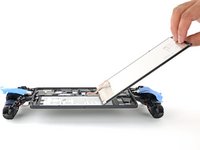
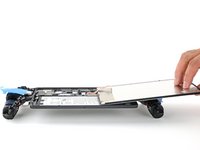
    • Be careful not to strain the short display cable as you move the screen.

    • Swing the left edge of the screen over the right and rest the flipped screen on top of the Portal.

    Ask FixBot
  57. PlayStation Portal Speaker (Left) Replacement: step 57, image 1 of 3 PlayStation Portal Speaker (Left) Replacement: step 57, image 2 of 3 PlayStation Portal Speaker (Left) Replacement: step 57, image 3 of 3
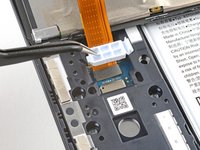
    • Rest a finger on top of the display cable bracket to prevent it from flying off when you pry.

    • Insert the point of a spudger underneath a corner of the bracket and pry it up.

    • Remove the bracket.

    Ask FixBot
  58. PlayStation Portal Speaker (Left) Replacement: step 58, image 1 of 2 PlayStation Portal Speaker (Left) Replacement: step 58, image 2 of 2
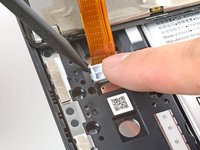
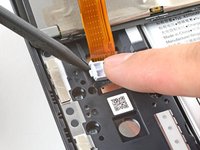
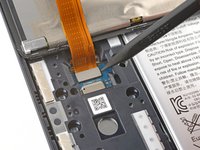
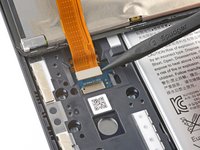
    • Use the point of a spudger to pry up and disconnect the display cable connector.

    • To re-attach press connectors like this one, carefully align and press down on one side until it clicks into place, then repeat on the other side. Don't press down in the middle. If the connector is misaligned, the pins can bend, causing permanent damage.

    Ask FixBot
  59. PlayStation Portal Speaker (Left) Replacement, Remove the screen: step 59, image 1 of 1
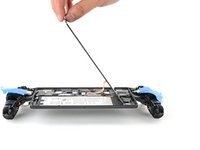
    • Remove the screen.

    Ask FixBot
  60. PlayStation Portal Speaker (Left) Replacement, Reassembly information: step 60, image 1 of 2 PlayStation Portal Speaker (Left) Replacement, Reassembly information: step 60, image 2 of 2
    Tool used on this step:
    Tesa 61395 Tape
    $2.95
    Buy
    • You'll need to replace the adhesive to reattach the screen:

    • To ensure a good adhesive bond, thoroughly clean all adhesion surfaces.

    • Remove large chunks of adhesives with the flat edge of a spudger or tweezers.

    • Use high concentration isopropyl alcohol (>90%) to remove any remaining residue. Wipe in one direction with a lint-free cloth or coffee filter until all the adhesive residue is gone.

    • Allow any leftover isopropyl alcohol to completely evaporate before reassembly.

    • Apply strips of double-sided tape such as Tesa tape to the screen perimeter to reattach the screen.

    Ask FixBot
  61. PlayStation Portal Speaker (Left) Replacement, Loosen the motherboard cover: step 61, image 1 of 1
    • Use a Phillips screwdriver to remove the eight 6.5 mm‑long screws securing the motherboard cover to the Portal.

    Ask FixBot
  62. PlayStation Portal Speaker (Left) Replacement: step 62, image 1 of 2 PlayStation Portal Speaker (Left) Replacement: step 62, image 2 of 2
    • Insert the flat edge of a spudger under the top-right corner of the motherboard cover.

    • Pry up to release the clips securing the corner.

    Ask FixBot
  63. PlayStation Portal Speaker (Left) Replacement, Remove the motherboard cover: step 63, image 1 of 2 PlayStation Portal Speaker (Left) Replacement, Remove the motherboard cover: step 63, image 2 of 2
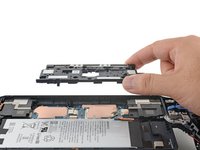
    • Lift and remove the motherboard cover.

    • During reassembly, lay the cover in place and press along the edges to clip it in place.

    Ask FixBot
  64. PlayStation Portal Speaker (Left) Replacement, Disconnect the battery: step 64, image 1 of 2 PlayStation Portal Speaker (Left) Replacement, Disconnect the battery: step 64, image 2 of 2
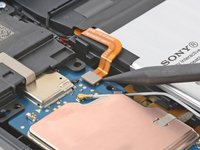
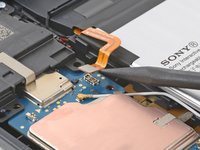
    • Use the point of a spudger to pry up and disconnect the battery connector.

    Ask FixBot
  65. PlayStation Portal Speaker (Left) Replacement, Power off your PlayStation Portal: step 65, image 1 of 2 PlayStation Portal Speaker (Left) Replacement, Power off your PlayStation Portal: step 65, image 2 of 2
    • Before you begin repairs, power off your PlayStation Portal and unplug any cables.

    Ask FixBot
  66. PlayStation Portal Speaker (Left) Replacement, Loosen the left speaker: step 66, image 1 of 1
    • Use a Phillips screwdriver to remove the three screws securing the left speaker to the Portal:

    • Two 2.9 mm‑long screws

    • One 6.5 mm‑long screw

    • This screw can be tight. Brace the Portal with your hand and apply strong pressure to the screwdriver. You can also try using a JIS #00 screwdriver to get a better grip on the screw.

    Ask FixBot
  67. PlayStation Portal Speaker (Left) Replacement, Remove the left speaker: step 67, image 1 of 3 PlayStation Portal Speaker (Left) Replacement, Remove the left speaker: step 67, image 2 of 3 PlayStation Portal Speaker (Left) Replacement, Remove the left speaker: step 67, image 3 of 3
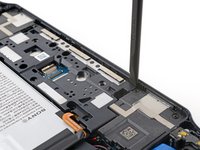
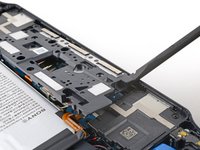
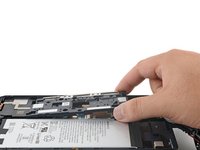
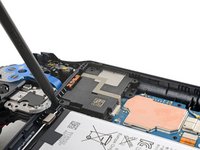
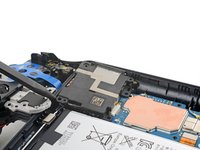
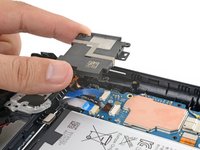
    • Insert the point of a spudger underneath the bottom left corner of the left speaker.

    • Pry up and remove the left speaker.

    Ask FixBot
Conclusion

To reassemble your device, follow these instructions in reverse order.

Take your e-waste to an R2 or e-Stewards certified recycler.

Repair didn’t go as planned? Try some basic troubleshooting, or ask our Answers community for help.


Arthur Shi

Member since: 01/03/18

335,672 Reputation

848 Guides authored

Team

iFixit Member of iFixit

Staff

123 Members

25,699 Guides authored

0 Guide Comments

Add Comment

View Statistics:

Past 24 Hours: 0

Past 7 Days: 12

Past 30 Days: 54

All Time: 495