Free Shipping on Domestic Orders $75+

PlayStation Classic Controller Port Replacement

What you need

  1. PlayStation Classic Controller Port Replacement, Motherboard: step 1, image 1 of 1
    • Flip the console so its back is facing up.

    Ask FixBot

    Add Comment

  2. PlayStation Classic Controller Port Replacement: step 2, image 1 of 1
    • Remove the five 8mm screws using the Phillips #00 screwdriver.

    • Make sure to keep your screws together in a secure location to avoid misplacement.

    Ask FixBot

    Add Comment

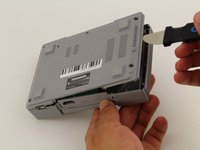
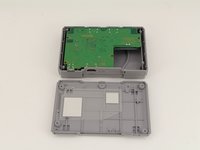
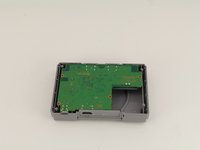
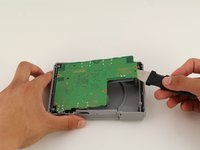
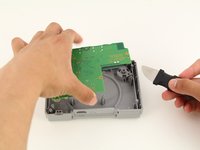
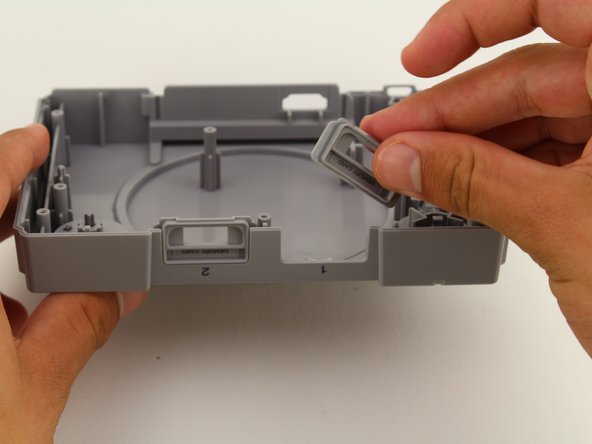
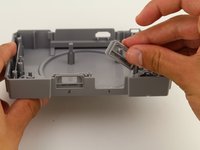
  3. PlayStation Classic Controller Port Replacement: step 3, image 1 of 3 PlayStation Classic Controller Port Replacement: step 3, image 2 of 3 PlayStation Classic Controller Port Replacement: step 3, image 3 of 3
    • Remove the back plate from the rest of the console using your hands or the Jimmy tool.

    Ask FixBot

    Add Comment

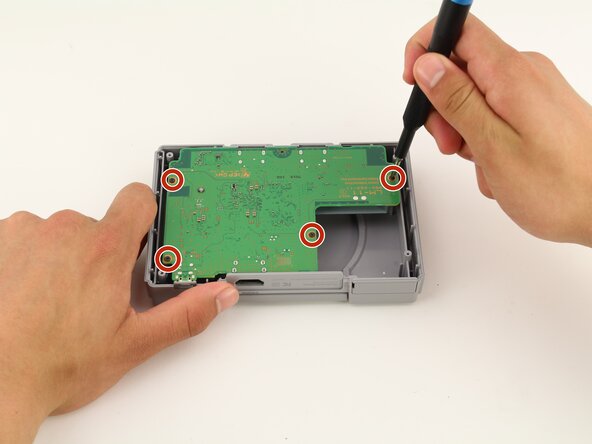
  4. PlayStation Classic Controller Port Replacement: step 4, image 1 of 1
    • Unscrew the motherboard's four 6mm screws with the Phillips #00 screwdriver.

    • Be careful not to apply too much force. The motherboard is flimsy and easy to break.

    • Keep track of your screws once they are removed.

    Ask FixBot

    Add Comment

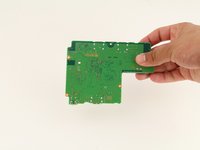
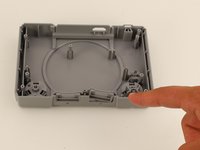
  5. PlayStation Classic Controller Port Replacement: step 5, image 1 of 3 PlayStation Classic Controller Port Replacement: step 5, image 2 of 3 PlayStation Classic Controller Port Replacement: step 5, image 3 of 3
    • Carefully remove the motherboard from the the rest of the console using your hands or the Jimmy tool.

    Ask FixBot

    Add Comment

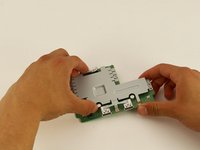
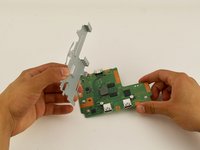
  6. PlayStation Classic Controller Port Replacement: step 6, image 1 of 3 PlayStation Classic Controller Port Replacement: step 6, image 2 of 3 PlayStation Classic Controller Port Replacement: step 6, image 3 of 3
    • The motherboard is connected to its metal protective casing with sticky pads. No tools are required to remove it.

    • Pull the metal casing off the motherboard.

    • Remember to be gentle when handling the motherboard.

    Ask FixBot

    Add Comment

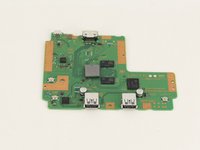
  7. PlayStation Classic Controller Port Replacement, Controller Port: step 7, image 1 of 2 PlayStation Classic Controller Port Replacement, Controller Port: step 7, image 2 of 2
    • Identify the damaged or faulty controller port and simply use your fingers to remove.

    Ask FixBot

    Add Comment

Conclusion

To reassemble your device, follow these instructions in reverse order.

Cancel: I did not complete this guide.

One other person completed this guide.

Maxwell Webb

Member since: 04/22/19

709 Reputation

5 Guides authored

Team

Cal Poly, Team S2-G8, Maness Spring 2019 Member of Cal Poly, Team S2-G8, Maness Spring 2019

CPSU-MANESS-S19S2G8

2 Members

24 Guides authored

0 Guide Comments

Add Comment

View Statistics:

Past 24 Hours: 4

Past 7 Days: 8

Past 30 Days: 30

All Time: 2,582