Free Shipping on Domestic Orders $75+

This guide has more recent changes. Switch to the latest unverified version.

PlayStation 5 Fan Replacement

What you need

Video Overview

    1. PlayStation 5 Fan Replacement, Remove the stand screw: step 1, image 1 of 1
      • If your PlayStation 5 is in its vertical orientation, flip it upside down so the stand is facing up.

      • If your PlayStation 5 is in its horizontal orientation, skip to Step 6.

      • Work on a flat surface to prevent your PlayStation from falling over.

      • Use a coin or a flathead screwdriver to remove the 26.5 mm-long stand screw.

      Ask FixBot

      Add Comment

    2. PlayStation 5 Fan Replacement, Remove the vertical stand: step 2, image 1 of 2 PlayStation 5 Fan Replacement, Remove the vertical stand: step 2, image 2 of 2
      • Lift straight up to remove the stand.

      Ask FixBot

      Add Comment

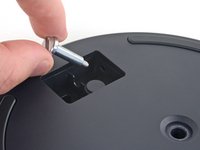
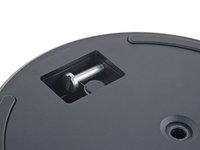
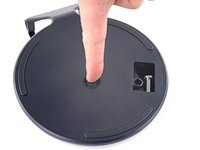
    3. PlayStation 5 Fan Replacement, Store the stand screw: step 3, image 1 of 2 PlayStation 5 Fan Replacement, Store the stand screw: step 3, image 2 of 2
      • Insert the screw into the cubby on the bottom of the stand.

      Ask FixBot

      Add Comment

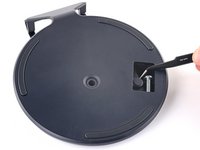
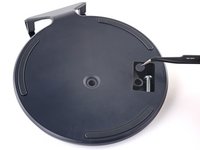
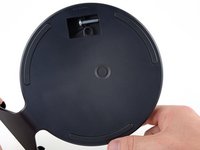
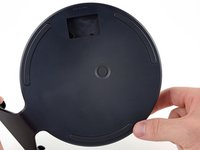
    4. PlayStation 5 Fan Replacement, Cap the screw hole: step 4, image 1 of 3 PlayStation 5 Fan Replacement, Cap the screw hole: step 4, image 2 of 3 PlayStation 5 Fan Replacement, Cap the screw hole: step 4, image 3 of 3
      Tool used on this step:
      Tweezers
      $4.99
      Buy
      • Use a pair of tweezers or your fingernail to remove the cap from the cubby.

      • Use your finger to press the cap into the screw hole.

      Ask FixBot

      Add Comment

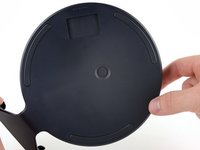
    5. PlayStation 5 Fan Replacement, Close the cubby: step 5, image 1 of 3 PlayStation 5 Fan Replacement, Close the cubby: step 5, image 2 of 3 PlayStation 5 Fan Replacement, Close the cubby: step 5, image 3 of 3
      • Twist the stand counterclockwise to close the cubby.

      Ask FixBot

      Add Comment

    6. PlayStation 5 Fan Replacement, Remove the horizontal stand: step 6, image 1 of 2 PlayStation 5 Fan Replacement, Remove the horizontal stand: step 6, image 2 of 2
      • If your PlayStation 5 is in its horizontal orientation, rest it on its face with the charging port facing up.

      • Lift the stand straight up to remove it.

      Ask FixBot

      Add Comment

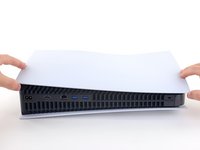
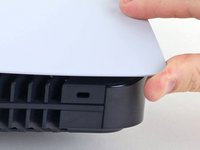
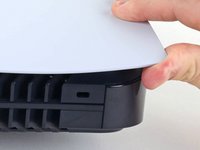
    1. PlayStation 5 Fan Replacement, Remove the right faceplate: step 7, image 1 of 3 PlayStation 5 Fan Replacement, Remove the right faceplate: step 7, image 2 of 3 PlayStation 5 Fan Replacement, Remove the right faceplate: step 7, image 3 of 3
      • Flip the device over so that the USB and ethernet ports are on the left side from your perspective.

      • Lift up the corner of the faceplate to unclip it from the case.

      Ask FixBot

      Add Comment

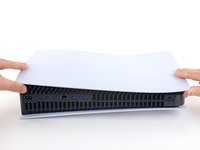
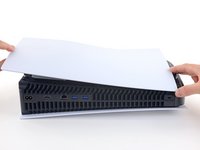
    2. PlayStation 5 Fan Replacement: step 8, image 1 of 2 PlayStation 5 Fan Replacement: step 8, image 2 of 2
      • While lifting up the corner, slide the faceplate towards the bottom of the device.

      • Remove the right faceplate.

      Ask FixBot

      Add Comment

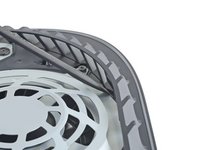
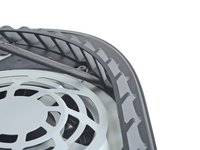
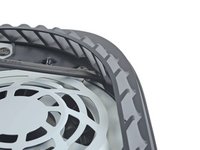
    3. PlayStation 5 Fan Replacement, Pry up the grille: step 9, image 1 of 3 PlayStation 5 Fan Replacement, Pry up the grille: step 9, image 2 of 3 PlayStation 5 Fan Replacement, Pry up the grille: step 9, image 3 of 3
      • Insert the flat end of a spudger underneath the grille and into the gap above the fan.

      • Lift up with the spudger to pry the grille away from the case.

      Ask FixBot

      Add Comment

    4. PlayStation 5 Fan Replacement, Remove the grille: step 10, image 1 of 2 PlayStation 5 Fan Replacement, Remove the grille: step 10, image 2 of 2
      • Lift the grille away from the case to remove it.

      Ask FixBot

      Add Comment

    5. PlayStation 5 Fan Replacement, Remove the fan shroud screws: step 11, image 1 of 1
      Tool used on this step:
      Magnetic Project Mat
      $19.95
      Buy
      • Use a TR9 Torx Security driver to remove the four screws securing the fan shroud to the case:

      • Two 23.3 mm-long screws

      • One 11.4 mm-long screw

      • One 31 mm-long screw

      • Throughout this repair, keep track of each screw and make sure it goes back exactly where it came from to avoid damaging your console.

      Ask FixBot

      Add Comment

    6. PlayStation 5 Fan Replacement, Remove the fan shroud: step 12, image 1 of 2 PlayStation 5 Fan Replacement, Remove the fan shroud: step 12, image 2 of 2
      • Lift the fan shroud straight up to remove it.

      Ask FixBot

      Add Comment

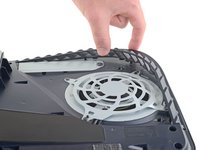
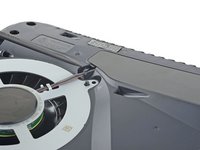
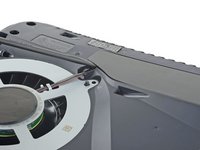
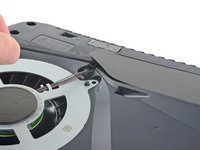
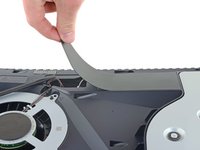
    7. PlayStation 5 Fan Replacement, Remove the wire cover: step 13, image 1 of 3 PlayStation 5 Fan Replacement, Remove the wire cover: step 13, image 2 of 3 PlayStation 5 Fan Replacement, Remove the wire cover: step 13, image 3 of 3
      • Insert the flat end of a spudger beneath the black wire cover and into the gap above the fan wires.

      • Pry only on the wire cover, not on the fan wires themselves.

      • Use the spudger to peel up the wire cover until you can grip it with your fingers.

      Ask FixBot

      Add Comment

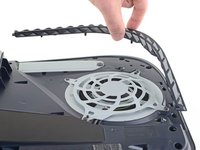
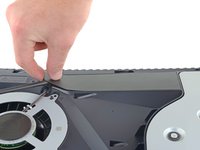
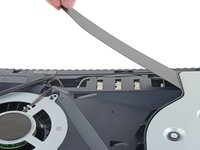
    8. PlayStation 5 Fan Replacement: step 14, image 1 of 3 PlayStation 5 Fan Replacement: step 14, image 2 of 3 PlayStation 5 Fan Replacement: step 14, image 3 of 3
      • Use your fingers to peel off the wire cover.

      Ask FixBot

      Add Comment

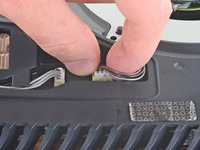
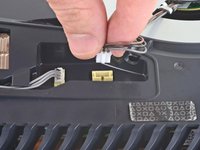
    9. PlayStation 5 Fan Replacement, Disconnect the fan: step 15, image 1 of 2 PlayStation 5 Fan Replacement, Disconnect the fan: step 15, image 2 of 2
      • Use your fingers to grip the edges of the fan cable connector, and pull up to disconnect it from the motherboard.

      • Always pull cables by their connectors and not the wires themselves.

      Ask FixBot

      Add Comment

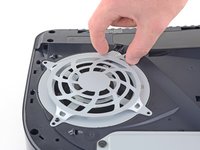
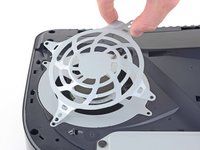
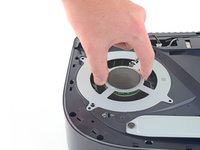
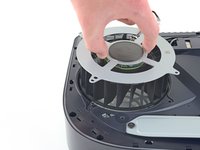
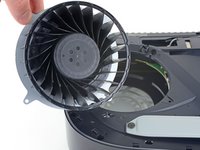
    10. PlayStation 5 Fan Replacement, Remove the fan: step 16, image 1 of 3 PlayStation 5 Fan Replacement, Remove the fan: step 16, image 2 of 3 PlayStation 5 Fan Replacement, Remove the fan: step 16, image 3 of 3
      • Lift the fan up and out of the case to remove it.

      Ask FixBot

      Add Comment

Conclusion

To reassemble your device, follow these instructions in reverse order.

Take your e-waste to an R2 or e-Stewards certified recycler.
Repair didn’t go as planned? Try some basic troubleshooting, or ask our PlayStation 5 Answers community for help.

Cancel: I did not complete this guide.

58 other people completed this guide.

Robert Boyd

Member since: 02/01/21

33,544 Reputation

94 Guides authored

10 Guide Comments

Hello, I followed tronix fixs and he used pliers then I used it as well and the yellow part came off and the fan lines broke I don't know what to do since I have been saving up since it came out

Emran - Reply Share

Can I put a 23 blade fan in a system that came with the 1.9a 17 blade fan?

wgeclipse - Reply Share

Did you find out?

Popes - Reply Share

I just did exactly that for a customer (technically it was a 23 blade 2.15A fan) it works great, the fan connector leads are just barely long enough to fit in the channel in a CFI-1215A model though, so careful not to tug too hard after plugging the fan connector and seating the fan in place.

just chris... - Reply Share

Would a fan going bad prevent the PS 5 from turning on?

Frank Garcia - Reply Share

Add Comment

View Statistics:

Past 24 Hours: 237

Past 7 Days: 1,722

Past 30 Days: 7,273

All Time: 358,185