Free Shipping on Domestic Orders $75+

PlayStation 3 Lower Case Replacement

What you need

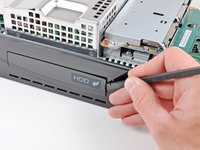
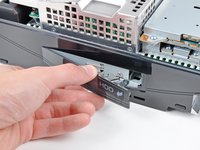
    1. PlayStation 3 Lower Case Replacement, Smart Plate: step 1, image 1 of 2 PlayStation 3 Lower Case Replacement, Smart Plate: step 1, image 2 of 2
      • Use the tip of a spudger to remove the black rubber screw cover from the side of the PS3.

      • The screw cover may be underneath a warranty sticker. This sticker will change appearance, and show "VOID" after it has been removed.

      Ask FixBot

      Add Comment

    2. PlayStation 3 Lower Case Replacement: step 2, image 1 of 1
      • Remove the single 8.5 mm T10 Security Torx screw from the smart plate.

      Ask FixBot

      Add Comment

    3. PlayStation 3 Lower Case Replacement: step 3, image 1 of 3 PlayStation 3 Lower Case Replacement: step 3, image 2 of 3 PlayStation 3 Lower Case Replacement: step 3, image 3 of 3
      • Pull the smart plate toward the hard drive bay, then lift it off the body of the PS3.

      Ask FixBot

      Add Comment

    4. PlayStation 3 Lower Case Replacement: step 4, image 1 of 1
      • Be sure to keep track of the small metal bracket loosely held in the top cover, if equipped.

      Ask FixBot

      Add Comment

    1. PlayStation 3 Lower Case Replacement, Top Cover: step 5, image 1 of 1
      • Remove the following seven screws:

      • Six 52 mm Phillips screws

      • One 30 mm Phillips screw

      Ask FixBot

      Add Comment

    2. PlayStation 3 Lower Case Replacement: step 6, image 1 of 1
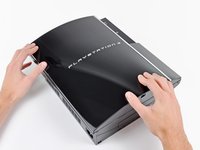
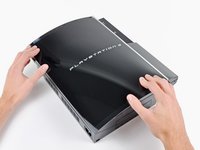
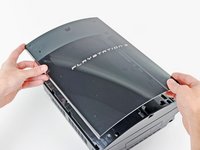
      • Lift the top cover from its rear edge and rotate it toward the front of the PS3.

      • Remove the top cover.

      • There is a plastic hook located in a hole on the top back right hand side corner. Carefully push the plastic hook a bit from the rear of the machine with a spudger to release the rear right of the casing.

      Ask FixBot

      Add Comment

    1. PlayStation 3 Lower Case Replacement, Blu-ray Disc Drive: step 7, image 1 of 1
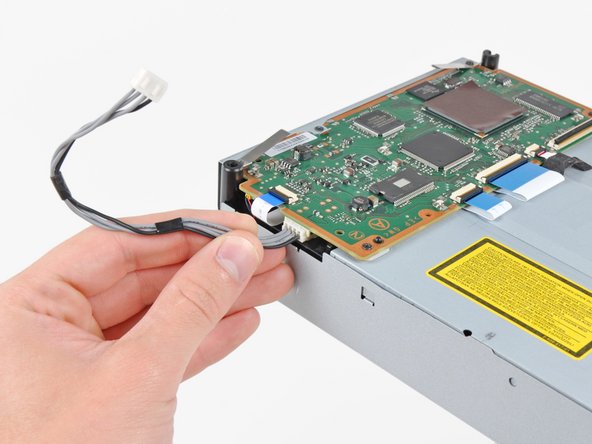
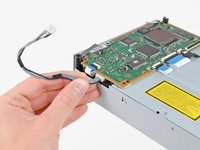
      • Disconnect the Blu-ray power cable from the motherboard.

      • Pull the connector straight up and out of its socket.

      Ask FixBot

      Add Comment

    2. PlayStation 3 Lower Case Replacement: step 8, image 1 of 1
      • Lift the Blu-ray drive from the edge nearest the power supply and rotate it away from the chassis enough to access its ribbon cable.

      Ask FixBot

      Add Comment

    3. PlayStation 3 Lower Case Replacement: step 9, image 1 of 3 PlayStation 3 Lower Case Replacement: step 9, image 2 of 3 PlayStation 3 Lower Case Replacement: step 9, image 3 of 3
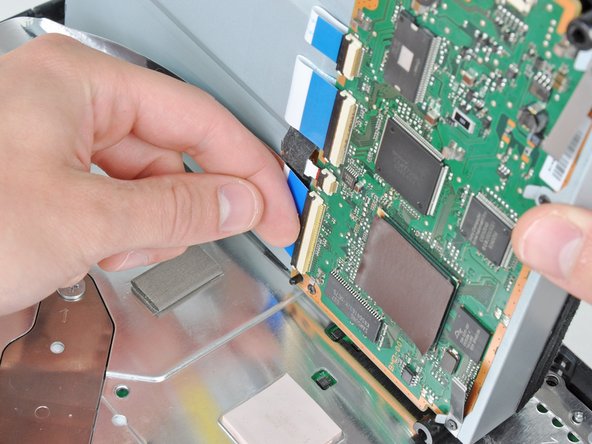
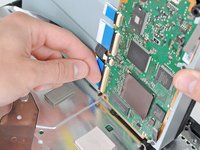
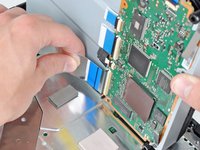
      • Use your fingernail to flip up the retaining flap on the Blu-ray ribbon cable socket.

      • Be sure you are prying up on the retaining flap, not the socket itself.

      • Pull the ribbon cable out of its socket.

      • Remove the Blu-ray drive from the PS3.

      • If replacing the Blu-ray drive, transfer the power cable to your new drive.

      Ask FixBot

      Add Comment

    1. PlayStation 3 Lower Case Replacement, Motherboard Assembly: step 10, image 1 of 1
      • Pull the control board ribbon cable straight up and out of its socket on the motherboard.

      Ask FixBot

      Add Comment

    2. PlayStation 3 Lower Case Replacement: step 11, image 1 of 2 PlayStation 3 Lower Case Replacement: step 11, image 2 of 2
      • Remove the two 12 mm Phillips screws securing the control board to the lower case.

      • Remove the control board and its attached cable from the PS3.

      Ask FixBot

      Add Comment

    3. PlayStation 3 Lower Case Replacement: step 12, image 1 of 1
      • Remove the following eight screws securing the motherboard assembly to the lower case:

      • Seven 12 mm Phillips screws (ph2)

      • One 30 mm Phillips screw

      Ask FixBot

      Add Comment

    4. PlayStation 3 Lower Case Replacement: step 13, image 1 of 1
      • Remove the control board bracket.

      Ask FixBot

      Add Comment

    5. PlayStation 3 Lower Case Replacement: step 14, image 1 of 2 PlayStation 3 Lower Case Replacement: step 14, image 2 of 2
      • Use the flat end of a spudger to pry the hard drive bay cover away from the lower case.

      • Remove the hard drive bay cover.

      Ask FixBot

      Add Comment

    6. PlayStation 3 Lower Case Replacement: step 15, image 1 of 1
      • Lift the motherboard assembly out of the lower case.

      Ask FixBot

      Add Comment

    1. PlayStation 3 Lower Case Replacement, Lower Case: step 16, image 1 of 1
      • Lower case remains.

      Ask FixBot

      Add Comment

Conclusion

To reassemble your device, follow these instructions in reverse order.

Cancel: I did not complete this guide.

15 other people completed this guide.

1 Guide Comment

let op dat het zelfde model is anders past hij niet

j-w van den berg - Reply Share

Add Comment

View Statistics:

Past 24 Hours: 5

Past 7 Days: 19

Past 30 Days: 167

All Time: 21,220