Introduction
The earpiece unit on the Plantronics Voyager Legend consists of a soft-plastic earpiece, a plastic housing, a wire assembly, and the actual speaker unit. The assembly is held together by glue and snaps making disassembly difficult.
What you need
-
-
Remove the soft, plastic earpiece.
-
Depress the soft, plastic earpiece. While depressed, rotate the earpiece counterclockwise ninety degrees.
-
List the soft, plastic earpiece out of its position.
 Ask FixBot
-
-
-
Heat the earpiece assembly with a heat gun (a hair dryer will work if a heat gun is not available).
-
-
-
The two snaps that combine with the adhesive to hold the assembly together are located in the neck of the earpiece unit.
-
-
-
-
Remove the top half of the earpiece assembly.
-
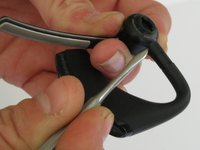
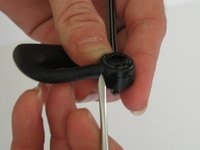
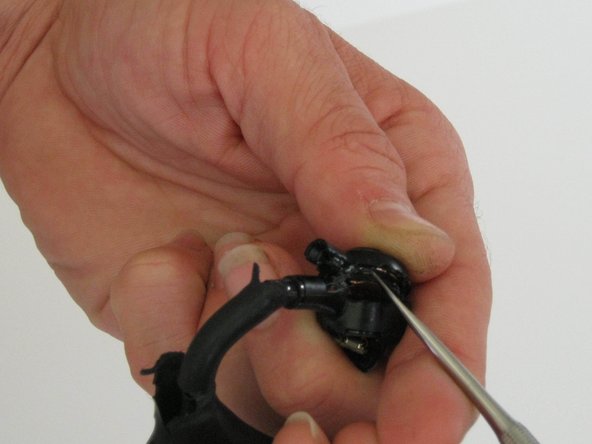
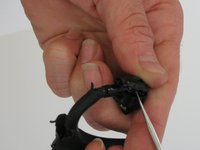
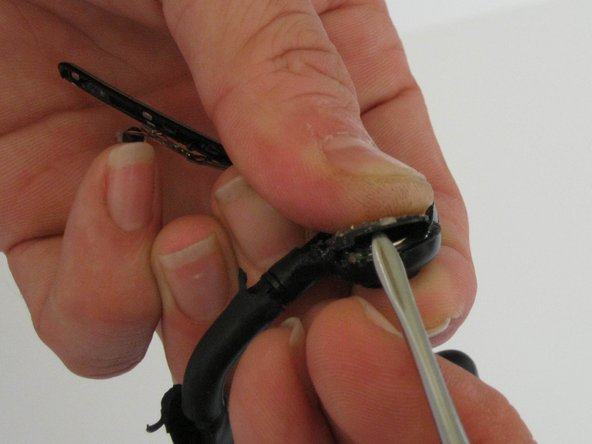
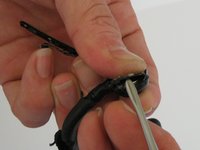
Use the pointed end of a small, metal Spudger to loosen the two tabs that hold the earpiece assembly together.
-
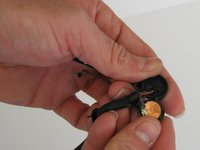
While glue is soft and snaps are loosened, remove the entire top half of the earpiece housing.
-
-
-
Remove the speaker housing.
-
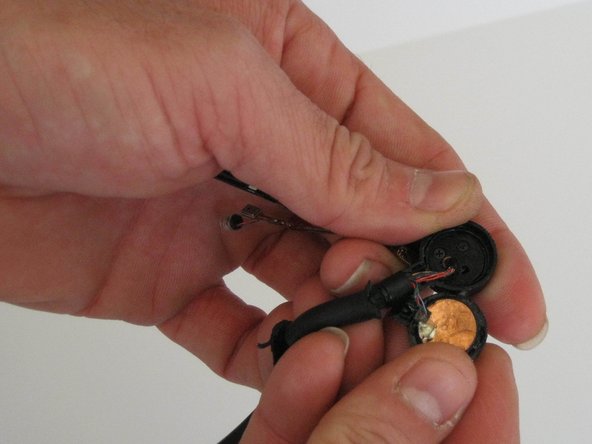
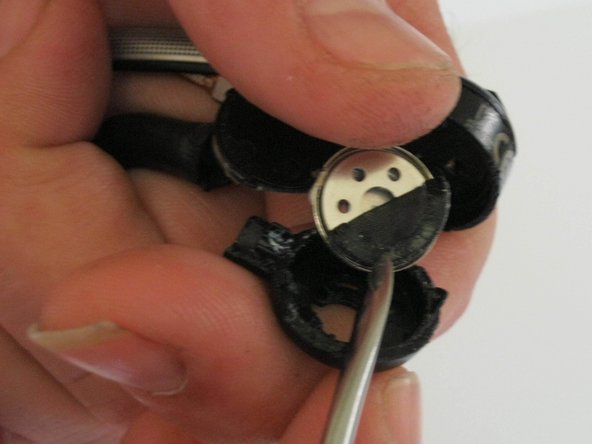
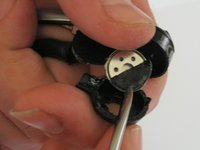
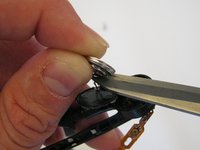
With the copper backing plate displayed, use the pointed end of a small, metal Spudger to disassemble the speaker housing.
-
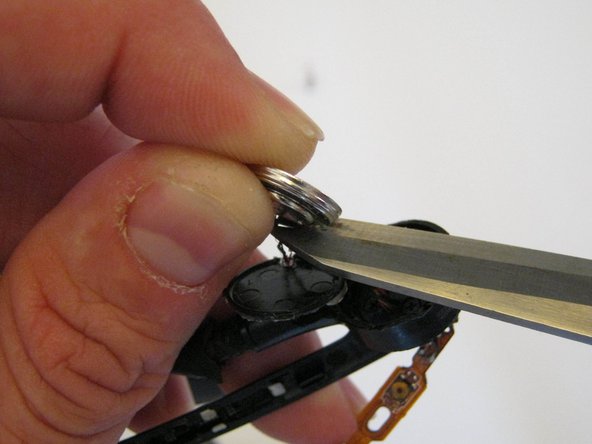
Using the pointed end of the small, metal Spudger, lift the copper, backing plate away from the speaker unit.
-
-
Tool used on this step:Tweezers$4.99
-
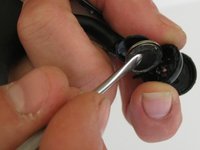
Use Precision Tweezers to remove the protective screen from the front of the speaker unit.
-
-
-
Remove the speaker unit and solder a new unit in place.
-
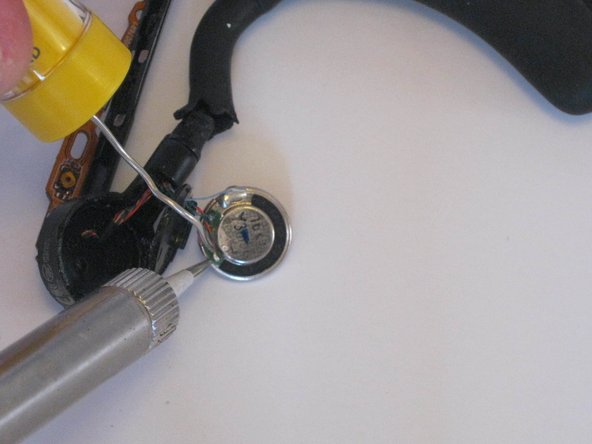
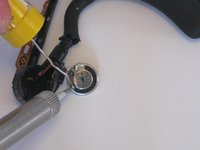
Locate the leads that connect to the back of the speaker unit.
-
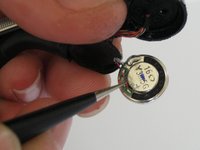
Disconnect the leads from the back of the speaker unit.
-
Remove the speaker unit, and replace by soldering the leads back into their correct locations.
-







To reassemble your device, follow these instructions in reverse order.
Cancel: I did not complete this guide.
7 other people completed this guide.

Team

USF Sarasota-Manatee, Team 1-2, Stewart Fall 2015 Member of USF Sarasota-Manatee, Team 1-2, Stewart Fall 2015
USFSM-STEWART-F15S1G2
5 Members
37 Guides authored
1 Guide Comment
Thank you for the Guide.
One further Question is open for me: How do you replace the broken rubber near the earpiece?
