Free Shipping on Domestic Orders $75+

Pipo Smart S1 Battery Replacement

What you need

  1. Pipo Smart S1 Battery Replacement, Battery: step 1, image 1 of 3 Pipo Smart S1 Battery Replacement, Battery: step 1, image 2 of 3 Pipo Smart S1 Battery Replacement, Battery: step 1, image 3 of 3
    • Insert an iFixit opening tool between the body and display of the tablet at the bottom of the device where the charging port is.

    • Slide the tool along the gap you are creating, moving to the right direction against the mini USB port.

    Ask FixBot

    Add Comment

  2. Pipo Smart S1 Battery Replacement: step 2, image 1 of 1
    • Gently pry the body of the tablet and pop the back cover open.

    • Lift the back cover of the device and place it on the side.

    Ask FixBot

    Add Comment

  3. Pipo Smart S1 Battery Replacement: step 3, image 1 of 1
    • Lift the edge of the white tape with the iFixit opening tool.

    Ask FixBot

    Add Comment

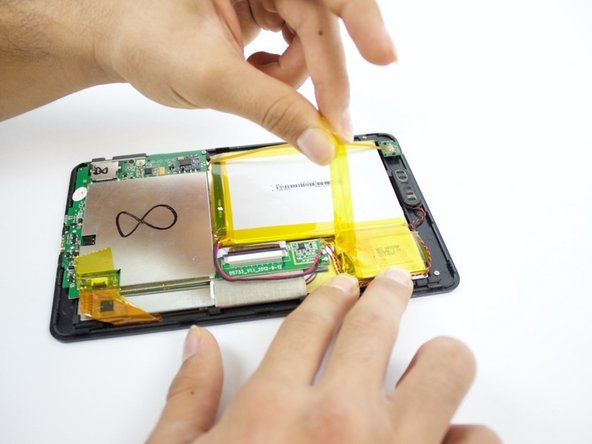
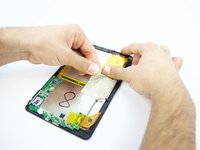
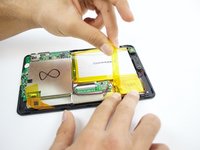
  4. Pipo Smart S1 Battery Replacement: step 4, image 1 of 2 Pipo Smart S1 Battery Replacement: step 4, image 2 of 2
    • Lift the white tape with your fingers, then lift the yellow tape that holds the battery extension.

    Ask FixBot

    Add Comment

  5. Pipo Smart S1 Battery Replacement: step 5, image 1 of 1
    • On the bottom of your tablet, use the Phillips #0 screwdriver to take the two 3mm screws out.

    Ask FixBot

    Add Comment

  6. Pipo Smart S1 Battery Replacement: step 6, image 1 of 2 Pipo Smart S1 Battery Replacement: step 6, image 2 of 2
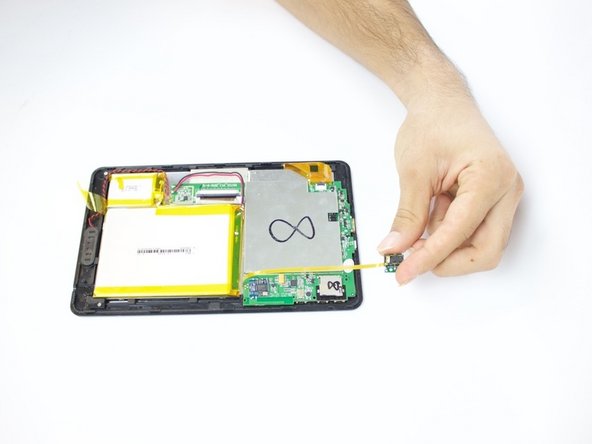
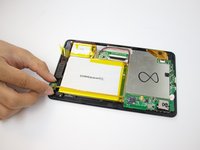
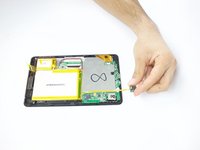
    • Lift the headphone jack and move it to the other side, placing it on the surface you are working on.

    Ask FixBot

    Add Comment

  7. Pipo Smart S1 Battery Replacement: step 7, image 1 of 2 Pipo Smart S1 Battery Replacement: step 7, image 2 of 2
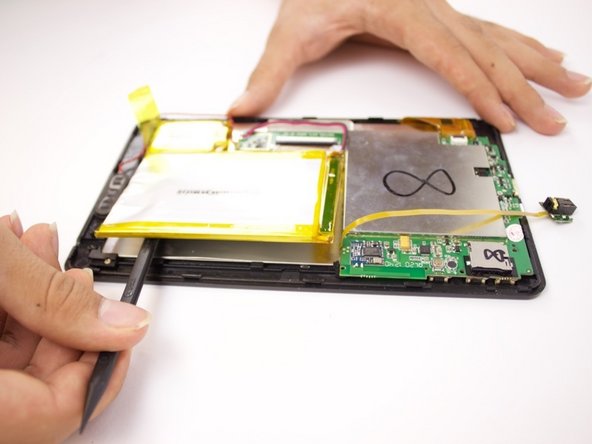
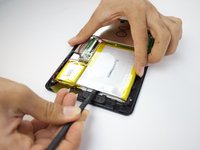
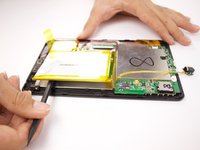
    • Use a spudger to pry the battery and detach it from the glue underneath it.

    • Be careful not to pinch the battery—lithium batteries are hazardous and prone to short circuiting, and thus burning and/or exploding.

    Ask FixBot

    Add Comment

  8. Pipo Smart S1 Battery Replacement: step 8, image 1 of 1
    • Lift the battery and place it a little further away from the positive and negative battery wires.

    Ask FixBot

    Add Comment

  9. Pipo Smart S1 Battery Replacement: step 9, image 1 of 1
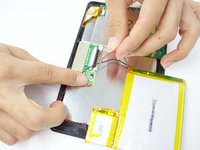
    • Using your soldering iron, melt the two lead spots to detach the wires.

    • The soldering iron is extremely hot, so handle with caution. Always keep the soldering iron holder next to you when using it so you can return it easily.

    • When reassembling, make sure you solder the right pole to the right spot on the circuit board, as swapping them can burn the motherboard.

    Ask FixBot

    Add Comment

  10. Pipo Smart S1 Battery Replacement: step 10, image 1 of 2 Pipo Smart S1 Battery Replacement: step 10, image 2 of 2
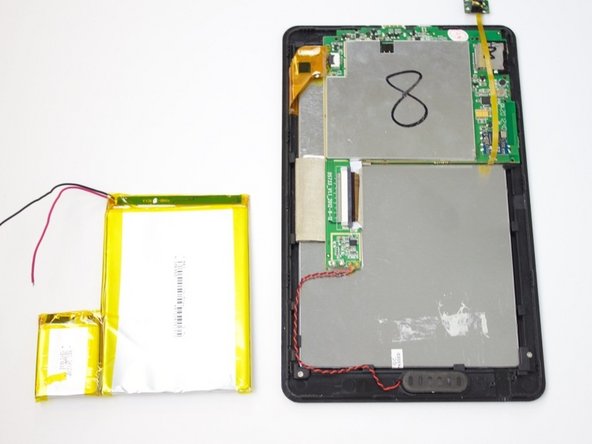
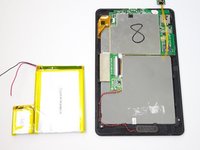
    • Remove the two wires. Then remove the battery completely from the device.

    • Make sure you tape the negative and positive battery wires to keep them from short-circuiting.

    Ask FixBot

    Add Comment

Conclusion

To reassemble your device, follow these instructions in reverse order.

Cancel: I did not complete this guide.

Ali Alqallaf

Member since: 09/28/16

340 Reputation

3 Guides authored

Team

USF Tampa, Team 3-6, Passmore Fall 2016 Member of USF Tampa, Team 3-6, Passmore Fall 2016

USFT-PASSMORE-F16S3G6

3 Members

6 Guides authored

0 Guide Comments

Add Comment

View Statistics:

Past 24 Hours: 1

Past 7 Days: 7

Past 30 Days: 29

All Time: 1,337