Free Shipping on Domestic Orders $75+

Photive Hydra Bluetooth Connector Replacement

What you need

  1. Photive Hydra Bluetooth Connector Replacement, Face Plate and Back Plate: step 1, image 1 of 1
    • Unscrew all twelve Hex Head 1.5 (Length-3/8", Head- 1/8") screws using a 1.5mm hex screwdriver.

    Ask FixBot

    Add Comment

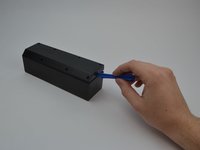
  2. Photive Hydra Bluetooth Connector Replacement: step 2, image 1 of 2 Photive Hydra Bluetooth Connector Replacement: step 2, image 2 of 2
    • Use a plastic opening tool to pry off the face plate.

    Ask FixBot

    Add Comment

  3. Photive Hydra Bluetooth Connector Replacement: step 3, image 1 of 1
    • Remove the rubber casing by using your fingers to pull off. Be sure not tear or rip rubber casing.

    Ask FixBot

    Add Comment

  4. Photive Hydra Bluetooth Connector Replacement: step 4, image 1 of 1
    • Flip the device upside down and remove all eight Phillips (Length-3/8", Head-1/8") Screws using a standard #1 Phillips screwdriver.

    Ask FixBot

    Add Comment

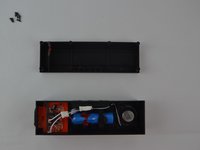
  5. Photive Hydra Bluetooth Connector Replacement: step 5, image 1 of 2 Photive Hydra Bluetooth Connector Replacement: step 5, image 2 of 2
    • Use plastic opening tool to pry off back plate.

    • Move the plastic opening tool along the the device to further pry open the device.

    • Be careful when taking this plate off. You may accidentally damage the water proof seal.

    Ask FixBot

    Add Comment

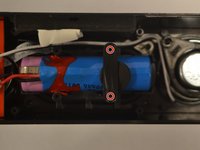
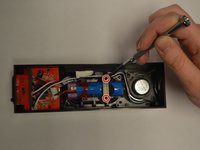
  6. Photive Hydra Bluetooth Connector Replacement, Battery (Prerequisite): step 6, image 1 of 2 Photive Hydra Bluetooth Connector Replacement, Battery (Prerequisite): step 6, image 2 of 2
    • Identify the two Phillips (Length-5/16", Head-1/8") screws holding the battery in place and remove them using a #1 screwdriver.

    Ask FixBot

    Add Comment

  7. Photive Hydra Bluetooth Connector Replacement: step 7, image 1 of 1
    • Remove the ICR18650-26M battery from its position by pulling upwards and out of the casing.

    Ask FixBot

    Add Comment

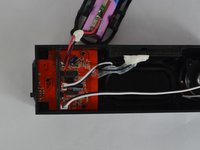
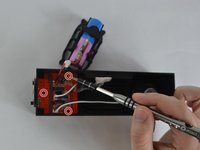
  8. Photive Hydra Bluetooth Connector Replacement, Bluetooth Connector: step 8, image 1 of 2 Photive Hydra Bluetooth Connector Replacement, Bluetooth Connector: step 8, image 2 of 2
    • Identify the motherboard and the three Philips (Length-1/8,Head-1/8) screws and remove them using a #1 Phillips screwdriver.

    Ask FixBot

    Add Comment

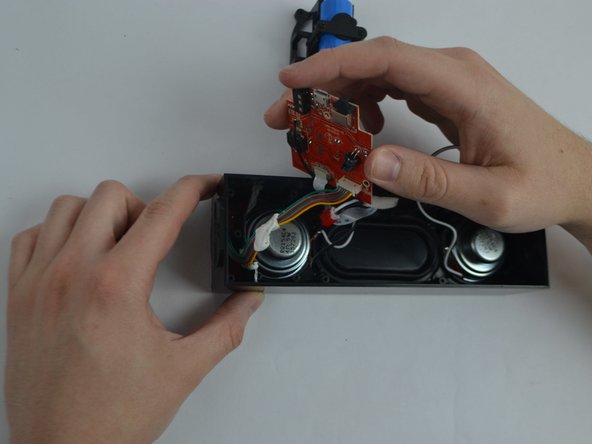
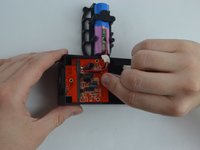
  9. Photive Hydra Bluetooth Connector Replacement: step 9, image 1 of 2 Photive Hydra Bluetooth Connector Replacement: step 9, image 2 of 2
    • Pull the motherboard up and out to dislodge it.

    • Do not fully remove your motherboard to prevent any unwanted severing of connections.

    Ask FixBot

    Add Comment

  10. Photive Hydra Bluetooth Connector Replacement: step 10, image 1 of 1
    • Identify the Bluetooth connector device.

    Ask FixBot

    Add Comment

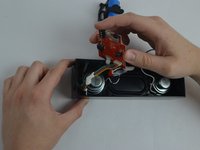
  11. Photive Hydra Bluetooth Connector Replacement: step 11, image 1 of 1
    • The two solder points shown are to be removed by use of a soldering gun. Remove and replace the component with a functioning connector device. Refer to the link below for soldering techniques. How To Solder and Desolder Connections

    Ask FixBot

    Add Comment

Conclusion

To reassemble your device, follow these instructions in reverse order.

Cancel: I did not complete this guide.

Matthew Knight

Member since: 02/09/16

252 Reputation

2 Guides authored

Team

USF Tampa, Team 11-3, Cheng Spring 2016 Member of USF Tampa, Team 11-3, Cheng Spring 2016

USFT-CHENG-S16S11G3

5 Members

6 Guides authored

1 Guide Comment

So any leads on where to get the module?

Charles - Reply Share

Add Comment

View Statistics:

Past 24 Hours: 0

Past 7 Days: 5

Past 30 Days: 27

All Time: 608