Free Shipping on Domestic Orders $75+

Philips Satinelle Gear Replacement

What you need

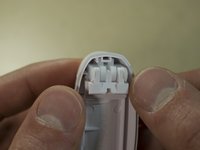
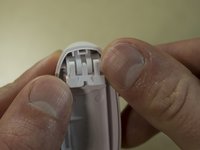
    1. Philips Satinelle Gear Replacement, Philips Satinelle Disassembly: step 1, image 1 of 2 Philips Satinelle Gear Replacement, Philips Satinelle Disassembly: step 1, image 2 of 2
      • Unplug the device and remove the purple guard.

      • Remove the head by pressing the right side of the head (with the device facing away from you).

      • You will hear a 'click' and the head will become dislodged from the body of the device.

      Ask FixBot

      Add Comment

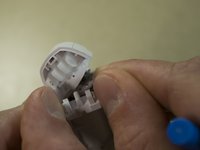
    2. Philips Satinelle Gear Replacement: step 2, image 1 of 3 Philips Satinelle Gear Replacement: step 2, image 2 of 3 Philips Satinelle Gear Replacement: step 2, image 3 of 3
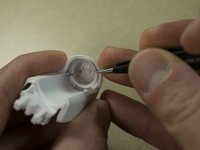
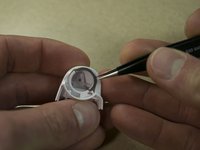
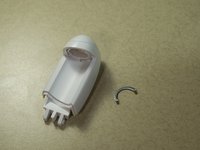
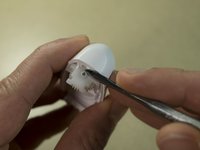
      • While wearing safety glasses, use a plastic opening tool to pry from right to left to pry out the tensor clip.

      • Be careful not to lose the clip. It will likely fly off when it releases.

      Ask FixBot

      Add Comment

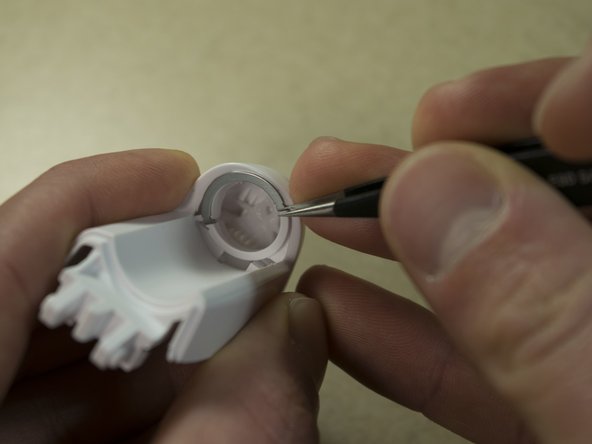
    3. Philips Satinelle Gear Replacement: step 3, image 1 of 1
      Tool used on this step:
      Tweezers
      $4.99
      Buy
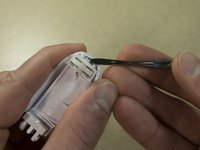
      • The left side will swing down.

      • Remove the Tweezers.

      Ask FixBot

      Add Comment

    4. Philips Satinelle Gear Replacement: step 4, image 1 of 3 Philips Satinelle Gear Replacement: step 4, image 2 of 3 Philips Satinelle Gear Replacement: step 4, image 3 of 3
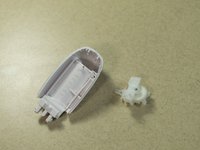
      • Remove the plastic component that swings down.

      • Use fingernails to lift clips from stubs.

      Ask FixBot

      Add Comment

    5. Philips Satinelle Gear Replacement: step 5, image 1 of 3 Philips Satinelle Gear Replacement: step 5, image 2 of 3 Philips Satinelle Gear Replacement: step 5, image 3 of 3
      • Using Needle Nose pliers remove metal roller track on both sides of the Tweezers Head.

      Ask FixBot

      Add Comment

    6. Philips Satinelle Gear Replacement: step 6, image 1 of 3 Philips Satinelle Gear Replacement: step 6, image 2 of 3 Philips Satinelle Gear Replacement: step 6, image 3 of 3
      • Use a spudger to pry the gear housing unit from the base.

      Ask FixBot

      Add Comment

    7. Philips Satinelle Gear Replacement: step 7, image 1 of 3 Philips Satinelle Gear Replacement: step 7, image 2 of 3 Philips Satinelle Gear Replacement: step 7, image 3 of 3
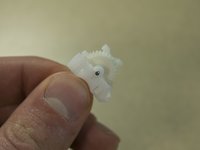
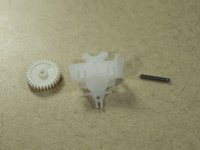
      • Use your thumbnail and a pair of needle nose pliers to push out the gear housing retention pin.

      Ask FixBot

      Add Comment

    1. Philips Satinelle Gear Replacement, Gear Replacement: step 8, image 1 of 1
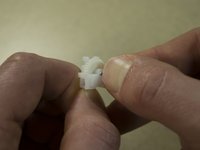
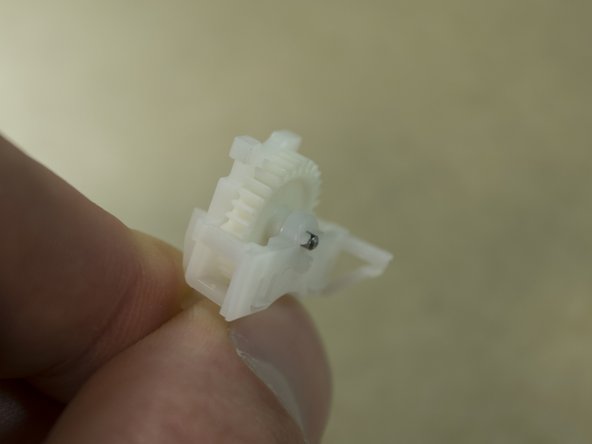
      • Replace the gear and re-insert the pin.

      • Ensure that pin is protruding slightly, it should not be flush.

      Ask FixBot

      Add Comment

Conclusion

To reassemble your device, follow these instructions in reverse order.

Cancel: I did not complete this guide.

Nathan Christian

Member since: 11/11/17

505 Reputation

3 Guides authored

Team

IUPUI, Team S5-G5, Wilson Fall 2017 Member of IUPUI, Team S5-G5, Wilson Fall 2017

IUPUI-WILSON-F17S5G5

3 Members

48 Guides authored

3 Guide Comments

What size pinion is used in it? Kindly help.

Wilkis James - Reply Share

Can you send link to buy this piece?

Or 3d Printer file?

Thanks

Emilio Hernandez - Reply Share

Tienes las medidas de los engranajes

luis vega - Reply Share

Add Comment

View Statistics:

Past 24 Hours: 0

Past 7 Days: 22

Past 30 Days: 125

All Time: 2,832