
Philips SBA1060 Circuit Board Replacement

April Driscoll and 5 other contributors
Last updated on Aug 1, 2019
Views: 1.8K
View statistics:
- Past 24 Hours:
- 3
- Past 7 Days:
- 25
- Past 30 Days:
- 89
- All Time:
- 1,840
Comments: 2
2 guide comments.
Go to guide commentsCompleted: 2 3
2 people have marked this guide "completed." Will you be next?
3 people have marked this guide "completed." Including you — great job!
Favorites: 1 2
1 person has favorited (and subscribed to) this guide. Will you be next?
2 people have favorited (and subscribed to) this guide — including you!
Better Introduction
Improve this guide by completing or revising its introduction.
Introduction
Go to step 1 ↓The circuit board is the large, flat, green rectangle in the middle of the device. This guide will detail the steps in how to replace the circuit board.
What you need
Tools


-
-
-
Remove the back cover by sliding it off.
-
Remove the 3 AAA batteries.
 Ask FixBot
-
-
-
Unscrew the nine exterior screws on the back panel using a PH0-size Philips-head screwdriver.
-
Remove the triangular end piece by pulling it straight off.
-
-
-
-
Remove the colored grill by sliding it off in the direction of the removed end piece.
-
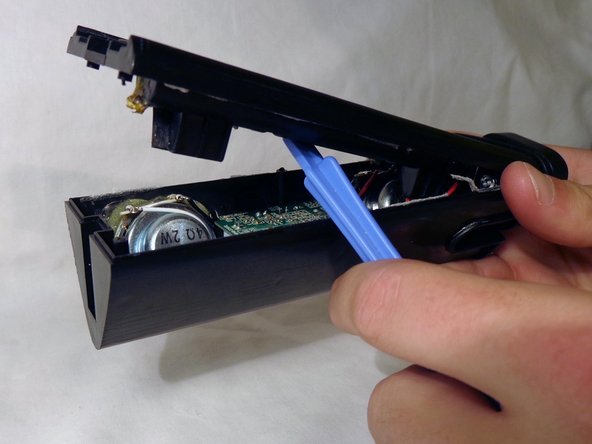
Pry off the back battery panel with the plastic opening tool.
-
-
-
-
-
Remove the two screws on opposite ends of the circuit board with the PH0 size philips head screw driver.
-
Remove the damaged circuit board from the device.
-
-
-
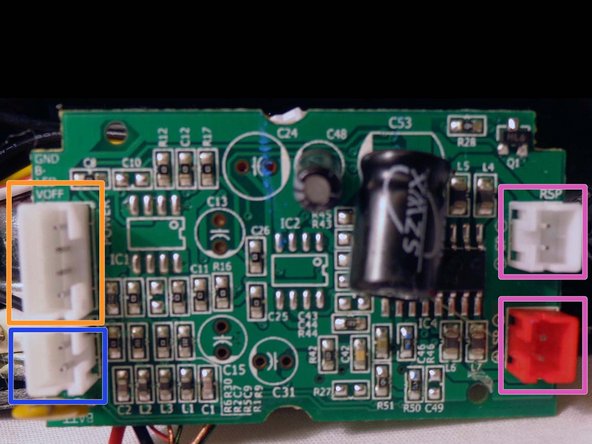
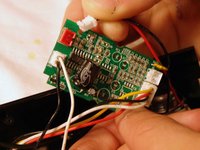
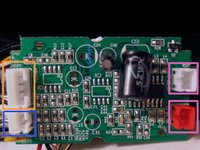
Remove the battery plug from the circuit board by pulling out the plugs to fully remove back panel.
-
Remove the speaker plugs from the circuit board by pulling out the plugs. They are located on opposite sides of the circuit board.
-
Remove the light plug from the circuit board.
-
Reassemble the device.
-
-




To reassemble your device, follow these instructions in reverse order.
Cancel: I did not complete this guide.
2 other people completed this guide.

Team

Clemson, Team 14-4, Benson Fall 2013 Member of Clemson, Team 14-4, Benson Fall 2013
CLEM-BENSON-F13S14G4
3 Members
48 Guides authored
