Introduction
This guide will walk you through removing the old power supply for the DVD player so that a new one may be installed. This guide will also show you how to replace a blown fuse if needed.
What you need
-
-
Remove four 7.5 mm Phillips screws on the both sides (2 on each side).
-
Remove five 7.5 mm Phillips screws on the back of the player.
 Ask FixBot
-
-
-
Lift the top panel from the back and remove. It should come off without being forced. There is a lip near the front so you many need to slide the top panel back slightly to remove it.
-
-
-
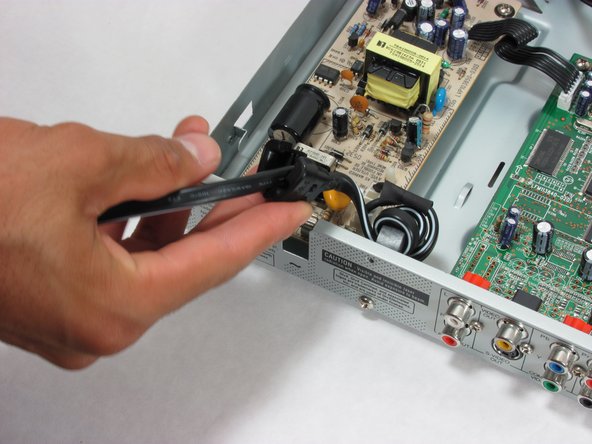
Slide the power cord out from the case.
-
Be sure not to lose the rubber clip that is wrapped around the cord.
-
-
-
-
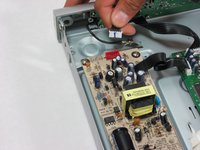
Remove the ribbon attached to the power supply by pushing the latch and gently pulling up.
-
-
-
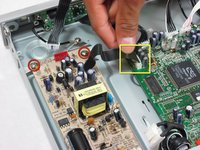
Now remove this ribbon wire by grasping the white head firmly and pulling up gently.
-
-
-
Remove these two 7.5m Phillips screws and the matching set at the other end of the supply.
-
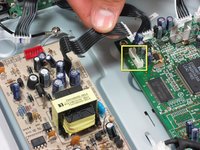
Now remove the ribbon that attaches the power supply to the motherboard by grasping the white head and gently pulling up.
-
-
-
Remove the last screw.
-
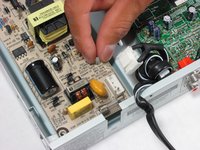
Pinch this plastic prong and slide the power supply up and over it. The power supply should lift free.
-
-
-
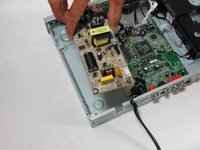
Your power supply is now free!
-
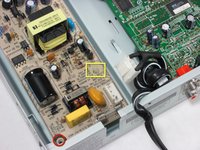
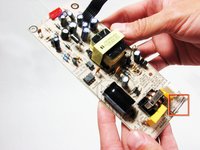
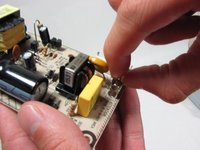
If the fuse circled here is blown (the small wire in the glass tube is missing or broken), remove it by pinching it tightly and pulling it straight out.
-
You can find a new fuse here.
-










To reassemble your device, follow these instructions in reverse order.
Cancel: I did not complete this guide.
7 other people completed this guide.

Team

Cal Poly, Team 21-20, Maness Fall 2011 Member of Cal Poly, Team 21-20, Maness Fall 2011
CPSU-MANESS-F11S21G20
4 Members
9 Guides authored
