Introduction
DVD trays can easily become unresponsive or broken. This guide will teach you how to replace a broken or unresponsive tray for the Philips DVP5992-F7.
What you need
-
-
Plug in the DVD player.
-
Press the eject button to open the tray.
-
Push up on the tray faceplate to remove it.
 Ask FixBot
-
-
-
Press the eject button to re-insert the tray.
-
Unplug the DVD player after the tray is closed.
-
-
-
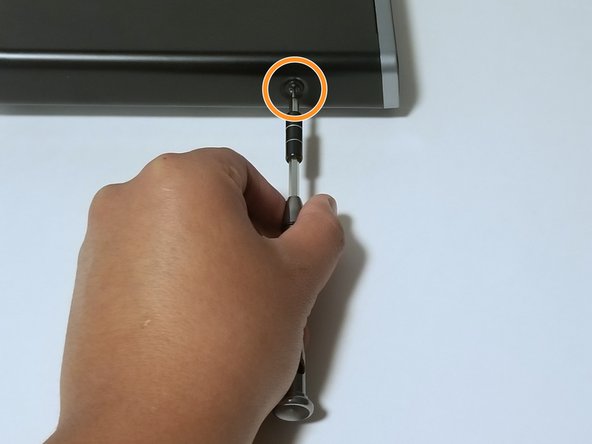
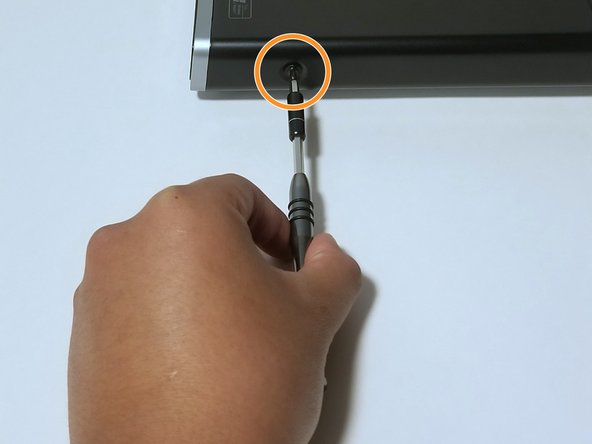
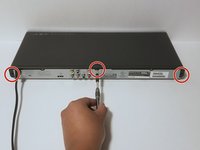
Remove the three 6.4 mm Phillips #1 screws on the back of the device with a Phillips head screwdriver.
-
Remove the 6.4 mm Phillips #1 screws on each side of the device.
-
-
-
-
Remove the top plate of the DVD by firmly grasping the player on both sides.
-
Shift the top plate towards the backside of the player.
-
Lift the back half of the top plate up to remove it from the player.
-
-
-
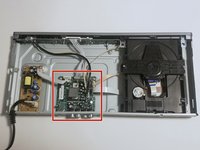
Locate the motherboard within the DVD player.
-
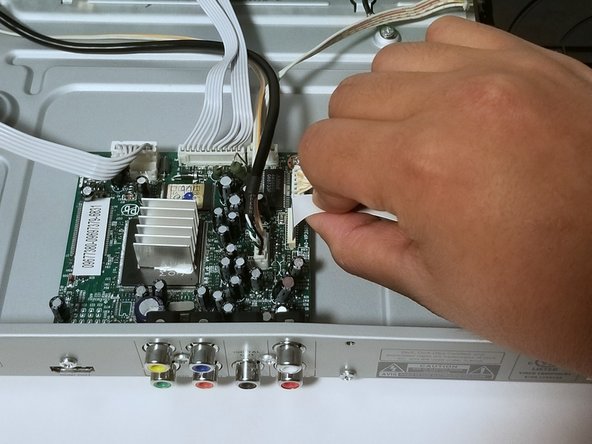
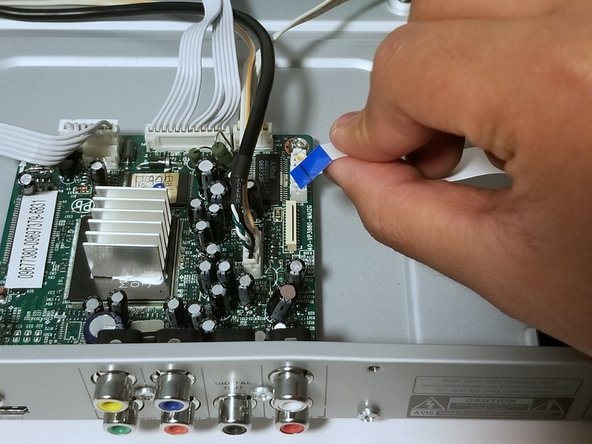
Firmly grasp the ribbon wire and unplug it from the motherboard.
-
-
-
Firmly grasp the bundled cable connector that attaches the tray to the motherboard.
-
Gently pull upwards to remove the bundled cable connector from the motherboard.
-
-
-
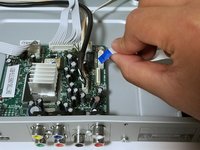
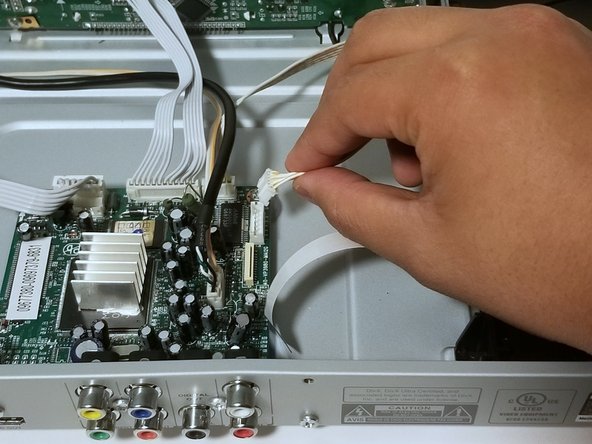
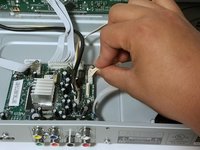
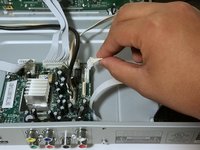
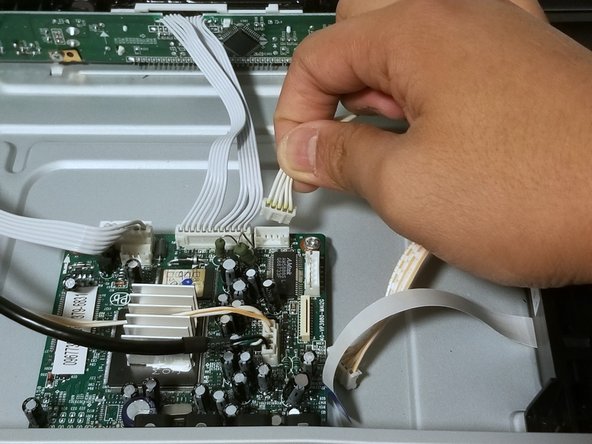
Firmly grasp the second bundled cable connector that attaches the tray to the motherboard.
-
Gently pull upwards to remove the second bundled cable connector from the motherboard.
-
-
-
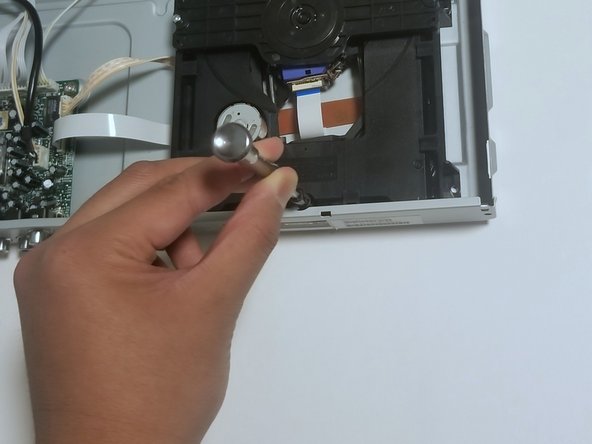
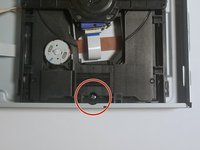
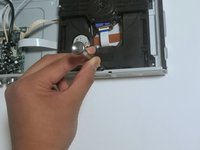
Remove the 9.0 mm #1 Phillips head screw that holds the tray to the DVD player.
-


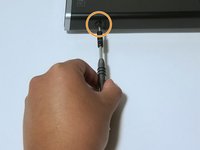

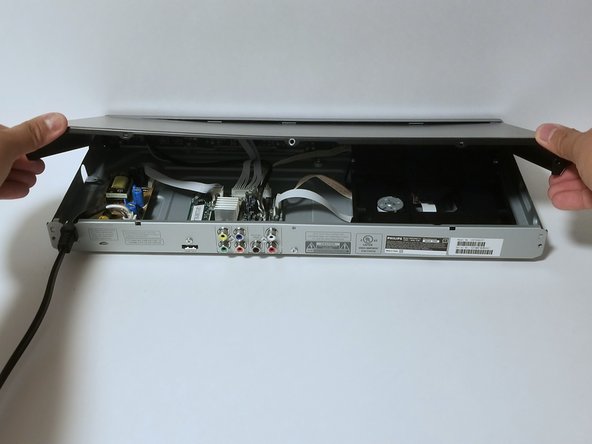
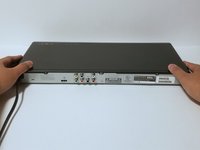
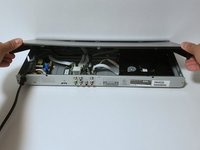





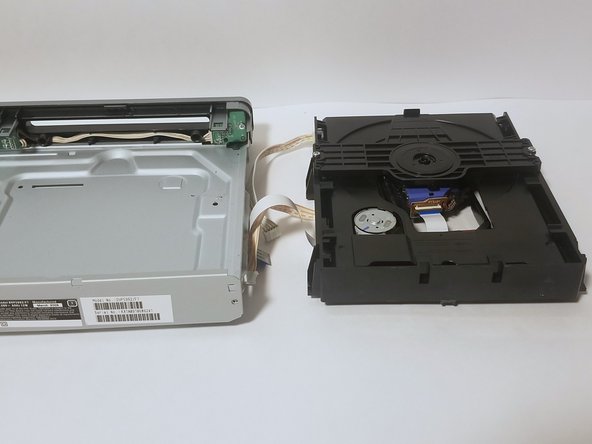
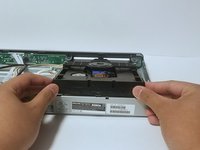
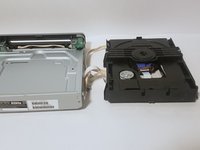
To reassemble your device, follow these instructions in reverse order.

Team

Western Carolina University, Team S1-G6, Virtue Fall 2018 Member of Western Carolina University, Team S1-G6, Virtue Fall 2018
WCU-VIRTUE-F18S1G6
3 Members
10 Guides authored
