Free Shipping on Domestic Orders $75+

Philips BiPAP S/T Humidifier Replacement

Medical Equipment
Neither iFixit nor this repair guide is endorsed by or affiliated with the medical device manufacturer.

What you need

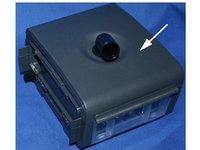
    1. Philips BiPAP S/T Humidifier Replacement, Humidifier: step 1, image 1 of 1
      • Remove the Water Chamber Assembly.

      • Gently squeeze the latch on the Flip Lid Assembly to release it.

      • Lift the Flip Lid Assembly.

      • Pull the Humidifier Tank Assembly out of the Humidifier.

      Ask FixBot

      Add Comment

    2. Philips BiPAP S/T Humidifier Replacement: step 2, image 1 of 1
      • Remove the Tank Top Seal from the Flip Lid Assembly.

      • If this is the source of the error, put in a new one.

      Ask FixBot

      Add Comment

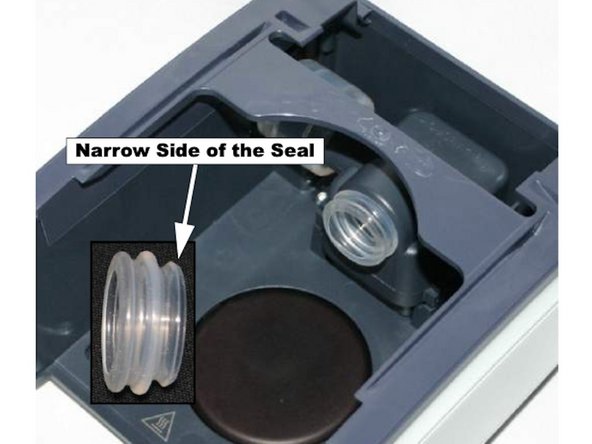
    3. Philips BiPAP S/T Humidifier Replacement: step 3, image 1 of 2 Philips BiPAP S/T Humidifier Replacement: step 3, image 2 of 2
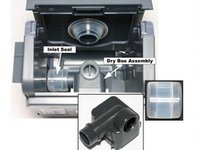
      • Remove the Dry Box Seal.

      • If this is the source of error, place this part with a new one.

      • When replacing, ensure that the narrow end of the seal is inserted into the Dry Box.

      Ask FixBot

      Add Comment

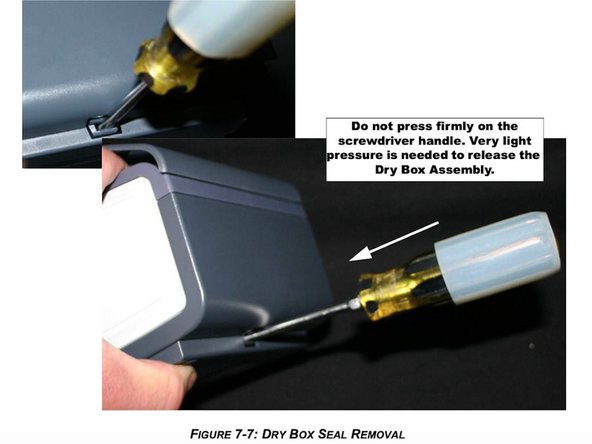
    4. Philips BiPAP S/T Humidifier Replacement: step 4, image 1 of 2 Philips BiPAP S/T Humidifier Replacement: step 4, image 2 of 2
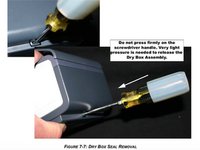
      • Remove the Dry Box Assembly.

      • Insert a flat blade screwdriver into the hole located on the back of the Humidifier and lightly press inward to release the Dry Box Assembly.

      • Do not press firmly on the screwdriver as damage may occur.

      • Remove the Inlet Seal from the Dry Box Assembly

      Ask FixBot

      Add Comment

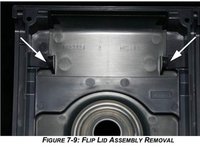
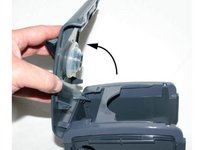
    5. Philips BiPAP S/T Humidifier Replacement: step 5, image 1 of 3 Philips BiPAP S/T Humidifier Replacement: step 5, image 2 of 3 Philips BiPAP S/T Humidifier Replacement: step 5, image 3 of 3
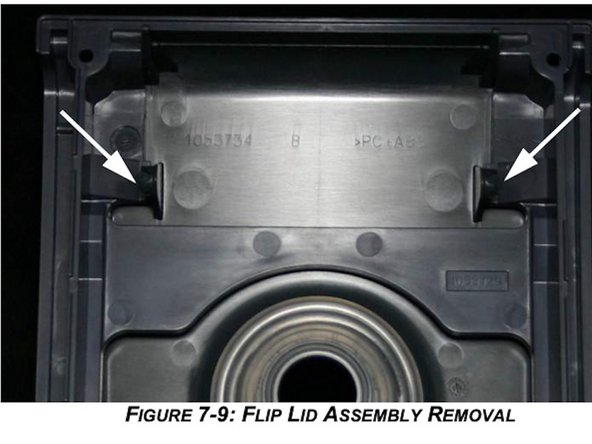
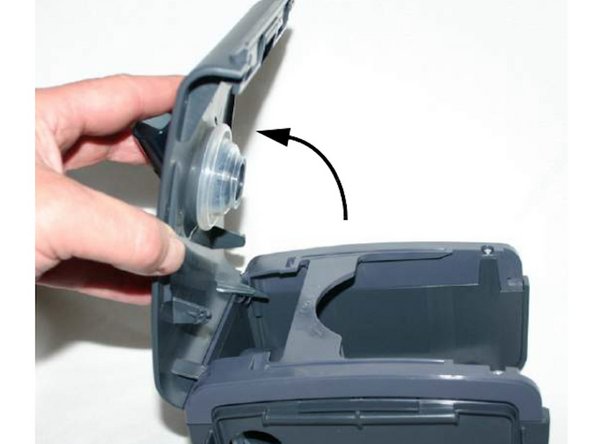
      • Remove the Flip Lid Assembly.

      • Use a screwdriver to push in on the latches that secure the Flip Lid Assembly to the Humidifier Top Housing.

      • Bend the Flip Lid Assembly completely backwards until it is removed.

      • For Heated Tube devices, remove the wire harness from the base.

      Ask FixBot

      Add Comment

    6. Philips BiPAP S/T Humidifier Replacement: step 6, image 1 of 1
      • Use a T8 Torx screwdriver to remove the four #4 x 1/2" screws that secure the Top Housing to the Humidifier Bottom Housing

      Ask FixBot

      Add Comment

    7. Philips BiPAP S/T Humidifier Replacement: step 7, image 1 of 1
      • Slide the Outside Cover out of the Bottom Housing.

      Ask FixBot

      Add Comment

    8. Philips BiPAP S/T Humidifier Replacement: step 8, image 1 of 1
      • Remove the Left Side Panel.

      • Use a T15 Torx screwdriver to remove the four #6 x 1/4" screws that secure the Bottom Housing to the Lower Base Assembly.

      Ask FixBot

      Add Comment

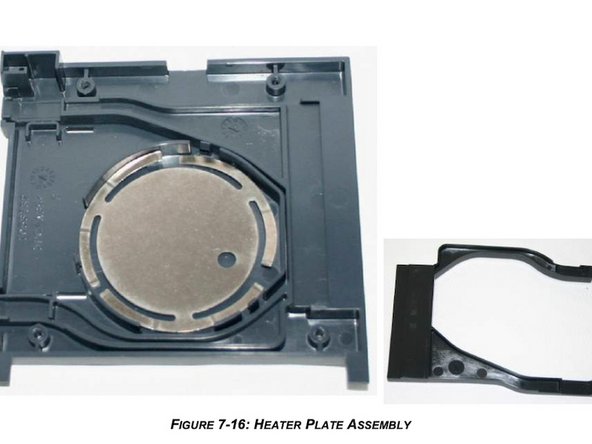
    9. Philips BiPAP S/T Humidifier Replacement: step 9, image 1 of 2 Philips BiPAP S/T Humidifier Replacement: step 9, image 2 of 2
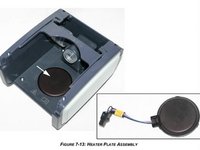
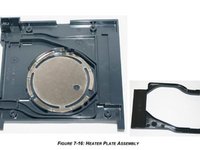
      • Remove the Heater Plate Assembly.

      • The Heater Plate Assembly is secured by two small tabs.

      • Once replaced, secure the Bottom Housing to the Lower Base using the four #6 x 1/4" screws.

      • Be sure the Heater Plate Spring is properly seated under the Heater Plate.

      Ask FixBot

      Add Comment

Conclusion

To reassemble your device, follow these instructions in reverse order.

Cancel: I did not complete this guide.

Courtney Huitt

Member since: 04/07/20

169 Reputation

1 Guide authored

Team

Cal Poly, Team S7-G3, Paton Spring 2020 Member of Cal Poly, Team S7-G3, Paton Spring 2020

CPSU-PATON-S20S7G3

3 Members

36 Guides authored

0 Guide Comments

Add Comment

View Statistics:

Past 24 Hours: 0

Past 7 Days: 4

Past 30 Days: 17

All Time: 623