
Perfect Cooker RC301M Disassembly

Emma Gonzalez and one other contributor
Last updated on Dec 14, 2021
Views: 977
View statistics:
- Past 24 Hours:
- 7
- Past 7 Days:
- 20
- Past 30 Days:
- 83
- All Time:
- 977
Comments: 0
No one has left comments on this guide. Will you be first?
Go to guide commentsCompleted: 0 1
No one has marked this guide "completed." Will you be the first?
1 person has marked this guide "completed." It's you — great job!
Favorites: 0 1
No one has favorited (and subscribed to) this guide. Will you be the first?
1 person has favorited (and subscribed to) this guide — and that's you!
Needs More Images
A few more images would make this guide's procedures crystal clear.
Missing Steps
Oops! This guide is currently missing one or more important steps.
Better Introduction
Improve this guide by completing or revising its introduction.
Introduction
Go to step 1 ↓This is the Perfect Cooker RC301M. In this guide, we will be disassembling this rice cooker to gain a better idea of how this device works and for optimal cleaning.
What you need
Tools


-
-
-
Remove the power cord and find a clean flat surface to work at.
 Ask FixBot
-
-
-
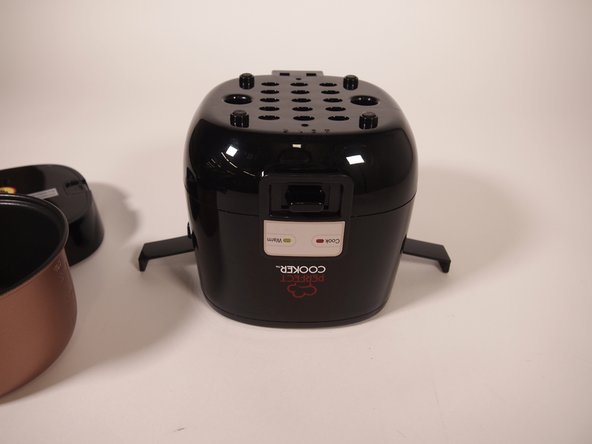
Remove the lid by unhinging the side tabs.
-
Remove the inner pot and any other contents.
-
-
-
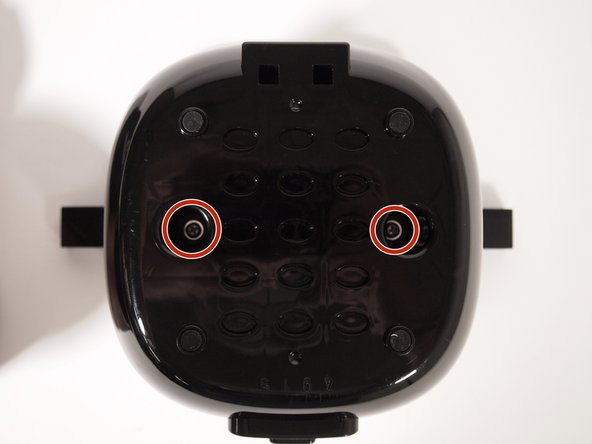
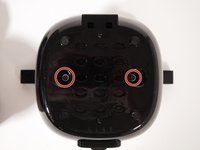
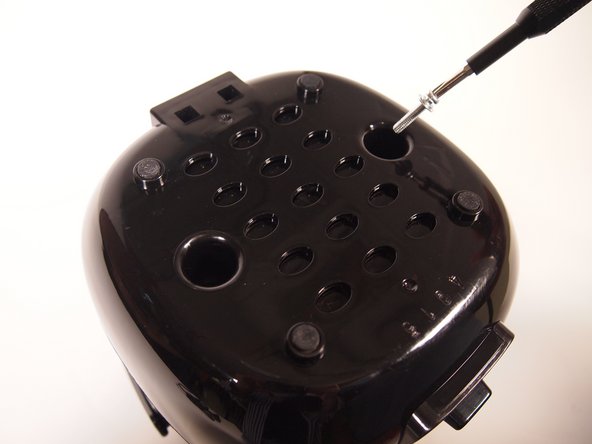
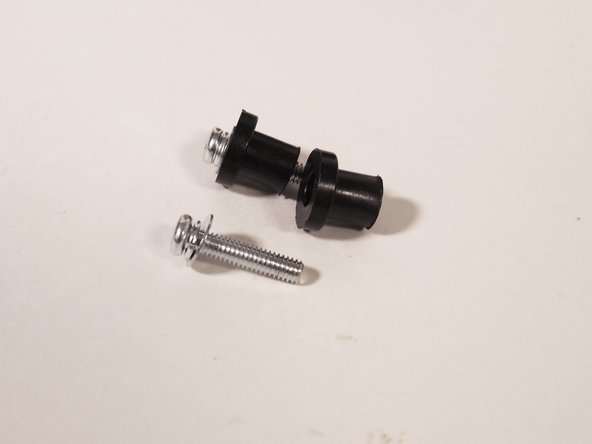
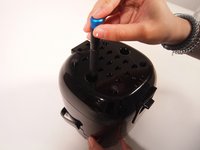
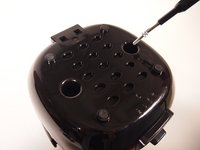
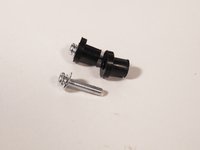
Flip the device over and look for the two screws recessed underneath the device.
-
-
-
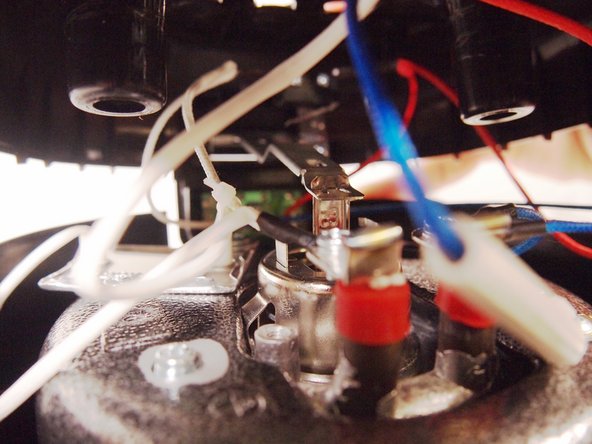
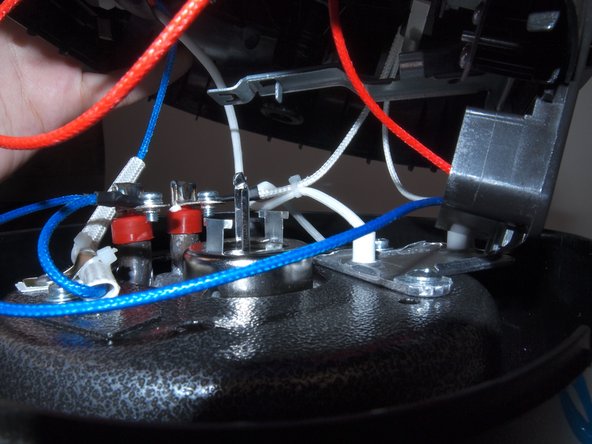
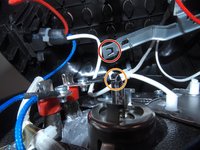
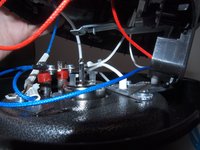
This part of the device raises and lowers the burner to change from the cook to warm function.
-
-
-
-
Disconnect the two metal arms.
-
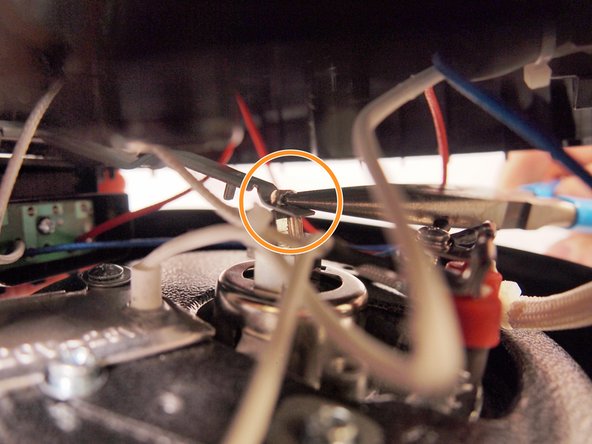
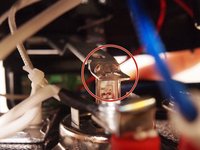
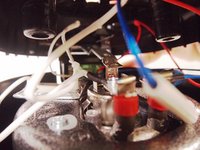
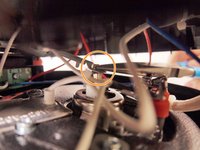
Take the small chain nose pliers and bend each side of the “T-shaped” tab inwards.
-
-
-
Separate the two parts of the devices.
-
The "U-shape" cut out can now be clearly seen.
-
The T-tab remains in the "U-shape" after slipping through the slot.
-
-






To reassemble your device, follow these instructions in reverse order.
Attached Documents

Team

Tufts University School of Engineering, Team 1-12, Bell Fall 2021 Member of Tufts University School of Engineering, Team 1-12, Bell Fall 2021
TUFTS-BELL-F21S1G12
3 Members
12 Guides authored
