Introduction
This guide details the process to replace the sprocket counter PCB. The mechanism governs the amount of film pulled during the automatic film advance. It's not something that typically needs repair but rather part of a mod to change the length of the film advance in the camera.
What you need
-
-
-
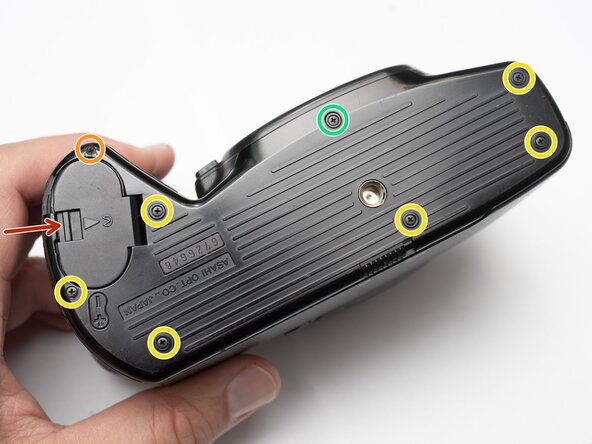
Unlatch battery compartment door.
-
Remove one 1.7 x 4.0 mm screw.
-
Remove six 1.7 x 2.5 mm shoulder screws.
-
Remove one 1.7 x 2.5 mm long shoulder screw.
-
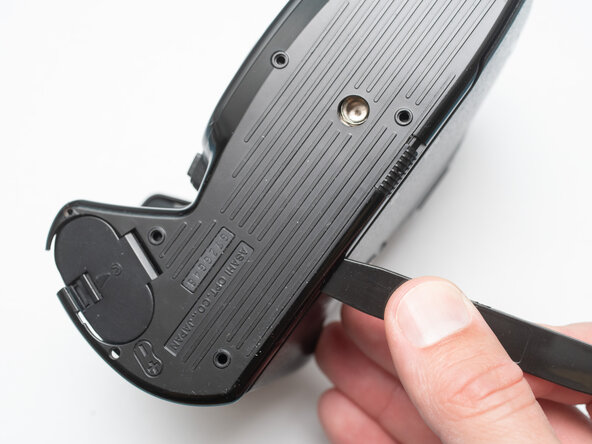
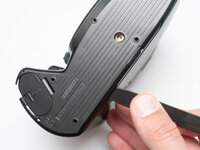
The bottom cover may be adhered with double sided tape in some locations. Use a spudger to gently work it loose.
 Ask FixBot
-
-
-
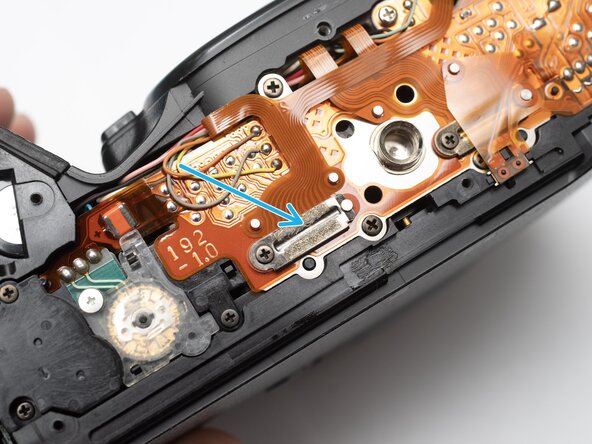
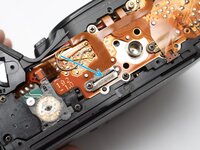
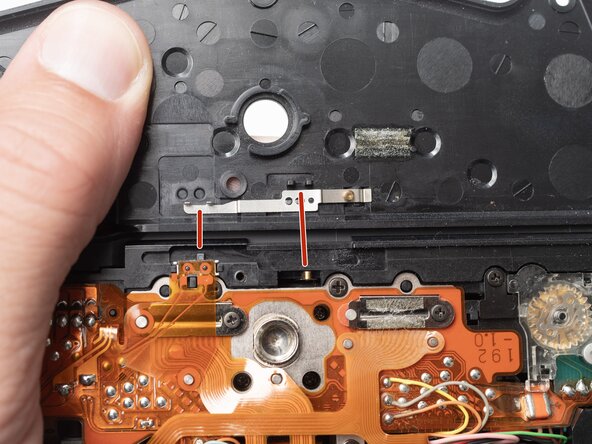
Check that the physical panorama switch on the bottom cover and the electrical switch mate properly.
-
-
-
-
-
-
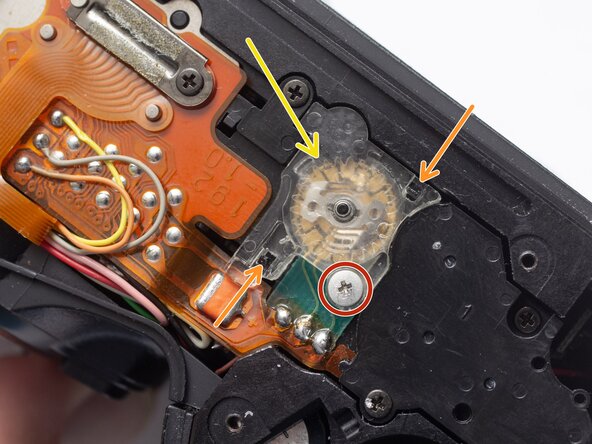
Remove one screw. This screw is unusual because it has a very steep thread pitch and will want to back out with very little rotation.
-
Use tweezers or a pick to unhook two snaps.
-
Work the cover free. It's a tight fit and will require some wiggling.
-
-
-
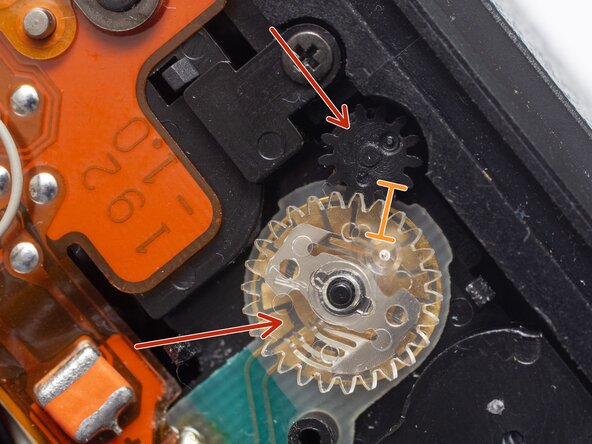
Remove two gears.
-
Installation Notes: Align the dots on each gear when reinstalling.
-
-
-
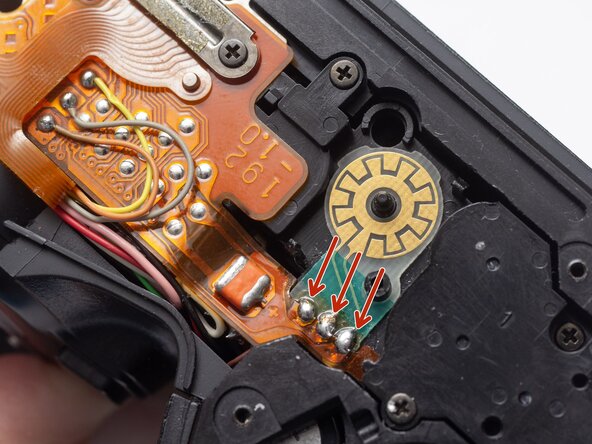
Unsolder three flex connections.
-
Remove the sprocket counter PCB.
-
-
To reassemble your device, follow these instructions in reverse order.

