Free Shipping on Domestic Orders $75+

Pentax MZ-S Mirror Drive Lever Replacement

What you need

  1. Pentax MZ-S Mirror Drive Lever Replacement, Remove film door: step 1, image 1 of 1
    • Push down the latch to release the film door.

    Ask FixBot
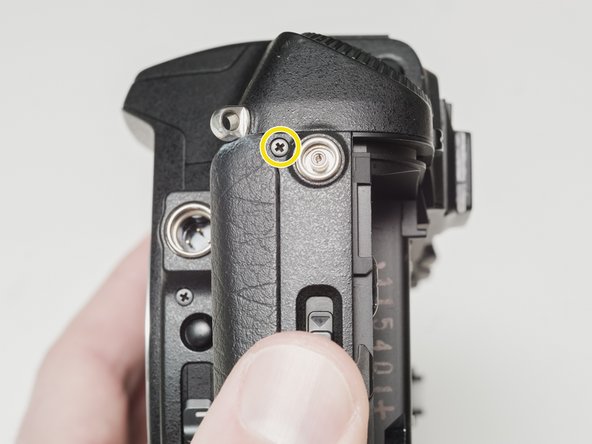
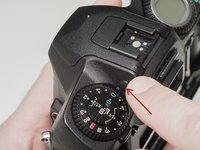
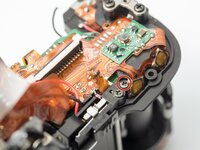
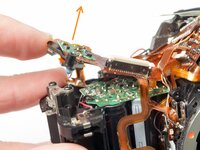
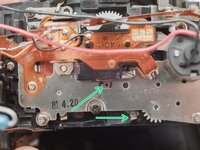
  2. Pentax MZ-S Mirror Drive Lever Replacement, Remove top cover screws: step 2, image 1 of 3 Pentax MZ-S Mirror Drive Lever Replacement, Remove top cover screws: step 2, image 2 of 3 Pentax MZ-S Mirror Drive Lever Replacement, Remove top cover screws: step 2, image 3 of 3
    • Remove two 7.5 mm #00 screws.

    • Remove one 9.0 mm #00 screw.

    • Remove one 13.5 mm #00 screw from inside the battery compartment.

    Ask FixBot
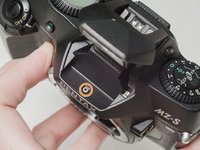
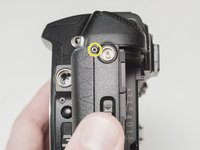
  3. Pentax MZ-S Mirror Drive Lever Replacement, Remove top cover screws: step 3, image 1 of 3 Pentax MZ-S Mirror Drive Lever Replacement, Remove top cover screws: step 3, image 2 of 3 Pentax MZ-S Mirror Drive Lever Replacement, Remove top cover screws: step 3, image 3 of 3
    • Push the button to pop up the flash.

    • Remove one 3.5 mm #00 screw.

    • Remove one 5.5 mm #00 screw.

    Ask FixBot
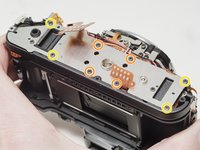
  4. Pentax MZ-S Mirror Drive Lever Replacement, Lift top cover: step 4, image 1 of 1
    • Carefully lift the top cover away from the body to access wired connections.

    • The top cover is still connected in several locations.

    Ask FixBot
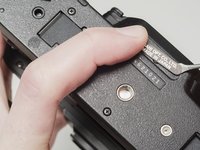
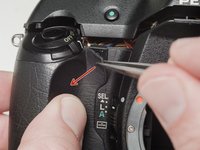
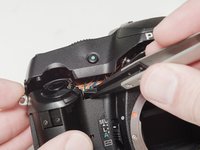
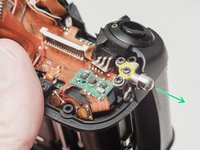
  5. Pentax MZ-S Mirror Drive Lever Replacement, Access flash connections: step 5, image 1 of 2 Pentax MZ-S Mirror Drive Lever Replacement, Access flash connections: step 5, image 2 of 2
    • Peel back the corner of the rubber grip.

    • Remove the small plastic cover.

    • Be careful not to short the wires before the flash capacitors have been properly discharged.

    Ask FixBot
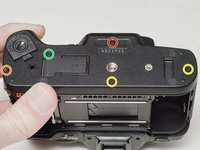
  6. Pentax MZ-S Mirror Drive Lever Replacement, Discharge flash capacitors: step 6, image 1 of 1
    • Use a 1kΩ-10kΩ high power resistor to discharge the capacitor. Place the resistor between the blue wire, exposed in the previous step, and ground.

    • The flash capacitors store energy at a very high voltage. Failing to discharge the capacitors properly could result in personal injury and/or damage to the camera.

    Ask FixBot
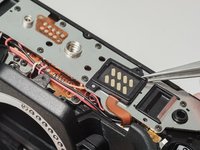
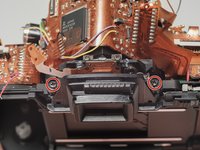
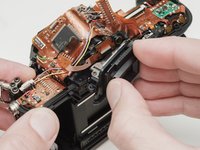
  7. Pentax MZ-S Mirror Drive Lever Replacement, Disconnect right flex cable: step 7, image 1 of 1
    • Carefully lift the sides of the white latch.

    • Hold the flex PCB on the camera body in place as you lift to prevent damaging the flex.

    Ask FixBot
  8. Pentax MZ-S Mirror Drive Lever Replacement, Disconnect left flex cable: step 8, image 1 of 1
    • Desolder the red wire.

    • Carefully lift the sides of the white latch.

    • Hold the flex PCB on the camera body in place as you lift to prevent damaging the flex.

    Ask FixBot
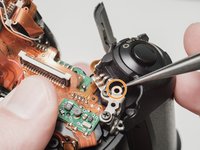
  9. Pentax MZ-S Mirror Drive Lever Replacement, Desolder flash connections: step 9, image 1 of 2 Pentax MZ-S Mirror Drive Lever Replacement, Desolder flash connections: step 9, image 2 of 2
    • Desolder blue, black, brown and green wires.

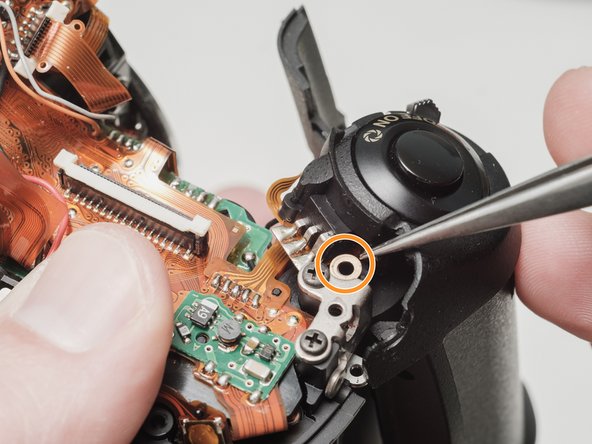
    • Remove the loose shim washer if present.

    Ask FixBot
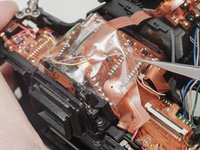
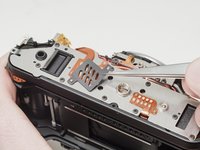
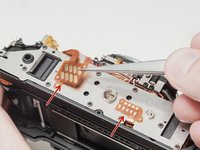
  10. Pentax MZ-S Mirror Drive Lever Replacement, Desolder the flash flex cable: step 10, image 1 of 2 Pentax MZ-S Mirror Drive Lever Replacement, Desolder the flash flex cable: step 10, image 2 of 2
    • Remove the piece of cellophane tape covering the flex connections.

    • Desolder flex connetions.

    Ask FixBot
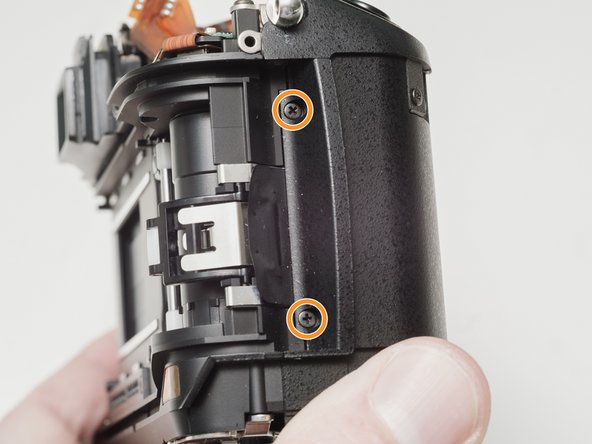
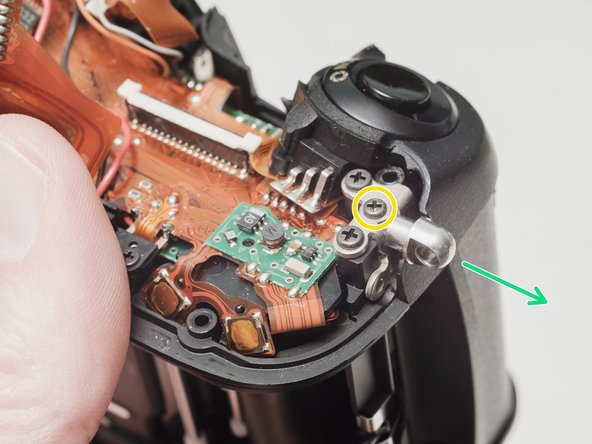
  11. Pentax MZ-S Mirror Drive Lever Replacement, Remove bottom cover: step 11, image 1 of 3 Pentax MZ-S Mirror Drive Lever Replacement, Remove bottom cover: step 11, image 2 of 3 Pentax MZ-S Mirror Drive Lever Replacement, Remove bottom cover: step 11, image 3 of 3
    • Use isopropyl alcohol to soften the adhesive under the country plate and remove.

    • Remove one 5mm #00 screw.

    • Remove one 7.5mm #00 screw.

    • Remove two 4.5mm #00 screws.

    • Remove one 5.5mm #00 screw.

    • Remove the plastic frame around the accessory grip contacts.

    • Reassembly Note: The camera can be checked for functionality at this point. Install the rear door, insert a fresh pair of batteries and try to fire the shutter.
    Ask FixBot
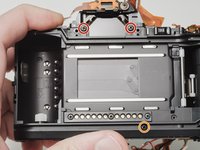
  12. Pentax MZ-S Mirror Drive Lever Replacement, Remove front left cover: step 12, image 1 of 1
    • Remove one 4.0 mm #00 screw.

    • Remove left cover.

    Ask FixBot
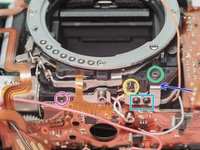
  13. Pentax MZ-S Mirror Drive Lever Replacement, Remove front cover: step 13, image 1 of 1
    • Remove front cover.

    Ask FixBot
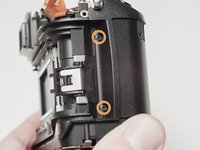
  14. Pentax MZ-S Mirror Drive Lever Replacement, Unscrew front right cover: step 14, image 1 of 3 Pentax MZ-S Mirror Drive Lever Replacement, Unscrew front right cover: step 14, image 2 of 3 Pentax MZ-S Mirror Drive Lever Replacement, Unscrew front right cover: step 14, image 3 of 3
    • Remove one 6.0 mm #00 screw.

    • Remove two 3.5 mm #00 screws.

    • Remove one 5.0 mm #00 screw.

    • Remove the strap lug.

    Ask FixBot
  15. Pentax MZ-S Mirror Drive Lever Replacement, Remove the front right cover: step 15, image 1 of 1
    • Carefully pull the right panel away from the body. It is still attached.

    • Desolder the flex connections.

    Ask FixBot
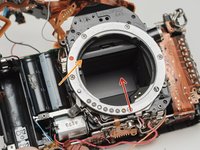
  16. Pentax MZ-S Mirror Drive Lever Replacement, Remove bottom plate: step 16, image 1 of 3 Pentax MZ-S Mirror Drive Lever Replacement, Remove bottom plate: step 16, image 2 of 3 Pentax MZ-S Mirror Drive Lever Replacement, Remove bottom plate: step 16, image 3 of 3
    • Remove the protective mask around the accessory grip contacts.

    • Lift the flex contacts free of their retaining posts. Use isopropyl alcohol to soften any glue or tape that is present.

    • Remove four 4.0 mm #00 screws (standard metric threads).

    • Remove four 4.0 mm #00 screws (plastic threads).

    Ask FixBot
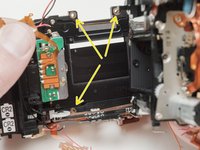
  17. Pentax MZ-S Mirror Drive Lever Replacement, Desolder speaker: step 17, image 1 of 1
    • Desolder the black and red wires for the speaker.

    Ask FixBot
  18. Pentax MZ-S Mirror Drive Lever Replacement, Desolder connections to bottom flex circuit: step 18, image 1 of 3 Pentax MZ-S Mirror Drive Lever Replacement, Desolder connections to bottom flex circuit: step 18, image 2 of 3 Pentax MZ-S Mirror Drive Lever Replacement, Desolder connections to bottom flex circuit: step 18, image 3 of 3
    • Desolder the white and pink wires.

    • Desolder the red, black and gray wires.

    • Desolder the red, black and orange wires.

    • Desolder the white and blue wires.

    • Carefully peal the tape away and detach the red, black, white and blue wires from the glue. Use isopropyl alcohol to soften the glue if necessary.

    • Desolder the flex connection.

    • Desolder the flex connection.

    Ask FixBot
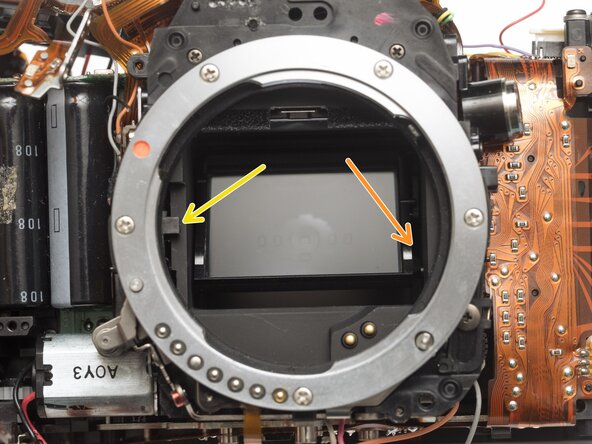
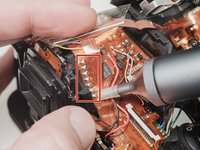
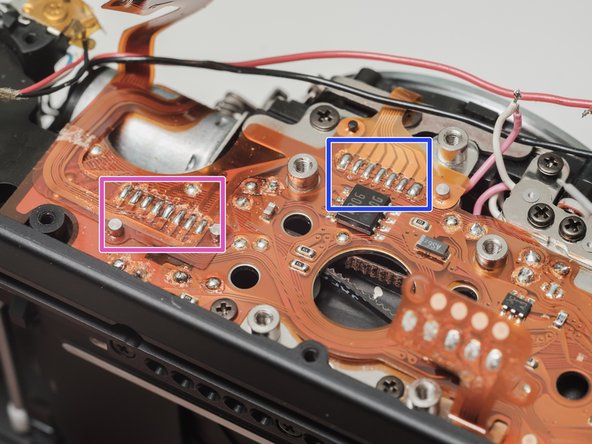
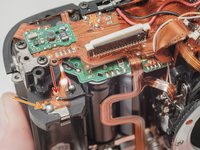
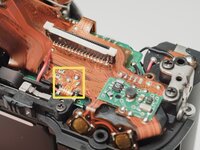
  19. Pentax MZ-S Mirror Drive Lever Replacement, Desolder connections to top flex circuit: step 19, image 1 of 3 Pentax MZ-S Mirror Drive Lever Replacement, Desolder connections to top flex circuit: step 19, image 2 of 3 Pentax MZ-S Mirror Drive Lever Replacement, Desolder connections to top flex circuit: step 19, image 3 of 3
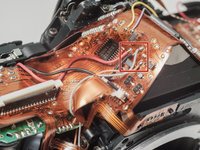
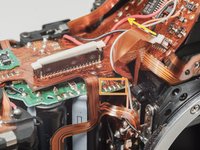
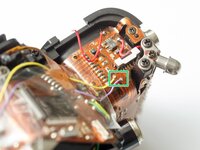
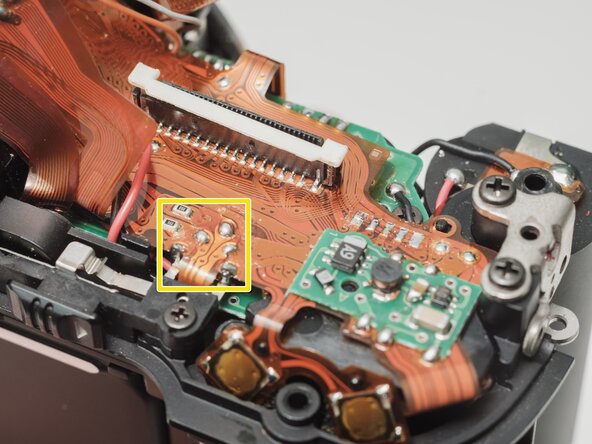
    • Desolder red, black, gray and orange wires.

    • Desolder flex contacts.

    • Disconnect flex connector.

    • Desolder yellow and purple wires.

    Ask FixBot
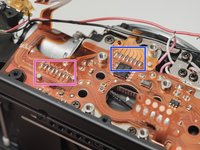
  20. Pentax MZ-S Mirror Drive Lever Replacement, Desolder connections to top flex circuit: step 20, image 1 of 2 Pentax MZ-S Mirror Drive Lever Replacement, Desolder connections to top flex circuit: step 20, image 2 of 2
    • Desolder black wire.

    • Desolder battery contact tab.

    • Desolder flex contacts.

    Ask FixBot
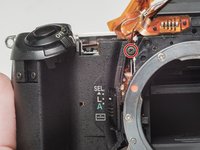
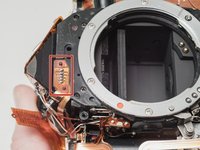
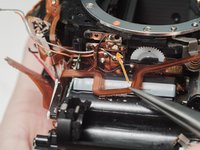
  21. Pentax MZ-S Mirror Drive Lever Replacement, Desolder flex connection above the lens mount: step 21, image 1 of 2 Pentax MZ-S Mirror Drive Lever Replacement, Desolder flex connection above the lens mount: step 21, image 2 of 2
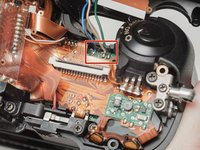
    • Desolder flex connection and remove from retention posts. Use isopropyl alcohol to soften the glue if necessary.

    • Carefully peal the flex cable from the surface of the flash capacitor. Use isopropyl alcohol to soften the glue if necessary.

    Ask FixBot
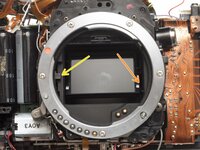
  22. Pentax MZ-S Mirror Drive Lever Replacement, Remove eye piece assembly: step 22, image 1 of 2 Pentax MZ-S Mirror Drive Lever Replacement, Remove eye piece assembly: step 22, image 2 of 2
    • Remove two 5.0 mm #00 screws.

    • Remove the eye piece.

    • The outer cover of the eye piece is only attached with double sided tape and may come away on its own. Make sure the entire eye piece unit is removed before proceeding.

    Ask FixBot
  23. Pentax MZ-S Mirror Drive Lever Replacement, Remove lens release switch: step 23, image 1 of 2 Pentax MZ-S Mirror Drive Lever Replacement, Remove lens release switch: step 23, image 2 of 2
    • Remove one #00 screw.

    • Reassembly Note: Ensure that the lower contact catches on the plastic nub and that the contact is open when the lens release button is not pressed.

    Ask FixBot
  24. Pentax MZ-S Mirror Drive Lever Replacement, Flip the mirror up: step 24, image 1 of 2 Pentax MZ-S Mirror Drive Lever Replacement, Flip the mirror up: step 24, image 2 of 2
    • Rotate the black gear downward until the mirror flips up into the taking position. It may take several turns.

    • Some failures will result in the mirror appearing to be in the upper position but the internal mechanism is still "down". The mechanism needs to be moved to release the mirror box.

    Ask FixBot
  25. Pentax MZ-S Mirror Drive Lever Replacement, Detach flex circuit: step 25, image 1 of 2 Pentax MZ-S Mirror Drive Lever Replacement, Detach flex circuit: step 25, image 2 of 2
    • Remove one 4.0 mm screw.

    • Gently lift the flex circuit away from the housing.

    Ask FixBot
  26. Pentax MZ-S Mirror Drive Lever Replacement, Unscrew the mirror box: step 26, image 1 of 2 Pentax MZ-S Mirror Drive Lever Replacement, Unscrew the mirror box: step 26, image 2 of 2
    • Remove two 6.5 mm #0 screws.

    • Remove one 8.0 mm #0 screw.

    • Remove one 4.0 mm #00 screw.

    • Remove one 4.5 mm #00 screw.

    • Remove two 2.5 mm #00 screws.

    • There may be a shim washer here. Remove if loose.

    • Remove one 4.0 mm #00 shoulder screw.

    Ask FixBot
  27. Pentax MZ-S Mirror Drive Lever Replacement, Remove the mirror box: step 27, image 1 of 2 Pentax MZ-S Mirror Drive Lever Replacement, Remove the mirror box: step 27, image 2 of 2
    • Push the mirror box up to free it from the bottom plate.

    • Lift the left side of the mirror box and rotate it up and out of the camera body.

    • Be gentle. Keep an eye out for any snagged flex cables or wires. The right side of the mirror box is still connected to the camera body and it cannot be completely removed.

    • Check for shim washers at the mount locations. Note location and remove if loose.

    Ask FixBot
  28. Pentax MZ-S Mirror Drive Lever Replacement, Remove the mirror motor plate: step 28, image 1 of 1
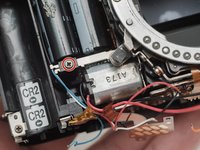
    • Desolder the black wire.

    • Remove one 3.0 mm #00 screw securing the mount LED.

    • Remove five 3.5 mm #00 screws.

    Ask FixBot
  29. Pentax MZ-S Mirror Drive Lever Replacement, Remove mirror drive lever: step 29, image 1 of 2 Pentax MZ-S Mirror Drive Lever Replacement, Remove mirror drive lever: step 29, image 2 of 2
    • Remove two drive gears from the mirror box.

    • Remove shutter charge lever spring.

    • Remove mirror drive lever spring.

    • Remove mirror drive lever.

    Ask FixBot
  30. Pentax MZ-S Mirror Drive Lever Replacement, Install new mirror drive lever: step 30, image 1 of 1
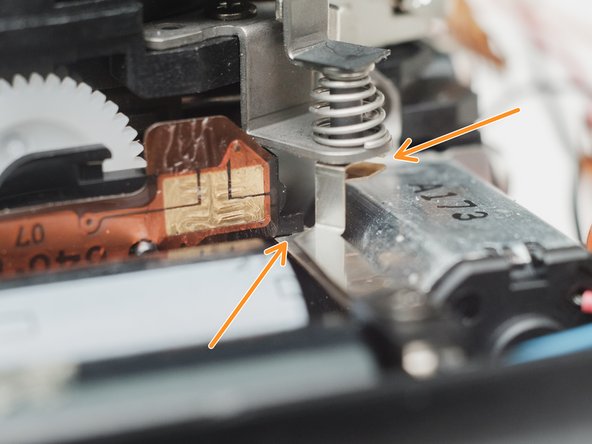
    • Transfer the two springs from the old drive lever to the new drive lever.

    • Install the new drive lever.

    • Check that all the bias springs are correctly tensioned against the indicated posts.

    Ask FixBot
  31. Pentax MZ-S Mirror Drive Lever Replacement, Install drive gears: step 31, image 1 of 1
    • Ensure that the indicated holes are aligned when installing the drive gears.

    Ask FixBot
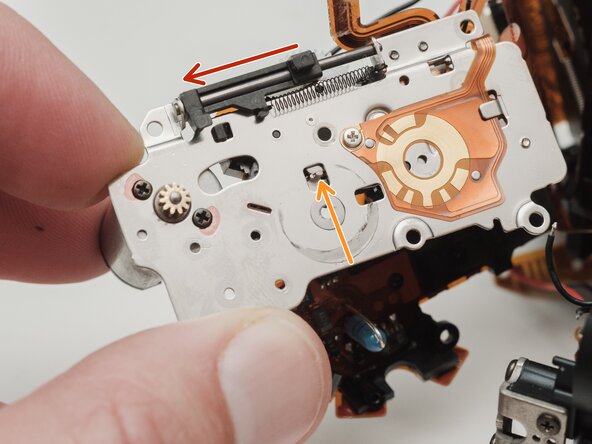
  32. Pentax MZ-S Mirror Drive Lever Replacement, Prepare mirror motor plate for install: step 32, image 1 of 2 Pentax MZ-S Mirror Drive Lever Replacement, Prepare mirror motor plate for install: step 32, image 2 of 2
    • Slide the aperture actuator to the left.

    • Pinch the small lever downward and let it snap back into place.

    • The aperture actuator should be held in place on the left end of its travel if done correctly.

    Ask FixBot
  33. Pentax MZ-S Mirror Drive Lever Replacement, Prepare mirror box assembly for install: step 33, image 1 of 3 Pentax MZ-S Mirror Drive Lever Replacement, Prepare mirror box assembly for install: step 33, image 2 of 3 Pentax MZ-S Mirror Drive Lever Replacement, Prepare mirror box assembly for install: step 33, image 3 of 3
    • Install mirror motor plate.

    • Turn the black gear downward to move the mirror through a full cycle.

    • Check that the mirror comes all the way down onto the mirror rest when in the taking position.

    • Check that the aperture control mechanism is moving in its slot.

    • Continue turning the black gear until this hole appears in the opening and the shutter charge lever moves to the right.

    Ask FixBot
    • Make sure all wires and flex cables are in their proper place before beginning the install. Monitor carefully to avoid pinching things in the wrong place.

    Ask FixBot
    • Apply a low DC voltage (3-6 V) to the mirror motor to check the operation of the mirror box. Normal movement in the shutter blades, aperture control and mirror should be observable.

    Ask FixBot
Conclusion

To reassemble your device, follow these instructions in reverse order. Be careful to route wires and flex cables in the way that they were originally assembled.

2 other people completed this guide.

Sam Gustafson

Member since: 09/01/22

10,835 Reputation

74 Guides authored

11 Guide Comments

wow, this is not for the faint of heart!

Jonas Bohatsch - Reply Share

Wow! Respect!!!

akonvisher - Reply Share

Wow!! respect!!!

akonvisher - Reply Share

I need this part. Anyone know where I can find one?

salazam - Reply Share

There is an STL file available on the main camera page, which you can send to an online 3D printing service. I would recommend using a lost wax brass casting process. Companies like Shapeways can do this for relatively cheap.

Sam Gustafson - Reply Share

Add Comment

View Statistics:

Past 24 Hours: 2

Past 7 Days: 31

Past 30 Days: 103

All Time: 2,662