Introduction
This guide covers disassembly of the Jura Cool Control milk cooler, focused on replacing the Peltier module — the most common cause of cooling failure.
The Peltier module is straightforward to access and remove. This guide is based on the 2.5L model, but the process should translate to other units in the range.
Note: Once you have the unit open, you can confirm the Peltier module is at fault using a multimeter across its two wires before committing to a replacement.
What you need
-
-
Unplug the unit from the power outlet.
-
Remove all attachments: milk container, metal tube, adaptor, lid.
 Ask FixBot
-
-
-
Open the cover on the top of the machine at the back. (Revealing the LCD display).
-
Use a Phillips screwdriver to remove the 2 x screws.
-
-
-
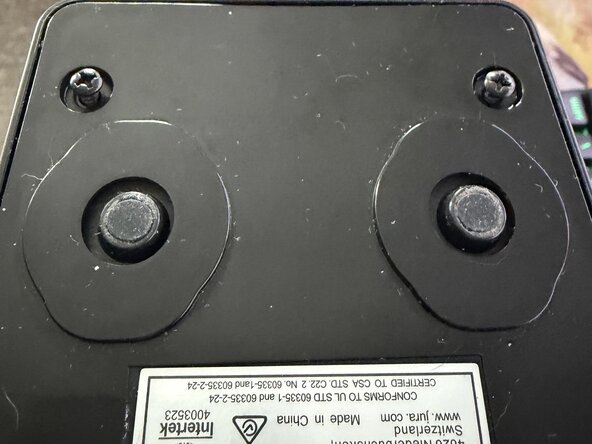
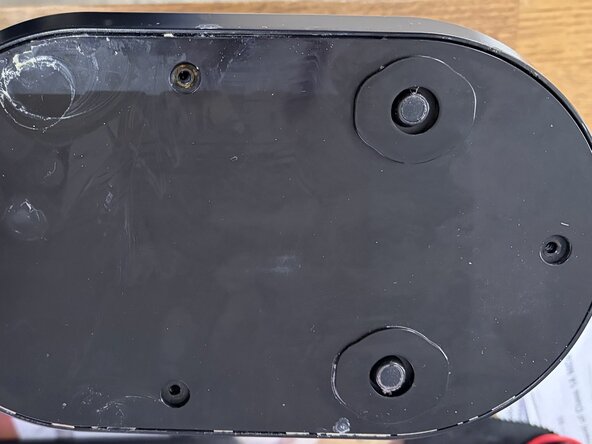
Turn the unit upsidedown
-
Remove the five Phillips screws located on the underside.
-
-
-
Starting at the top. Pull the rear casing away from the main unit.
-
Be careful as the rear casing has an internal fan attached via wire to the PCB. So do not pull it far away from the main unit.
-
-
-
-
Unplug the the twin wire Molex plug indicated in the photo. This is the connection to the Peltier module.
-
Snip the small tie wrap to the left of this Molex that holds the bunch electrical cables together.
-
Note - you can use a multi-metre at this point to test:
-
- If there is 12V is reading from the PCB.
-
- If there is resistance or continuity from the red and black wires of the Peltier module.
-
-
-
Looking into the heatsink fins - there will be two small bits of foam resting on top of the screw heads. Remove the two small bits of foam using tweezers and keep them to one side.
-
Now unscrew the two screws.
-
Note: these screws may be incredibly difficult to unscrew due to moisture damage. Try using WD40 or Maintenance spray on the two screw heads, wait for 10 minutes and try unscrewing again.
-
With the two screws now removed. Carefully pull the heatsink off, away from the main unit.
-
-
-
Slide out the sensor connector on top of the heatsink.
-
Now put the heatsink to the side and clean it if necessary.
-
-
-
Working on the rear of the removed heatsink. Remove the two foam caps that sit on top of the two screws.
-
Unscrew and remove the screws with a Phillips screwdriver.
-
-
-
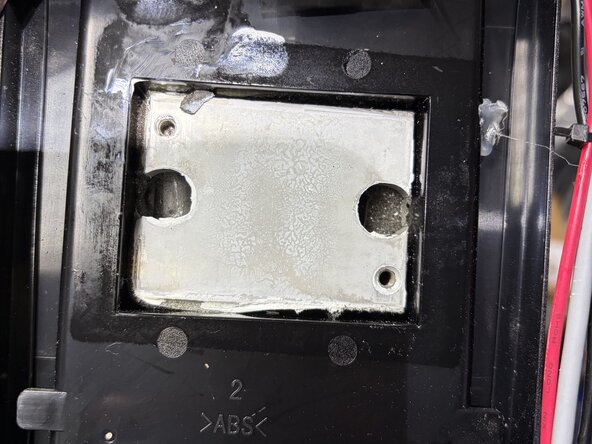
Remove the metal block
-
This will reveal the Peltier module
-
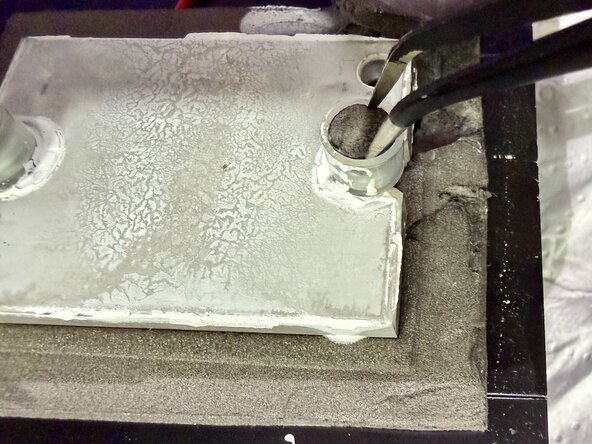
Clean the block and remove the foam.
-
Note: you can remove the foam carefully with a plastic scrapping tool, if you want to re-use it. Or buy new adhesive polyethylene foam.
-
-
-
Make a note of the Peltier module and order a replacement.
-
This one is 40mm x 40mm and the typical part you need is: TEC1-12705. A new unit should be less than £10 / $10.
-
Note: The side with the text on is the 'hot side'. This goes up against the black large heatsink.
-
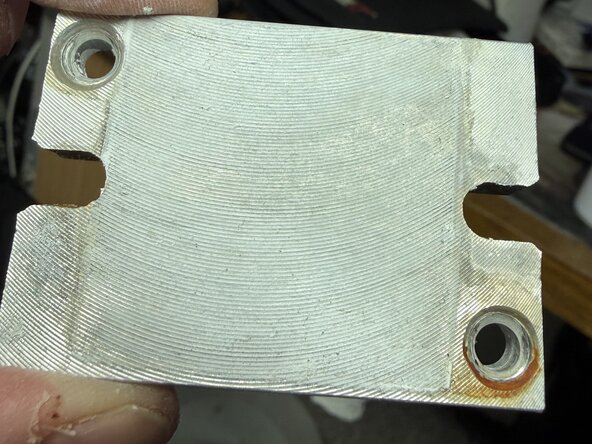
Clean the metal block
-
Clean the heatsink of dust and old thermal paste.
-
-
-
Here, I use two small butt connectors to join the new Peltier module to the existing wires.
-
Note: The text side of the Peltier module is the hot side which faces towards the heatsink. The blank side is the cold side and faces away from the heatsink. (If in doubt, you can plug the Peltier module in and turn on the unit to test and feel the cold side).
-
Use thermal paste for thermal conductivity. (Or thermal pads if they came with the Peltier module).
-
Re-assemble the heatsink using thermal pads or thermal paste metal blocks.
-
I re-used the grey thermal foam. It was no longer adhesive but that does not matter to me - it is kept in place with pressure anyway.
-
Use a new short thin tie wrap to secure the bunch of electrical cables together.
-
-
-
Reassemble the parts and unit.
-
Turn on and test. For my unit, it started at 20C and 10 minutes later it went down to 14C. 40 minutes later and the LCD reads 7C.
-
You have completed the repair. Congrats.
-


To reassemble your device, follow these instructions in reverse order.
Cancel: I did not complete this guide.
One other person completed this guide.
