
Patio Door Screen Replacement

Jessica Bowers and 2 other contributors
Last updated on Jun 25, 2026
Views: 7.5K
View statistics:
- Past 24 Hours:
- 2
- Past 7 Days:
- 25
- Past 30 Days:
- 153
- All Time:
- 7,511
Comments: 0
No one has left comments on this guide. Will you be first?
Go to guide commentsCompleted: 1 2
1 person has marked this guide "completed." Will you be next?
2 people have marked this guide "completed." Including you — great job!
Favorites: 0 1
No one has favorited (and subscribed to) this guide. Will you be the first?
1 person has favorited (and subscribed to) this guide — and that's you!
Introduction
Go to step 1 ↓If you have a screened in porch/lanai and either kids or animals, it’s only a matter of time before a nose, hand, paw or toy go through it. Once this happens insects, lizards, snakes, lawn debris, and rodents are able make your once clean and beautiful porch into their new home.
This fix is necessary for those who have screened in lanais, but this process can be used for any screen. Not only does knowing how to replace screens save homeowners and renters money, it also helps prevent unnecessary waste in landfills. The old mesh can either go into a recycling bin or be reused around the house. Some uses include, filtering old paint, shielding your gutters, keeping drains clear, and even putting it over freshly seeded grass patches to prevent birds from eating the grass seeds until they sprout. Most screen and door companies don’t like informing homeowners of this simple repair process and there are almost never screen repair guides included when you buy new screens. Many people are not familiar with how screens are made or how to repair one so this guide will assist those who need to make a repair to their patio door screen.
What you need
Parts
Tools


-
-
-
Remove screen door from the frame.
-
Disconnect any door closers or safety chains on the door.
-
Remove the screws holding the door to the aluminum frame located on the hinge side of the door.
 Ask FixBot
-
-
-
Lay the door on a hard surface.
-
Make sure the side with the spine showing is face up.
-
-
-
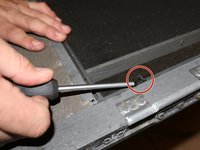
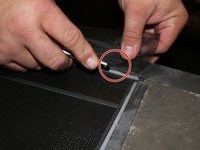
Remove spline by using an awl or pointed object. Pry the end up and pull the spline to remove it from the frame.
-
-
-
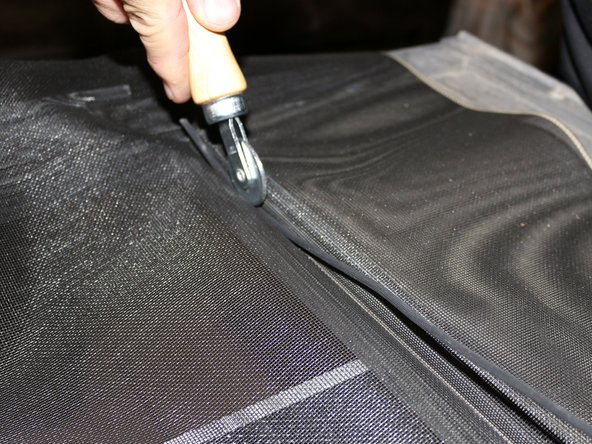
Run concave roller over the screen in the groove designed for the spline.
-
Pre-shape the screen into the channel so that the spline will go in willingly.
-
-
-
Begin at a top corner and press the spline down over the screen fabric and into the groove on the frame using the convex roller.
-
-
-
-
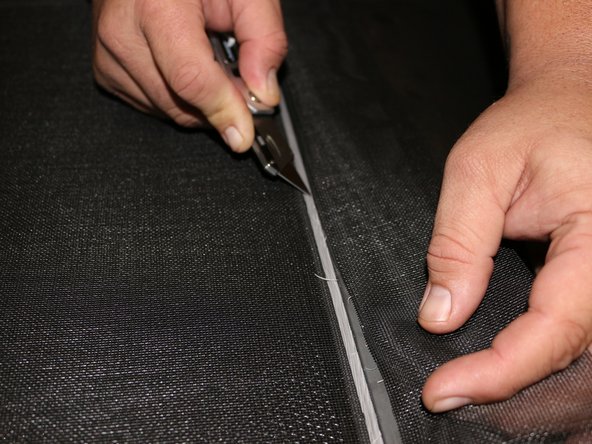
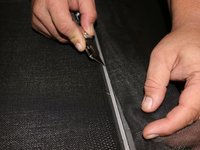
Trim the extra screen material flush at the edge of the retaining spline with a razor blade, creating a neat appearance.
-
-










Replacing your screen on your door is a simple process that can be knocked out in an hour’s time depending on how handy of a person you are. Making this fix helps ensure you can enjoy the fresh out while keeping bugs out!
Cancel: I did not complete this guide.
One other person completed this guide.

Team

USF Sarasota-Manatee, Team S1-G1, Stewart Spring 2020 Member of USF Sarasota-Manatee, Team S1-G1, Stewart Spring 2020
USFSM-STEWART-S20S1G1
23 Members
228 Guides authored
