
Patching Surfboard Fiberglass

Eric Doster and 5 other contributors
Last updated on Dec 6, 2022
Views: 30K
View statistics:
- Past 24 Hours:
- 1
- Past 7 Days:
- 25
- Past 30 Days:
- 125
- All Time:
- 29,896
Comments: 1
1 guide comment.
Go to guide commentsCompleted: 3 4
3 people have marked this guide "completed." Will you be next?
4 people have marked this guide "completed." Including you — great job!
Favorites: 10 11
10 people have favorited (and subscribed to) this guide. Will you be next?
11 people have favorited (and subscribed to) this guide — including you!
Featured Guide
This guide has been found to be exceptionally cool by the iFixit staff.
Community-Contributed Guide
An awesome member of our community made this guide. It was not created by iFixit staff.
Introduction
Go to step 1 ↓So a ding is basically any noticeable blemish in the board's fiberglass covering. It usually manifests itself as a cracked windshield like fracture. It could be long and skinny (like my rail dings, typically) or short and wide (if you hit a strategically placed jagged rock). You may also not think you have a ding at all, or anything worrying about, then you start noticing a slight yellow discoloration in a certain area-well, odds are you are letting in a little water in that area. Which affects how your board floats and even maneuvers.
What you need
Parts

-
-
-
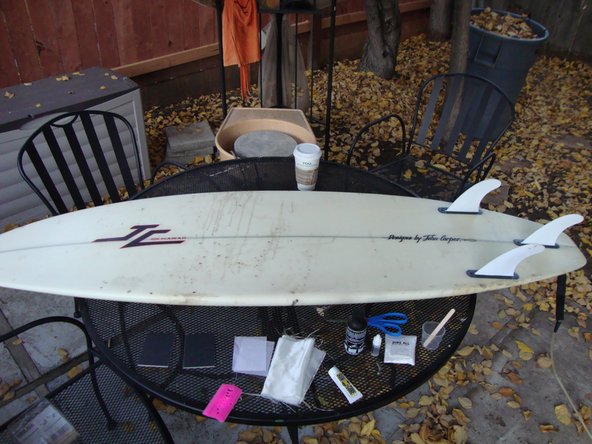
So, to begin, we need a nice clean working area. My place is small so I used my patio set (not the best idea though, as my wife flipped when she found out I was using toxic chemicals where we occasionally eat, just beware.)
-
Things you will need:
-
Surfboard with dings
-
Cleaning tools: wax comb, rag, and Gloves!!!
-
Resin, Q-Cell Filler, Hardener, Fiberglass Cloth
-
Mixing cup, stirring stick,Transparency
-
Sand paper: 1 rough grit and 1 fine grit
-
Starbucks (optional)
 Ask FixBot
-
-
-
Next, you need to identify the dinged areas and figure out which method you prefer to use. I used cloth repair on the bigger ones (and the rail ones) and then the sun cure on the small ones (because I have heard it works well enough on small stuff).
-
-
-
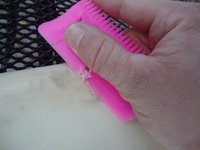
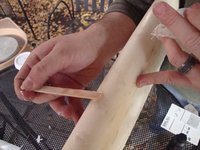
Now we need to clean the dinged area of all the wax and fiberglass flakes.
-
Grab your comb and scrape any wax from around the area to be repaired.
-
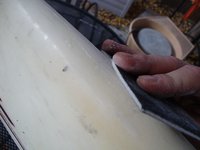
Sand down, approximately 1/4", till you have a nice smooth surface.
-
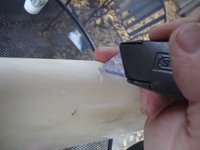
Cut a small groove (in the direction of the ding) to give the repair mixture somewhere to seep into.
-
-
-
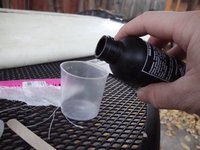
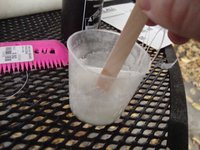
Now we come to the mixing process.
-
First figure how much resin you are going to need to adequately cover the cloth piece with a little to spare to pre-dab the dinged area.
-
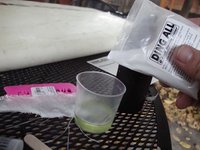
Add Filler, it helps to make the solution less watery and more workable
-
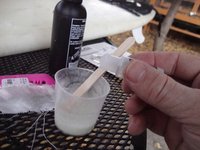
Then add the hardener; you only need a little and it really depends on the temp. Your box should say what is appropriate for your particular weather.
-
-
-
Mixing Process (Continued)
-
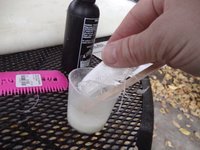
Put the fiberglass cloth that you cut into the mixture.
-
Stir the cloth in slowly to cover the cloth with mixture without causing air bubbles.
-
-
-
Application Process:
-
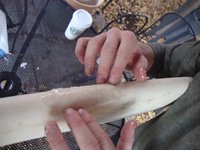
Pre-dab the area with some of the solution, if there is a chunk of the fiberglass gone, use the solution generously to fill void.
-
Spread the soaked fiberglass cloth over the dinged area and smooth it out with your fingers.
-
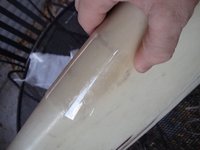
Use the transparency to spread the cloth evenly, working out any noticeable bubbles.
-
-
-
-
Application Process (Continued)
-
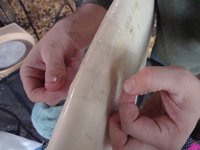
Hold the transparency in place (be aware that it will not stay put).
-
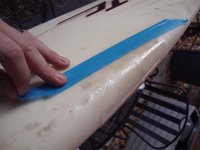
Use tape (scotch, masking, painters) to secure the edges and make sure the transparency is held down tight
-
-
-
Curing and Finishup:
-
Let the mixture cure.
-
It should take, depending on your weather, about 1 hour or so to dry completely.
-
Don't remove the transparency until dry.
-
Once dry, remove the transparency and use a fine sand paper to even out any new bumps from the new fiberglass surface.
-
Then, voila! your board should be back to working order. Get out there and this time try to be more careful on the trip back to the car. ;)
-
-










To reassemble your device, follow these instructions in reverse order.
Cancel: I did not complete this guide.
3 other people completed this guide.

