
Parrot Skycontroller 2 USB Port Replacement

Aaron Collard and 3 other contributors
Last updated on Apr 28, 2020
Views: 1.3K
View statistics:
- Past 24 Hours:
- 3
- Past 7 Days:
- 11
- Past 30 Days:
- 59
- All Time:
- 1,303
Comments: 2
2 comments on steps.
Completed: 0 1
No one has marked this guide "completed." Will you be the first?
1 person has marked this guide "completed." It's you — great job!
Favorites: 0 1
No one has favorited (and subscribed to) this guide. Will you be the first?
1 person has favorited (and subscribed to) this guide — and that's you!
Introduction
Go to step 1 ↓In this guide, the USB port will be replaced on the Parrot Skycontroller 2P. If you are having trouble, with your phone connecting to the device, the USB port could be the problem. This guide will require desoldering and soldering the port, so check out our How to Solder and Desolder Connections guide for help on how to do so.
Before beginning, make sure to power off your device completely and disconnect from any external power source.
What you need
Tools


-
-
-
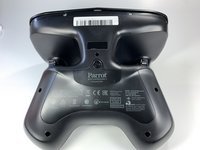
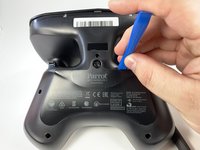
Insert the plastic opening tool into the top of the cover and pry upwards to lift the battery cover.
-
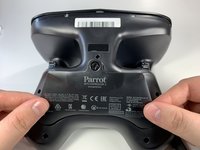
Remove the cover by pulling up and out.
-
-
-
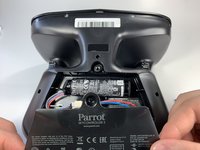
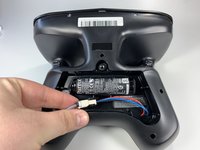
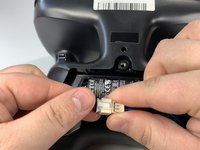
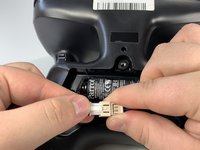
Pull the connectors out by gently pushing the tabs and pulling up on the connector.
-
Disconnect the battery from the remote by pressing the white tab and pulling the connectors apart.
-
-
-
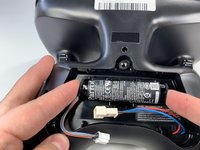
Remove the battery from its brackets by pulling up on the ends of the battery.
-
-
-
-
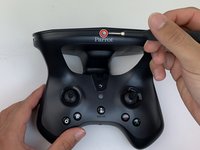
Remove the seven black 11mm screws using the Torx TR6 screwdriver.
-
Pull back the sticker with your finger nail and remove one 11mm screws using the Torx TR6 screwdriver.
-
-
-
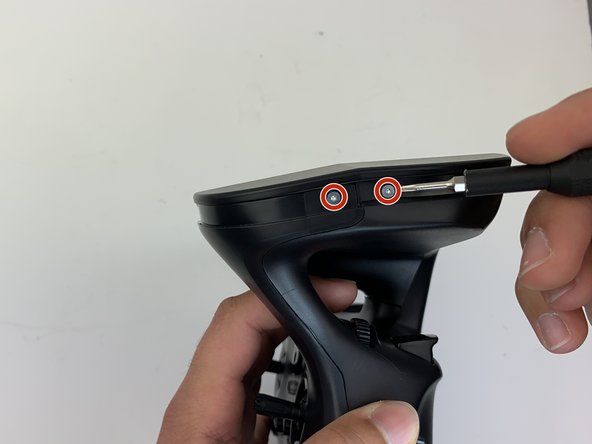
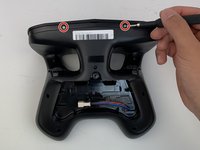
Remove the seven silver 4mm screws from around the edge of the top panel using the Torx TR6 screwdriver.
-
-
-
-
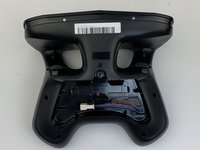
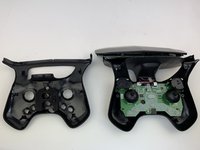
Position the device so that the top panel is flat down on the table. You should have access to the USB Port.
-
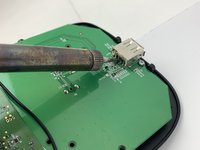
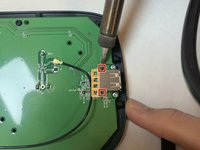
Desolder the two connection points in the back of the USB port.
-
Desolder the four wires in the back of the USB port.
-
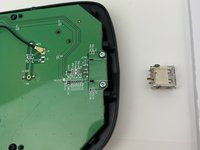
Remove the the component from the board.
-
-


 Ask FixBot








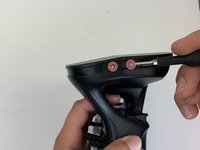


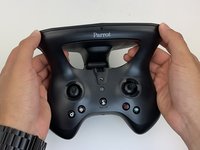
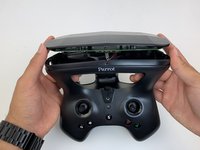


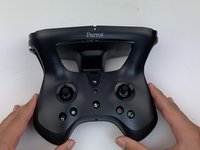


To reassemble your device, follow these instructions in reverse order.

Team

Embry-Riddle Aeronautical University, Team S6-G1, Watkins Spring 2020 Member of Embry-Riddle Aeronautical University, Team S6-G1, Watkins Spring 2020
ERAU-WATKINS-S20S6G1
4 Members
60 Guides authored
