Free Shipping on Domestic Orders $75+

Pantech Burst Motherboard Replacement

What you need

    1. Pantech Burst Motherboard Replacement, Motherboard: step 1, image 1 of 3 Pantech Burst Motherboard Replacement, Motherboard: step 1, image 2 of 3 Pantech Burst Motherboard Replacement, Motherboard: step 1, image 3 of 3
      • Power off your phone before beginning disassembly.

      • Turn over the phone so that you're facing the back cover.

      • Locate the indent(?) below the back cover.

      • Using a fingernail, pull up to remove the back cover.

      • Removing the back cover may require some force.

      Ask FixBot

      Add Comment

    2. Pantech Burst Motherboard Replacement: step 2, image 1 of 3 Pantech Burst Motherboard Replacement: step 2, image 2 of 3 Pantech Burst Motherboard Replacement: step 2, image 3 of 3
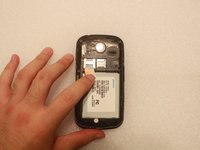
      • Locate the silver battery. It is the big, rectangular, silver tape on black plastic object.

      • Find the gap between the battery and the rest of the device.

      • Using your fingernail, gently pull the battery up and away from the rest of the device.

      Ask FixBot

      Add Comment

    3. Pantech Burst Motherboard Replacement: step 3, image 1 of 3 Pantech Burst Motherboard Replacement: step 3, image 2 of 3 Pantech Burst Motherboard Replacement: step 3, image 3 of 3
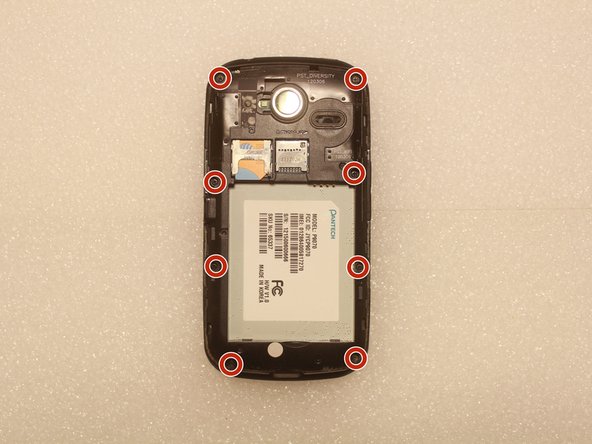
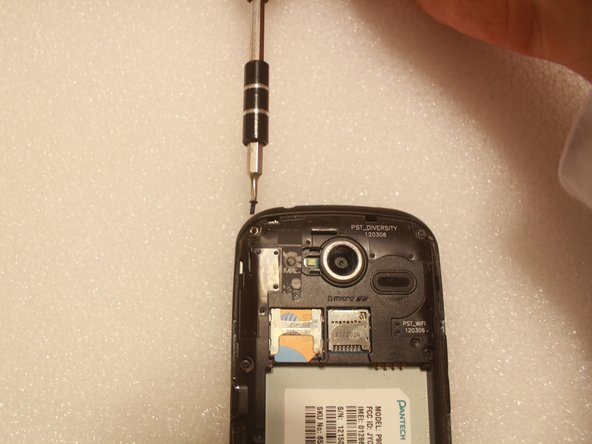
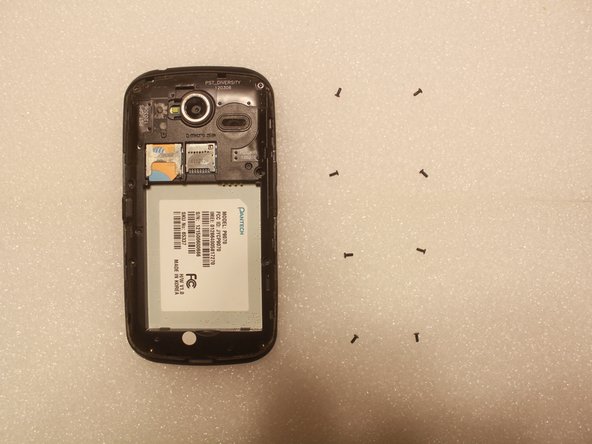
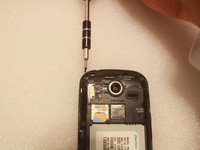
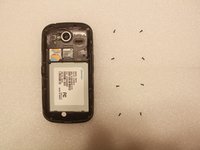
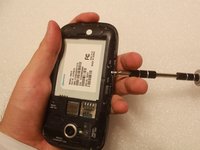
      • Undo all 8 visible screws using a phillips size 000 screwdriver.

      • The screws are marked in red on the picture.

      Ask FixBot

      Add Comment

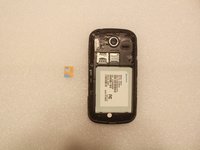
    4. Pantech Burst Motherboard Replacement: step 4, image 1 of 2 Pantech Burst Motherboard Replacement: step 4, image 2 of 2
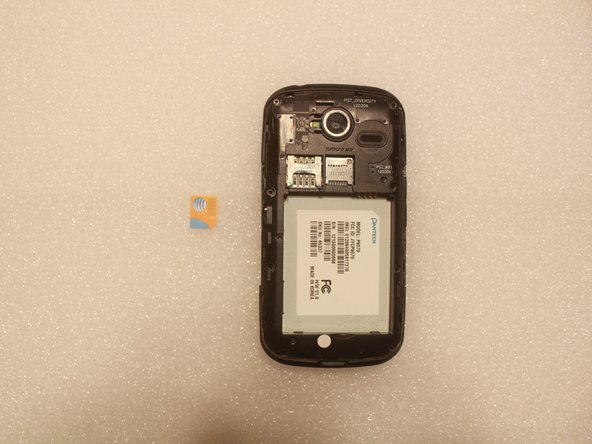
      • Remove the SD card if there is one inserted into the phone.

      Ask FixBot

      Add Comment

    5. Pantech Burst Motherboard Replacement: step 5, image 1 of 3 Pantech Burst Motherboard Replacement: step 5, image 2 of 3 Pantech Burst Motherboard Replacement: step 5, image 3 of 3
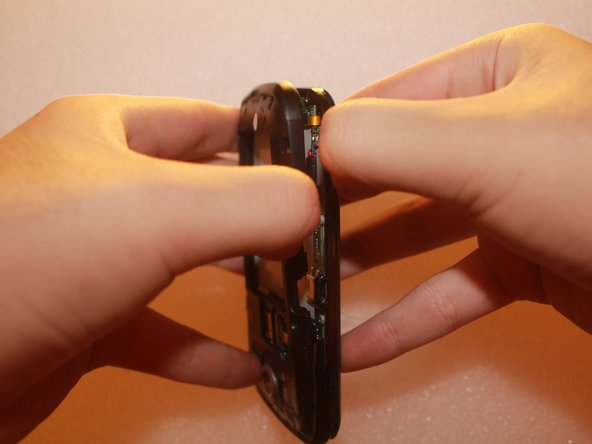
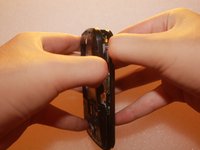
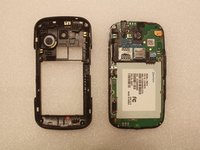
      • Using an opening tool or some other solid, flat-ended tool, begin pulling apart the phone from the indent below the USB port.

      • Continue using the tool, while moving around the edge of the phone until the two parts are largely disengaged.

      • Once there is space enough to pull the pieces apart with your fingers, you may do so.

      • Opening the phone may require a good amount of force.

      Ask FixBot

      Add Comment

    6. Pantech Burst Motherboard Replacement: step 6, image 1 of 3 Pantech Burst Motherboard Replacement: step 6, image 2 of 3 Pantech Burst Motherboard Replacement: step 6, image 3 of 3
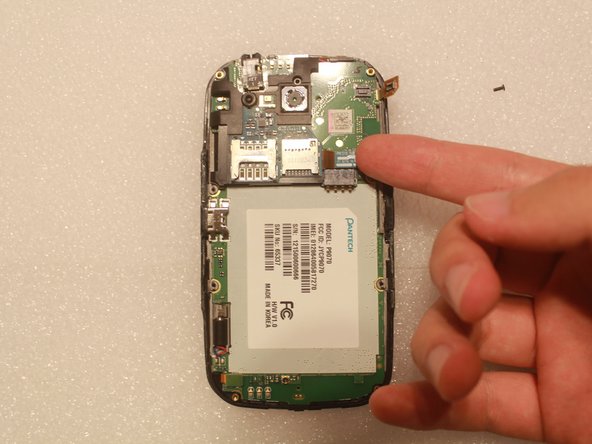
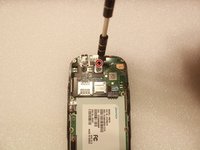
      • Unscrew the screw with a phillips size 000 screwdriver.

      • Disconnect the blue connector from the motherboard using a fingernail to lightly pull up.

      • Gently remove the SIM/SD card part.

      Ask FixBot

      Add Comment

    7. Pantech Burst Motherboard Replacement: step 7, image 1 of 1
      • Gently disconnect the connectors attached to the motherboard using a fingernail to pull them up from the board.

      • Connectors are marked in blue in the image.

      Ask FixBot

      Add Comment

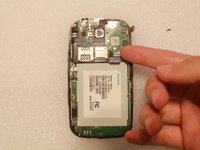
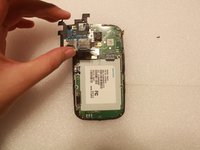
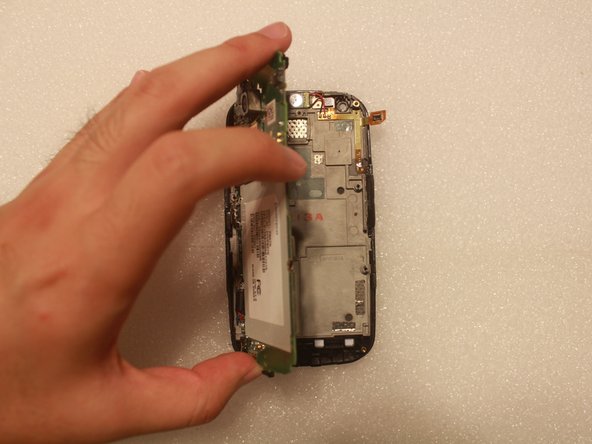
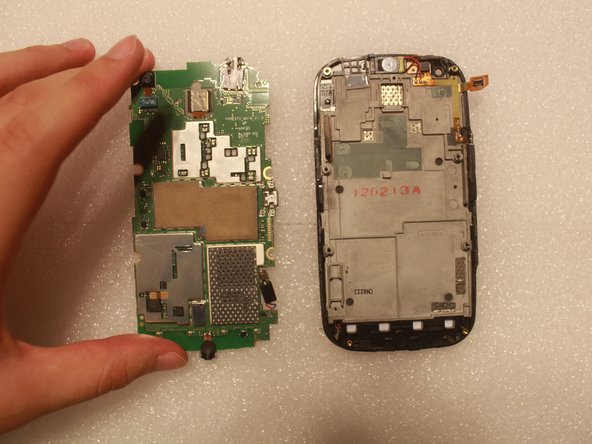
    8. Pantech Burst Motherboard Replacement: step 8, image 1 of 3 Pantech Burst Motherboard Replacement: step 8, image 2 of 3 Pantech Burst Motherboard Replacement: step 8, image 3 of 3
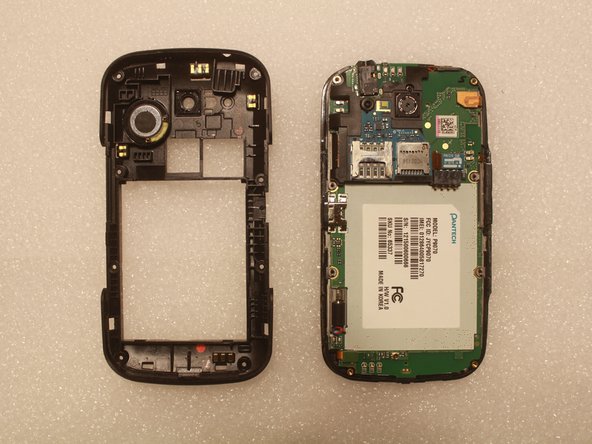
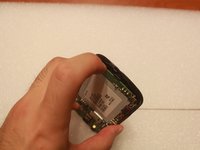
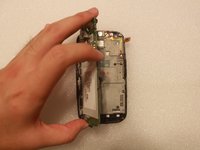
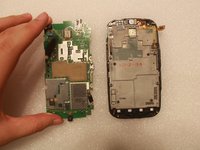
      • Starting from the bottom and going around counterclockwise, carefully pry the motherboard out of the device.

      • Beginning with the side with the USB port may damage the phone.

      Ask FixBot

      Add Comment

Conclusion

To reassemble your device, follow these instructions in reverse order.

Cancel: I did not complete this guide.

Kyle Kurashima

Member since: 09/29/15

111 Reputation

1 Guide authored

Team

Cal Poly, Team 15-1, Green Fall 2015 Member of Cal Poly, Team 15-1, Green Fall 2015

CPSU-GREEN-F15S15G1

5 Members

60 Guides authored

0 Guide Comments

Add Comment

View Statistics:

Past 24 Hours: 1

Past 7 Days: 7

Past 30 Days: 30

All Time: 878