Introduction
Use this guide to replace the foldable LCD (liquid crystal display screen) on your Panasonic VDR-D220 DVD. This type of screen is an iconic trademark of this type of camera and is an essential part of this camera's functioning.
If the LCD screen will not turn on at all, you may have a damaged display cable. If the display cable is not damaged, you will need to replace the LCD. Check the troubleshooting page for more details on what could be wrong with the Panasonic DVD.
Before you begin, make sure the camera is fully powered off.
What you need
-
-
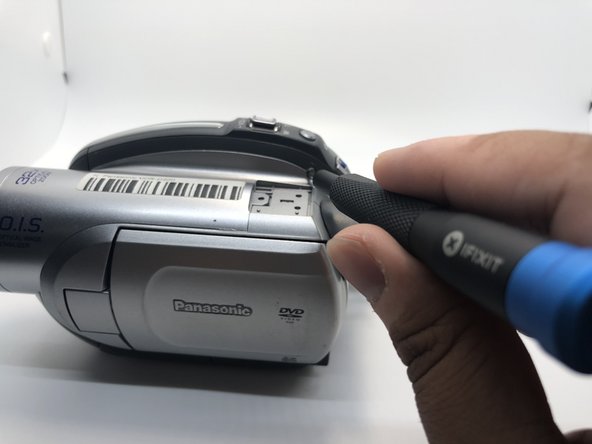
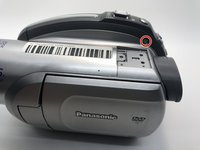
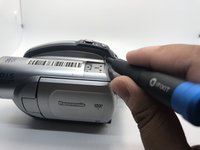
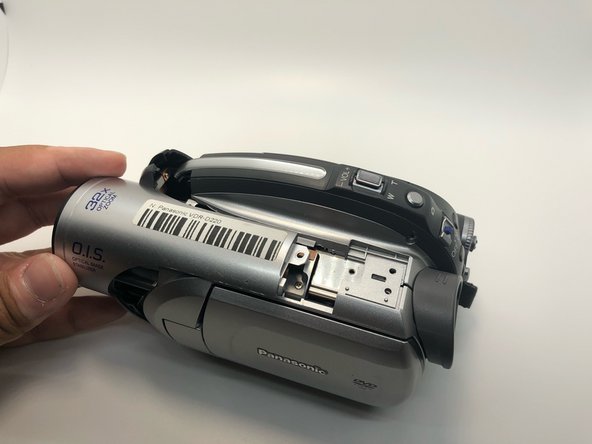
Remove all three 5mm screws from the top of the camera using a Phillips #0 screwdriver.
 Ask FixBot
-
-
-
Rotate the camera to show the bottom side of the camera.
-
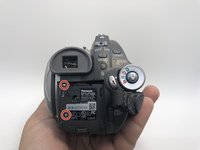
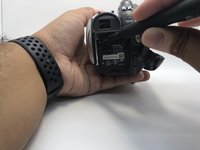
Remove the four 5mm screws on the bottom side of the camera with a Phillips #0 driver.
-
-
-
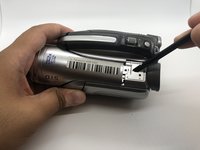
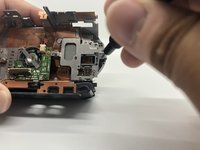
Pry with a spudger to disconnect the top-front part of the camera from the main body.
-
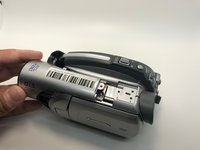
Slide the top portion of the camera forward revealing more screws.
-
-
-
Flip the camera on the right side.
-
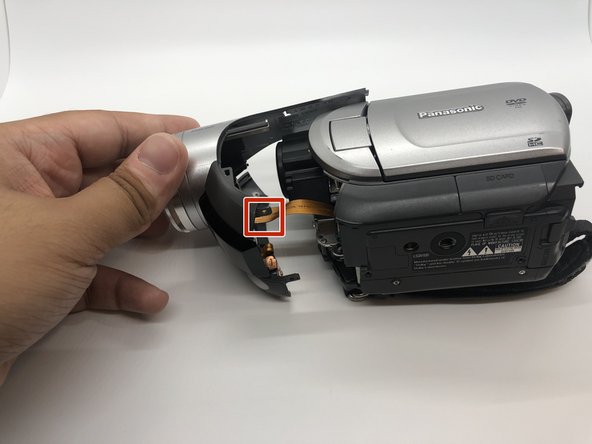
Gently pull the front part from the main body to expose the cables connecting them.
-
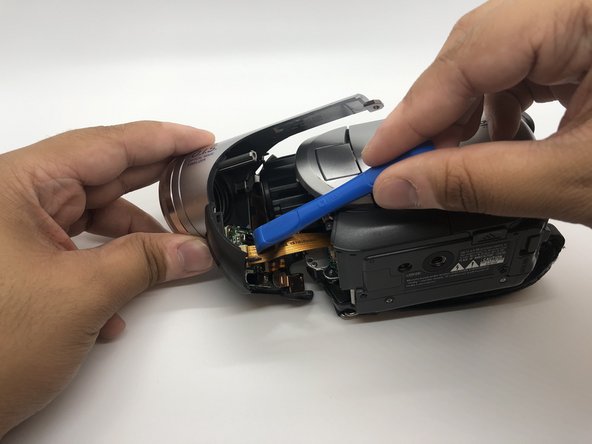
Use your plastic opening tool to disconnect the connection point safely.
-
Press the tab with plastic opening tool and then pull the ZIF connector to detach.
-
-
-
-
Flip the camera on the bottom side.
-
Remove one more 5mm screw that had been uncovered previously with a Phillips #0 screwdriver.
-
-
-
Go to the battery basement's side.
-
Use your Phillips #0 screwdriver to remove the two 5mm screws on the battery base of the camera.
-
-
-
Rotate the camera to the left side, where the side port is located.
-
Open the side port door.
-
-
-
Remove three 5mm screws inside the side ports using Phillips #0 screwdriver.
-
Take off the left side of the camera.
-
-
-
Rotate the camera to the battery side.
-
Gently pull the side of the camera apart with only your hands.
-
Disconnect the ribbon cable with your plastic opening tool, so that the left side of the camera can be removed.
-
Press the tab with plastic opening tool and then pull the ZIF connector to detach.
-
-
-
Look to the left side of the camera you have removed.
-
Remove six 5mm screws with your Phillips #0 screwdriver.
-
-
-
Take off the metal piece.
-
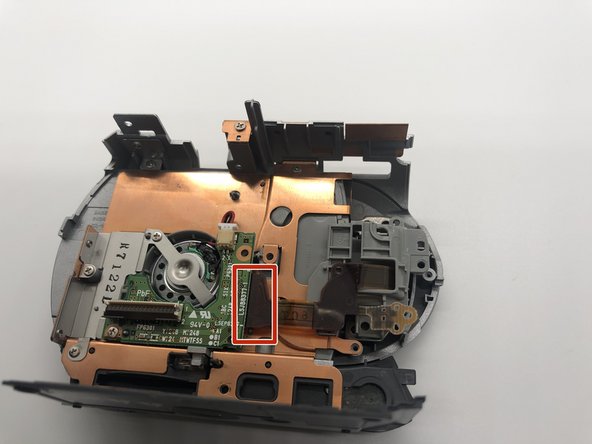
Use your plastic opening tool to disconnect the ribbon cable. Press the tab with plastic opening tool and then pull the ZIF connector to detach.
-
-
-
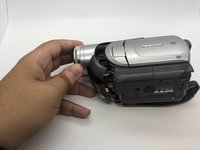
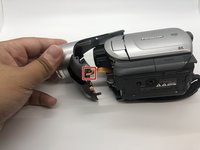
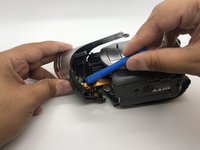
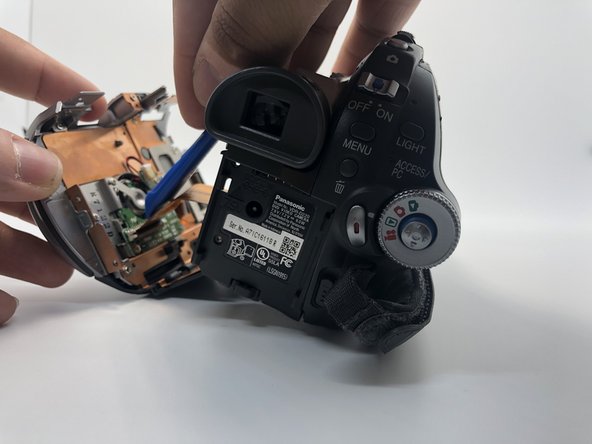
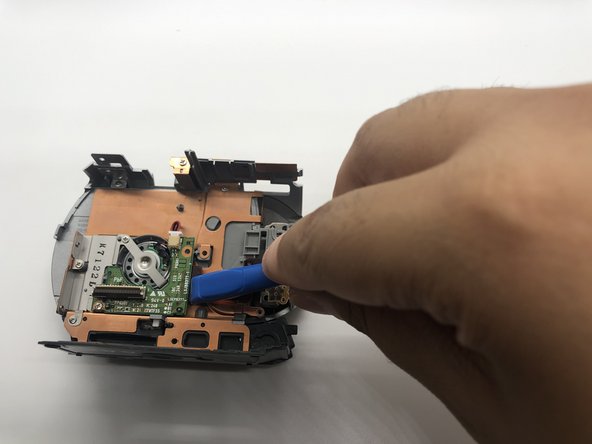
Use a plastic spudger to apply a firm amount of pressure to pry the hinge from the rest of the camera body.
-
-
-
Go back to the back side.
-
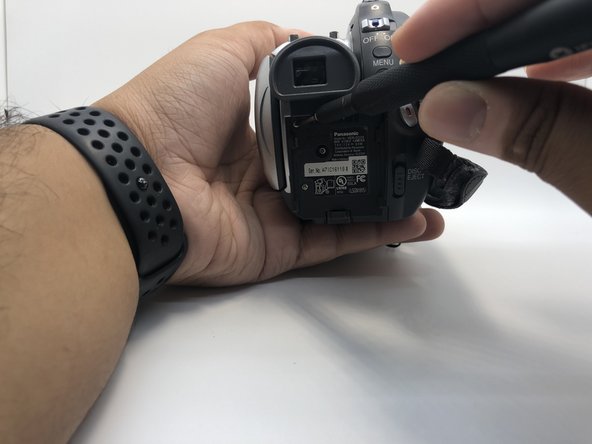
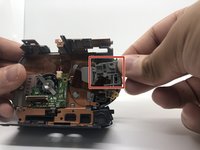
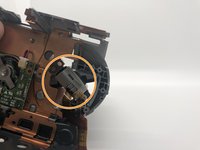
Take off the small plastic piece.
-
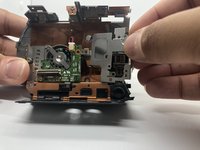
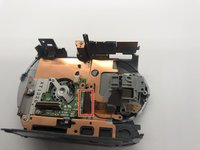
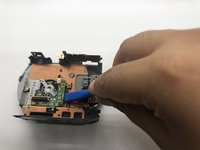
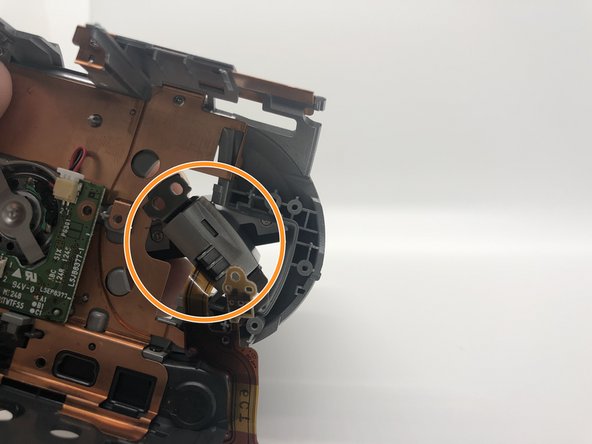
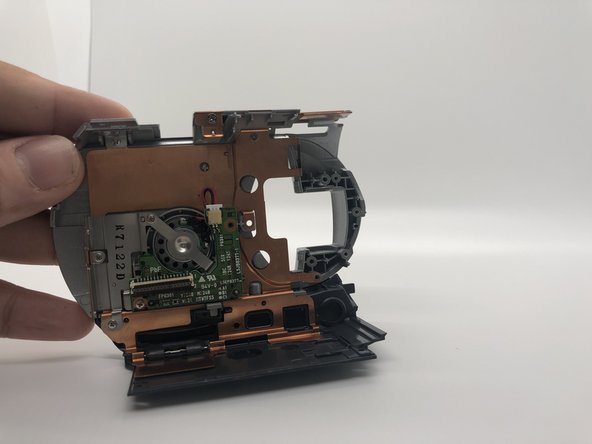
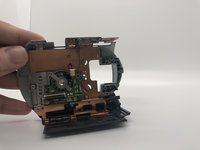
Rotate the right side of the LCD counter clockwise.
-







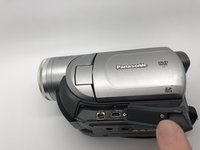
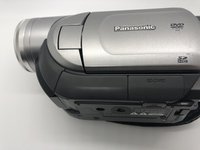
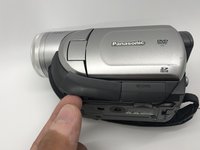


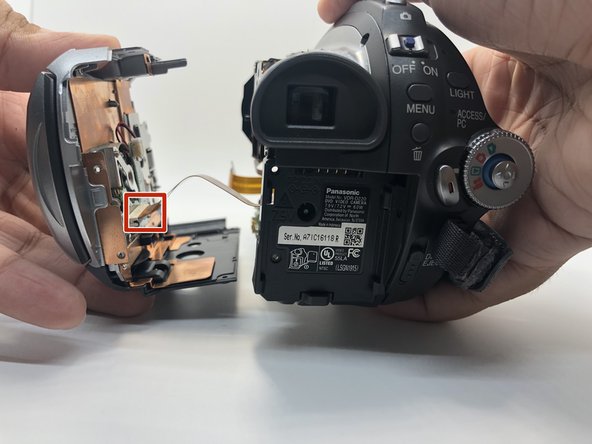

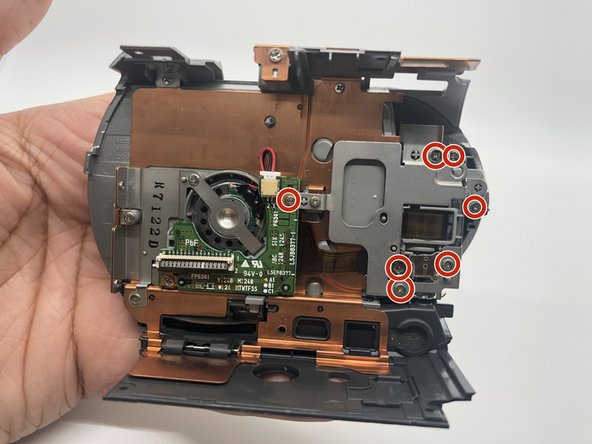
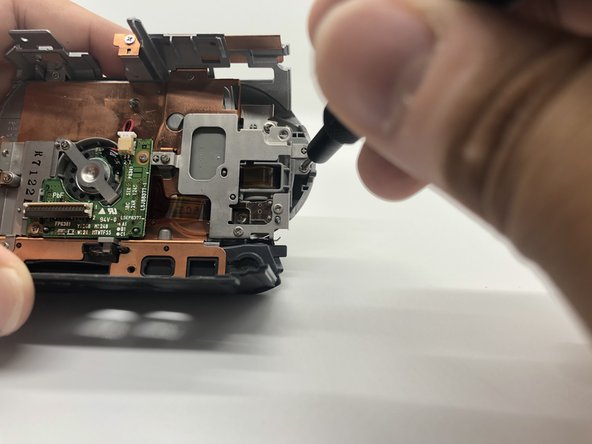




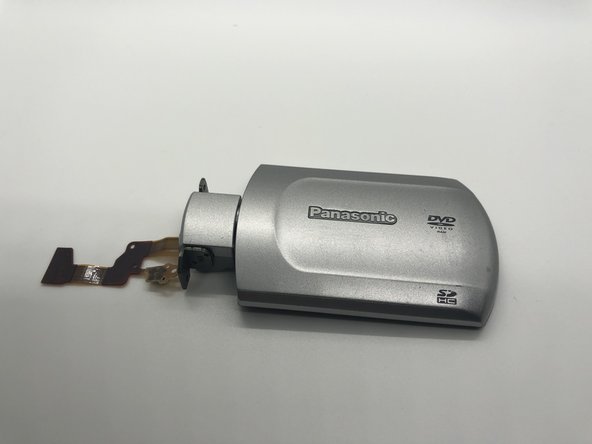
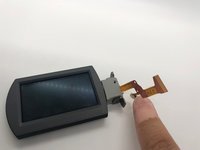
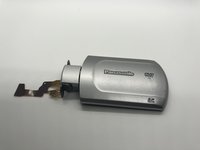
To reassemble your device, follow these instructions in reverse order.

Team

Embry-Riddle Aeronautical University, Team S1-G3, Watkins Fall 2019 Member of Embry-Riddle Aeronautical University, Team S1-G3, Watkins Fall 2019
ERAU-WATKINS-F19S1G3
4 Members
14 Guides authored
1 Guide Comment
Do you know how I'd go about disassembling the last part? I only bought an lcd :d
