Free Shipping on Domestic Orders $75+

Panasonic Toughbook CF-29 Touchscreen Replacement

What you need

    1. Panasonic Toughbook CF-29 Touchscreen Replacement, Battery: step 1, image 1 of 1
      • Locate the bay door for the battery on the left side of the laptop.

      Ask FixBot

      Add Comment

    2. Panasonic Toughbook CF-29 Touchscreen Replacement: step 2, image 1 of 2 Panasonic Toughbook CF-29 Touchscreen Replacement: step 2, image 2 of 2
      • Slide the latch to the right and then down to unlock it.

      • Pull out the battery.

      Ask FixBot

      Add Comment

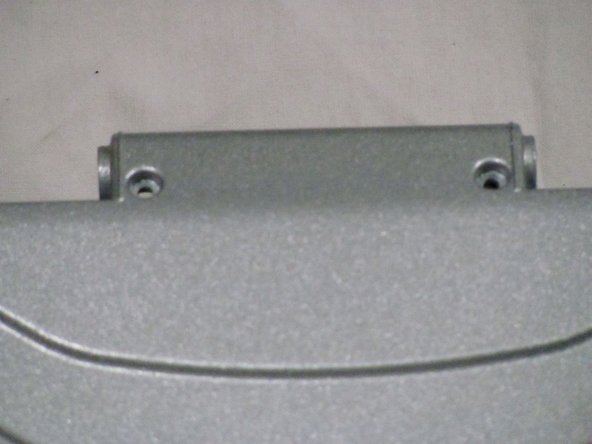
    1. Panasonic Toughbook CF-29 Touchscreen Replacement, Touchscreen: step 3, image 1 of 1
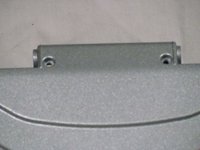
      • Remove the four hinge screws from the back of the computer.

      Ask FixBot

      Add Comment

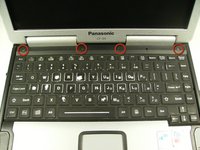
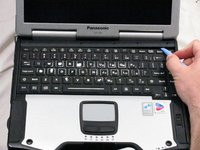
    2. Panasonic Toughbook CF-29 Touchscreen Replacement: step 4, image 1 of 2 Panasonic Toughbook CF-29 Touchscreen Replacement: step 4, image 2 of 2
      • Open the laptop and remove the four indicated screws with a Phillips size 0 screwdriver.

      • Pry off the plastic strip which was previously held in place by the screws.

      Ask FixBot

      Add Comment

    3. Panasonic Toughbook CF-29 Touchscreen Replacement: step 5, image 1 of 1
      • Remove the four hinge screws to allow the hinges to rotate up and move.

      Ask FixBot

      Add Comment

    4. Panasonic Toughbook CF-29 Touchscreen Replacement: step 6, image 1 of 1
      • Remove 16 screws from the top of the closed laptop.

      • 12 Phillips size 1 screws

      • 2 Phillips size 0 screws

      • 2 Torx size 6 screws (T6)

      Ask FixBot

      Add Comment

    5. Panasonic Toughbook CF-29 Touchscreen Replacement: step 7, image 1 of 1
      • Gently break the adhesive seal between the front and rear display cases with a plastic opening tool.

      • You will need to reapply the silicon adhesive during reassembly to ensure watertight seal.

      Ask FixBot

      Add Comment

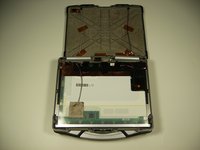
    6. Panasonic Toughbook CF-29 Touchscreen Replacement: step 8, image 1 of 1
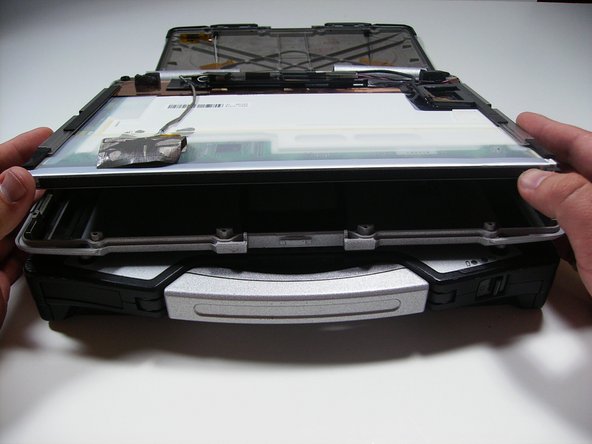
      • Pull the top halve of the casing up revealing the inside of the screen

      Ask FixBot

      Add Comment

    7. Panasonic Toughbook CF-29 Touchscreen Replacement: step 9, image 1 of 2 Panasonic Toughbook CF-29 Touchscreen Replacement: step 9, image 2 of 2
      • The top half of the case can be removed by sliding the tabs out from under the hinges.

      • This makes unplugging the screen wiring much easier

      Ask FixBot

      Add Comment

    8. Panasonic Toughbook CF-29 Touchscreen Replacement: step 10, image 1 of 1
      • There are 4 wires that need to be unplugged to remove the screen.

      Ask FixBot

      Add Comment

    9. Panasonic Toughbook CF-29 Touchscreen Replacement: step 11, image 1 of 1
      • For the first wire, peel back the silver cover tape to reveal the connection.

      Ask FixBot

      Add Comment

    10. Panasonic Toughbook CF-29 Touchscreen Replacement: step 12, image 1 of 1
      • Pull the wiring away from the connection to release it.

      Ask FixBot

      Add Comment

    11. Panasonic Toughbook CF-29 Touchscreen Replacement: step 13, image 1 of 1
      • Remove the 3 strips of black tape as shown to reveal connections 2 and 3.

      • Pull the wiring for each away from the connections to remove.

      Ask FixBot

      Add Comment

    12. Panasonic Toughbook CF-29 Touchscreen Replacement: step 14, image 1 of 1
      • The 4th connection is already visible.

      • Depending on your model it might not be plugged into anything. If it is, remove it the same way the other 3 connections were removed.

      Ask FixBot

      Add Comment

    13. Panasonic Toughbook CF-29 Touchscreen Replacement: step 15, image 1 of 2 Panasonic Toughbook CF-29 Touchscreen Replacement: step 15, image 2 of 2
      • Using a plastic opening tool, lift the screen as shown from the case and pull free.

      Ask FixBot

      Add Comment

Conclusion

To reassemble your device, follow these instructions in reverse order.

Cancel: I did not complete this guide.

5 other people completed this guide.

Dylan Bloom

Member since: 04/12/10

373 Reputation

4 Guides authored

Team

Cal Poly, Team 27-93, Amido Spring 2010 Member of Cal Poly, Team 27-93, Amido Spring 2010

CPSU-AMIDO-S10S27G93

4 Members

144 Guides authored

1 Guide Comment

This guide is good for replacing the LCD screen, but it is not complete for the touchscreen panel, which requires some more delicate and precise steps. I think the title of the guide needs to be changed.

Thanks

Alessandro Cervelli - Reply Share

Add Comment

View Statistics:

Past 24 Hours: 2

Past 7 Days: 10

Past 30 Days: 42

All Time: 18,048