Free Shipping on Domestic Orders $75+

Panasonic SA-HT810V DVD Drive Replacement

What you need

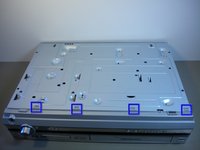
    1. Panasonic SA-HT810V DVD Drive Replacement, DVD Drive: step 1, image 1 of 3 Panasonic SA-HT810V DVD Drive Replacement, DVD Drive: step 1, image 2 of 3 Panasonic SA-HT810V DVD Drive Replacement, DVD Drive: step 1, image 3 of 3
      • With the front display of the device facing you, rotate the device 90 degrees counter clockwise.

      • Now rotate the device 180 degrees and remove the second screw.

      • Remove the screw that is on the right side of the panel facing you.

      • Remove all screws with a phillips head screwdriver.

      Ask FixBot

      Add Comment

    2. Panasonic SA-HT810V DVD Drive Replacement: step 2, image 1 of 2 Panasonic SA-HT810V DVD Drive Replacement: step 2, image 2 of 2
      • Rotate the device so that the back faces you.

      • Using a phillips head screw driver, locate and remove the two screws highlighted by the red circles in image one.

      Ask FixBot

      Add Comment

    3. Panasonic SA-HT810V DVD Drive Replacement: step 3, image 1 of 1
      • Before removing cover make sure that the back of the device is facing you.

      • Remove the top cover by bending out on the sides, and pulling the cover towards you while applying upward pressure.

      Ask FixBot

      Add Comment

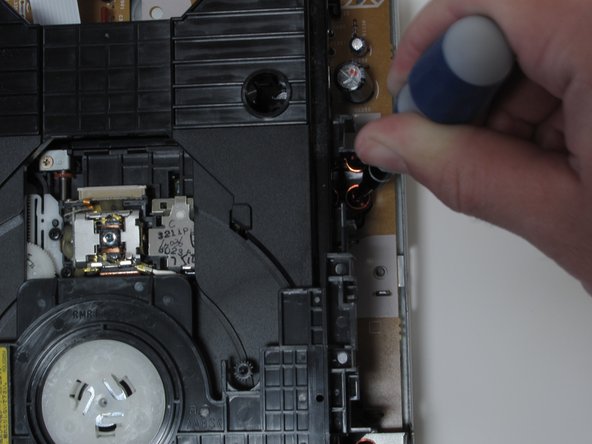
    4. Panasonic SA-HT810V DVD Drive Replacement: step 4, image 1 of 3 Panasonic SA-HT810V DVD Drive Replacement: step 4, image 2 of 3 Panasonic SA-HT810V DVD Drive Replacement: step 4, image 3 of 3
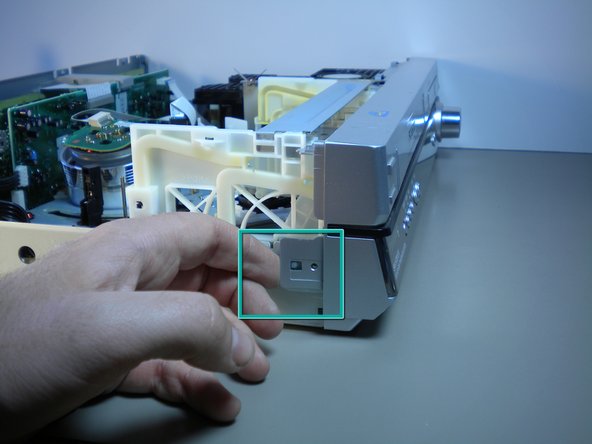
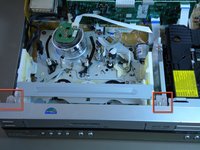
      • Pull up the two tabs on top

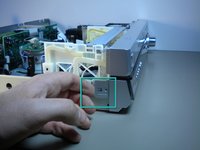
      • Pull the the three tabs on the side. One is on the left, and two are on the right side of the device when it is facing you.

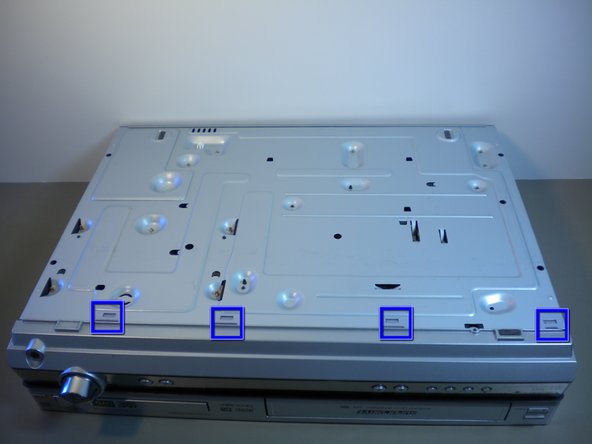
      • Depress the four tabs on the bottom of the device with a flat head screwdriver.

      Ask FixBot

      Add Comment

    5. Panasonic SA-HT810V DVD Drive Replacement: step 5, image 1 of 1
      • Carefully pull off the front panel of the device.

      • The front is attached to the device with cables so be careful when removing.

      Ask FixBot

      Add Comment

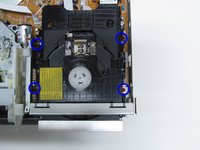
    6. Panasonic SA-HT810V DVD Drive Replacement: step 6, image 1 of 2 Panasonic SA-HT810V DVD Drive Replacement: step 6, image 2 of 2
      • Remove the four screws around the DVD drive with a phillips head screwdriver.

      Ask FixBot

      Add Comment

    7. Panasonic SA-HT810V DVD Drive Replacement: step 7, image 1 of 1
      • The DVD player is attached to the power supply.

      • Remove the wire attaching it by firmly pulling on the wire until it releases.

      Ask FixBot

      Add Comment

    8. Panasonic SA-HT810V DVD Drive Replacement: step 8, image 1 of 1
      • Flip the DVD drive so that the bottom is facing you.

      • Pull on the blue ribbon cable until it releases.

      • To place the new DVD drive in just follow these steps in reverse.

      Ask FixBot

      Add Comment

Conclusion

To reassemble your device, follow these instructions in reverse order.

Cancel: I did not complete this guide.

2 other people completed this guide.

Nathan Cheadle

Member since: 04/15/10

161 Reputation

7 Guides authored

Team

Cal Poly, Team 16-5, Maness Spring 2010 Member of Cal Poly, Team 16-5, Maness Spring 2010

CPSU-MANESS-S10S16G5

4 Members

84 Guides authored

0 Guide Comments

Add Comment

View Statistics:

Past 24 Hours: 2

Past 7 Days: 3

Past 30 Days: 39

All Time: 2,040