
Panasonic RF-1101 Radio Disassembly

T Bone and 2 other contributors
Last updated on Aug 6, 2024
Views: 891
View statistics:
- Past 24 Hours:
- 4
- Past 7 Days:
- 20
- Past 30 Days:
- 89
- All Time:
- 891
Comments: 0
No one has left comments on this guide. Will you be first?
Go to guide commentsCompleted: 0 1
No one has marked this guide "completed." Will you be the first?
1 person has marked this guide "completed." It's you — great job!
Favorites: 0 1
No one has favorited (and subscribed to) this guide. Will you be the first?
1 person has favorited (and subscribed to) this guide — and that's you!
Grammar Police
Embrace your inner English teacher and help improve this guide's grammar!
Markup Mishap
This guide needs better markups. Help out by correcting or making some markup annotations.
Community-Contributed Guide
An awesome member of our community made this guide. It was not created by iFixit staff.
Better Introduction
Improve this guide by completing or revising its introduction.
What you need
Tools
-
-
-
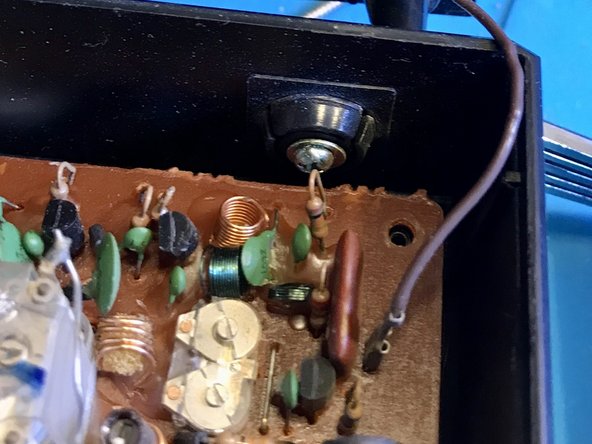
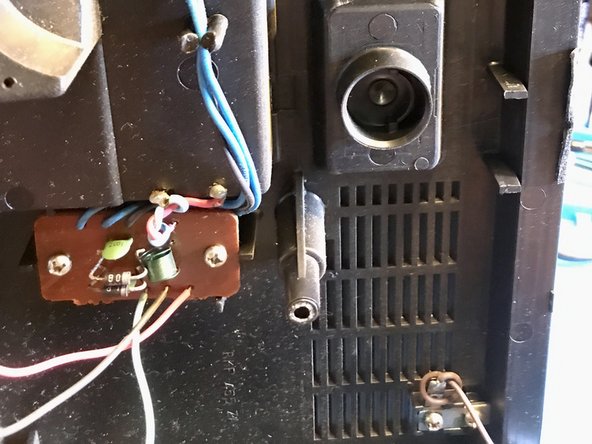
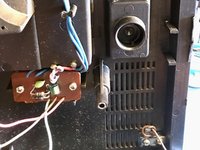
Wire on the right is the Antenna Wire. It Attaches to the board by a connector. Unhook it so the back will lay over.
-
-
-
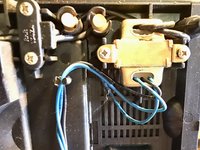
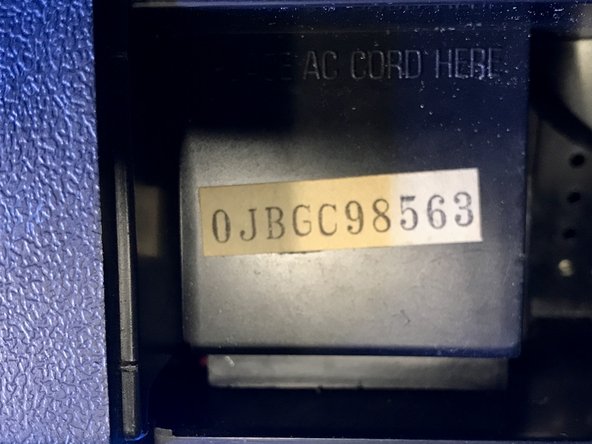
The transformer for AC and the Battery connector for DC
-
-
-
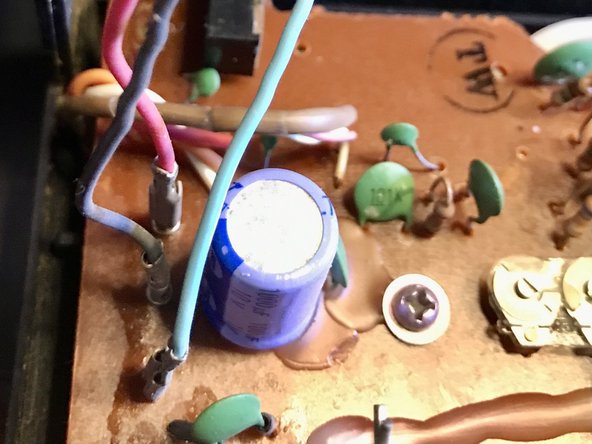
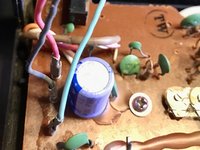
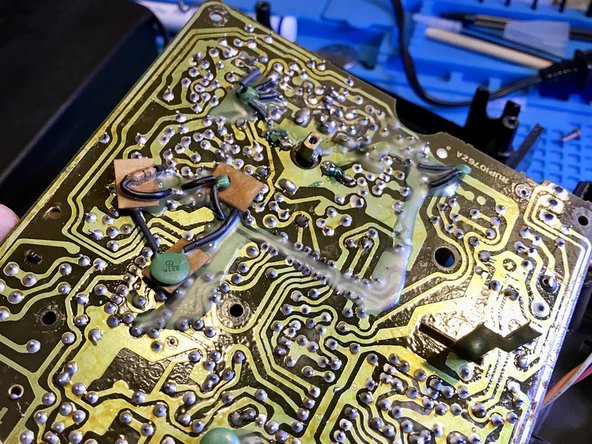
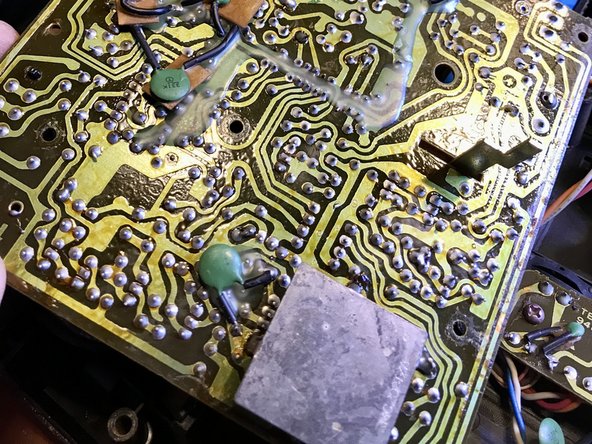
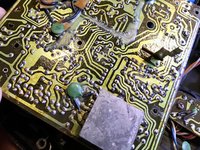
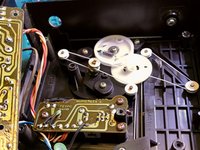
Board view of top and bottom of board. Remove 3 screws to take thew board out. Remember the one screw with washer in the left top. Also note the position of the screws as the screws in the back also go through the board.
-
-
-
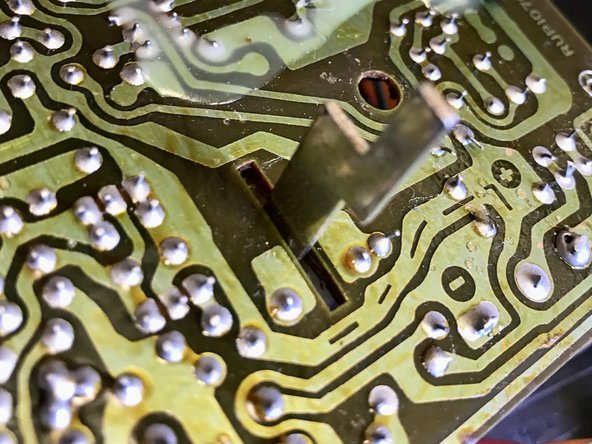
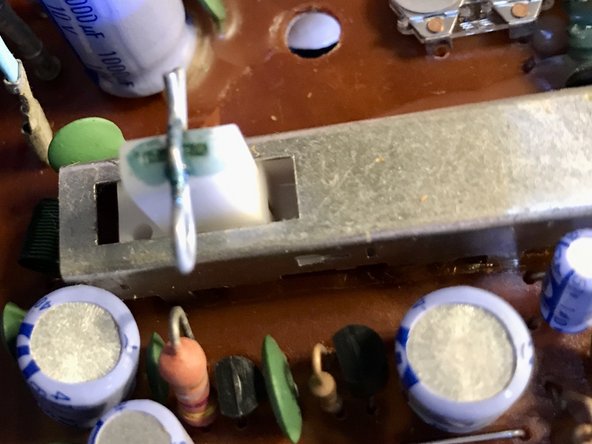
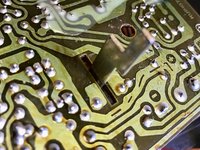
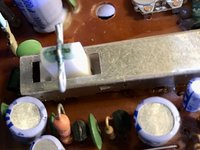
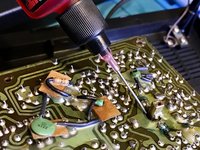
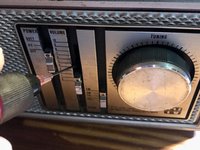
The battery, off and AC selector runs through the front on to the back of the unit. Use Deoxit ont he slider in the front and the unit to the back of board. in 3 places. As shown
-
-
-
-
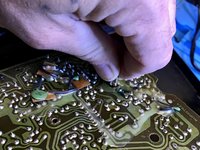
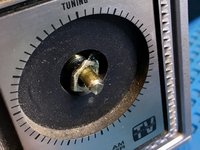
Using Deoxit to clean and lubricate the tuning knob to clear up static and crackling.
-
-
-
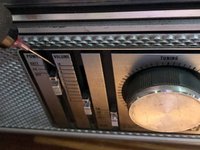
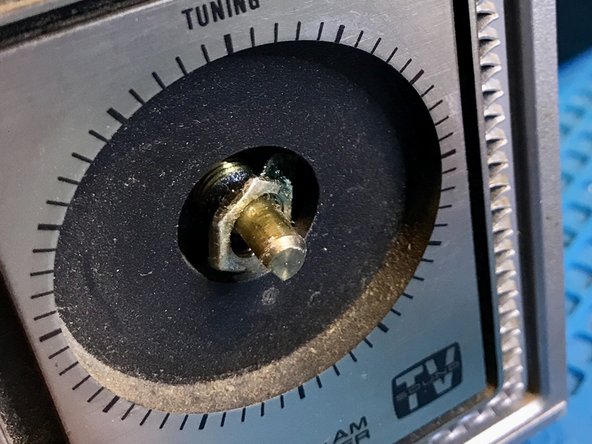
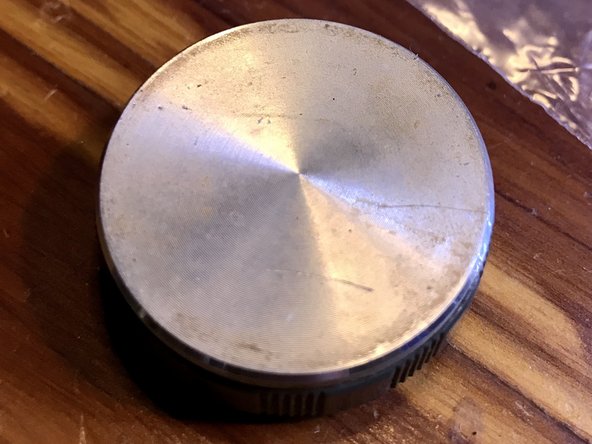
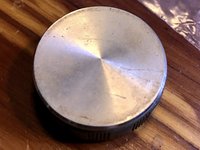
The Tuning knob pulls off front and the tuning mechanism unscrews with the nut. Deoxit clears up the crackling on the volume slider as well.
-
-
-
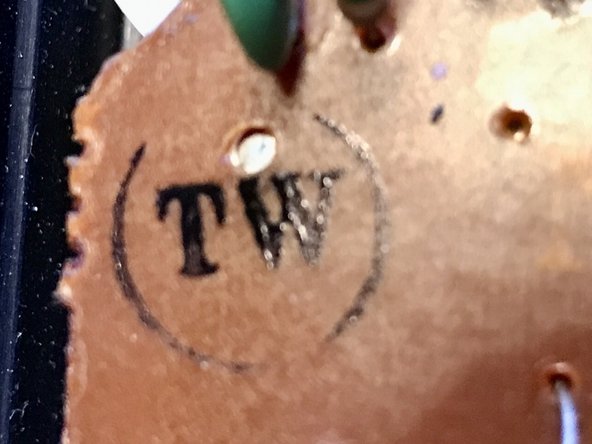
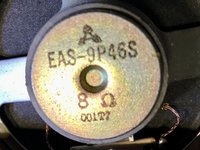
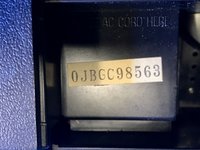
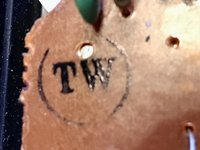
Speaker is 8 Ohm and the numbers found on the board and the back of unit.
-


 Ask FixBot









To reassemble your device, follow these instructions in reverse order.


